
Canning isn't just a method; it's a seasonal rhythm, an echo of nature's bounty preserved in jars. With each changing season, new flavors and textures emerge, ripe for the canning. Whether you're a seasoned pro or a beginner eager to start canning and freezing food at home, understanding what to preserve and when is key to capturing the essence of freshness. Let's embark on a journey through the seasons, highlighting the best picks for your pantry.
Spring Into Canning: Awakening Flavors
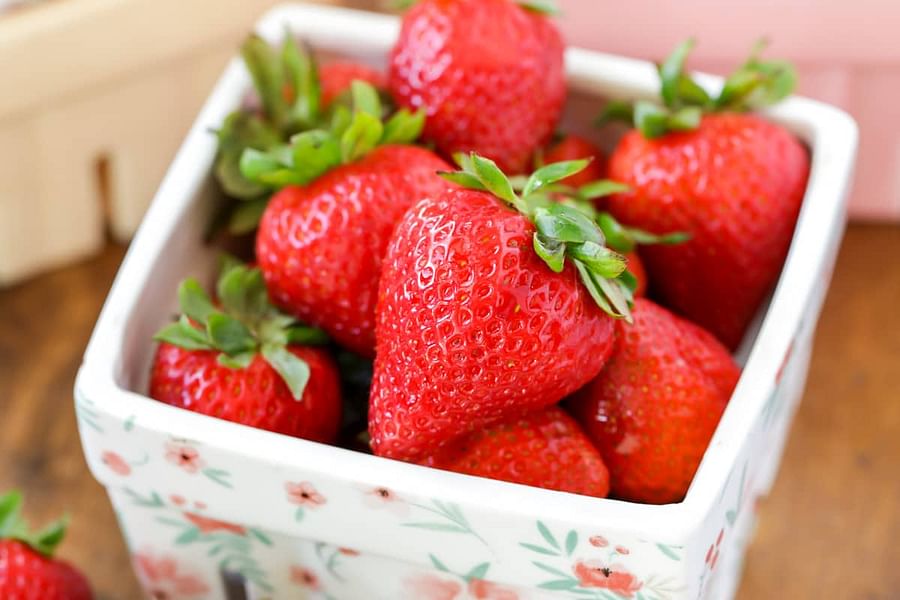
As winter thaws into spring, tender shoots and early blossoms set the stage for light and zesty preserves. Think delicate herbs, crisp greens, and the first sweet strawberries that whisper promises of warmth to come. This is the time for quick pickles, dilly beans, and spreads that capture spring's subtle awakening.
Spring Canning Picks
- Strawberries - Sweet and versatile, perfect for jams and preserves.

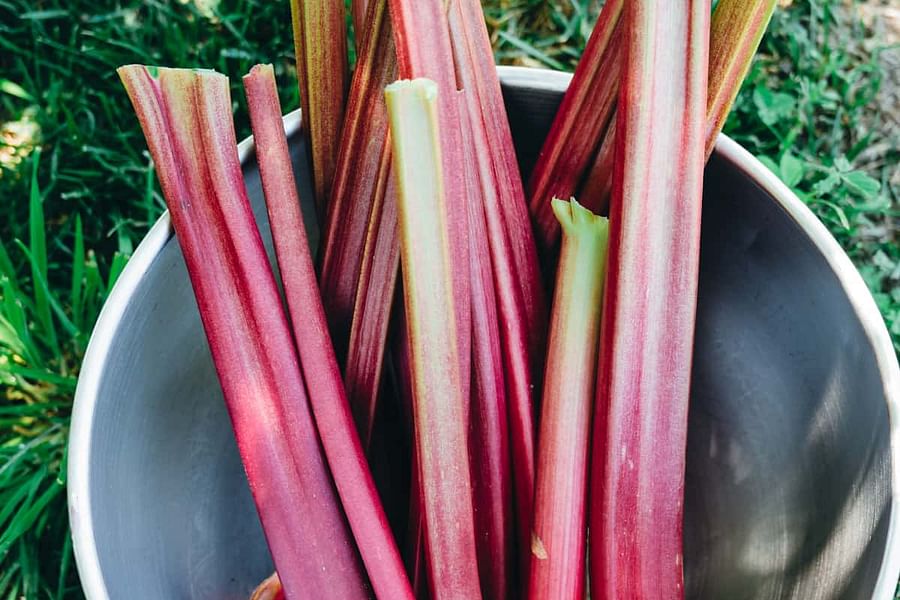
- Rhubarb - Tangy and robust, ideal for pie fillings and compotes.
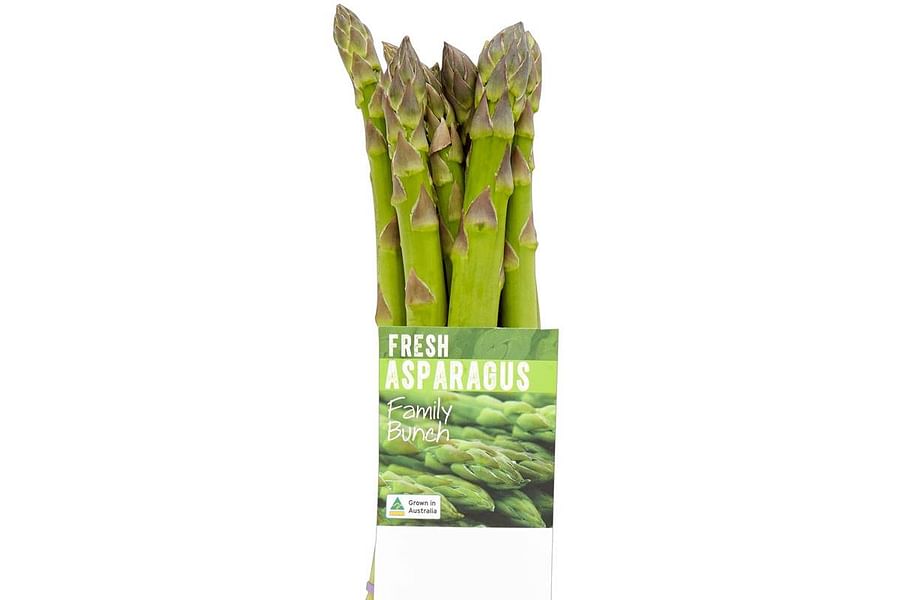
- Asparagus - Crisp and savory, great for pickling or as a relish base.
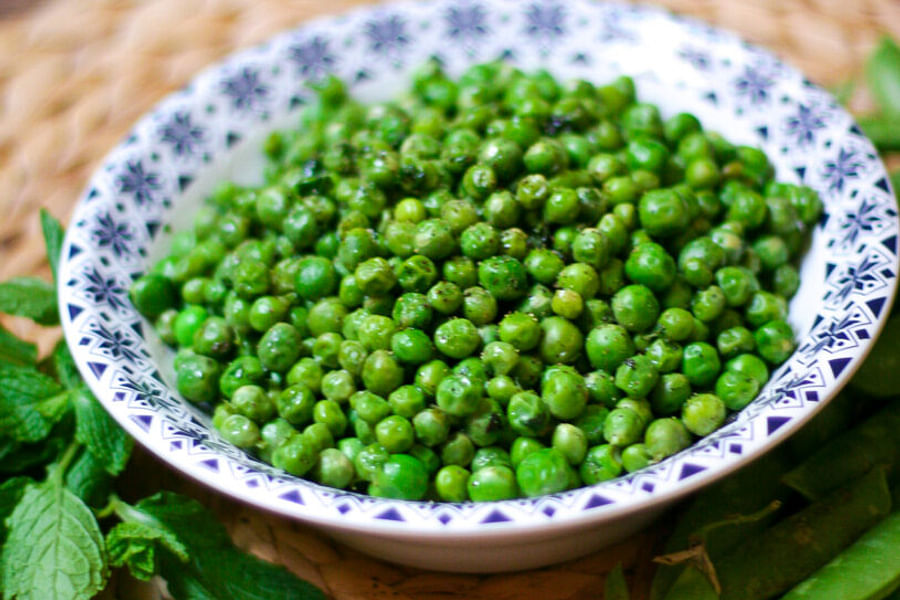
- Peas - Sweet and tender, wonderful for canning on their own or in soups.
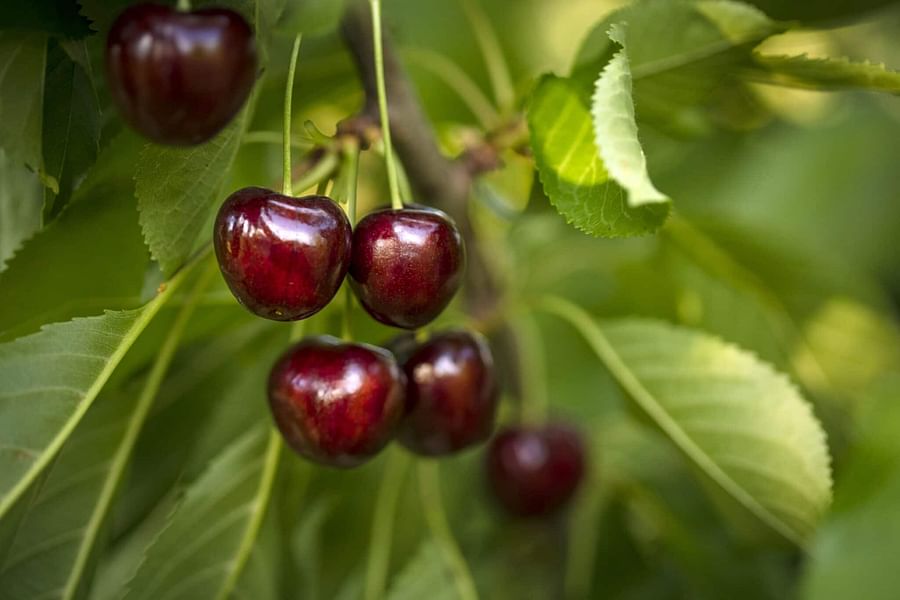
- Cherries - Juicy and flavorful, excellent for preserves or pie fillings.
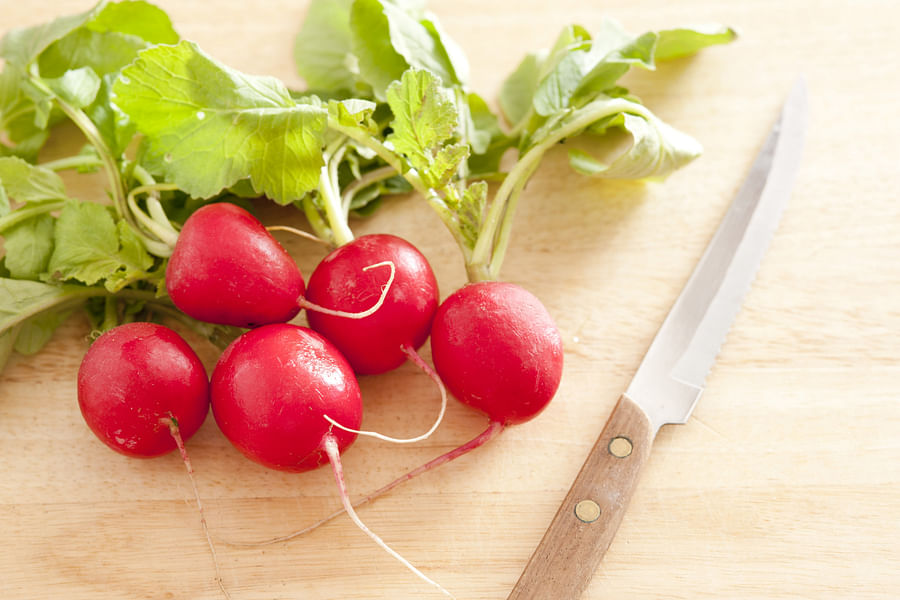
- Radishes - Crisp with a peppery kick, perfect for unique pickles.
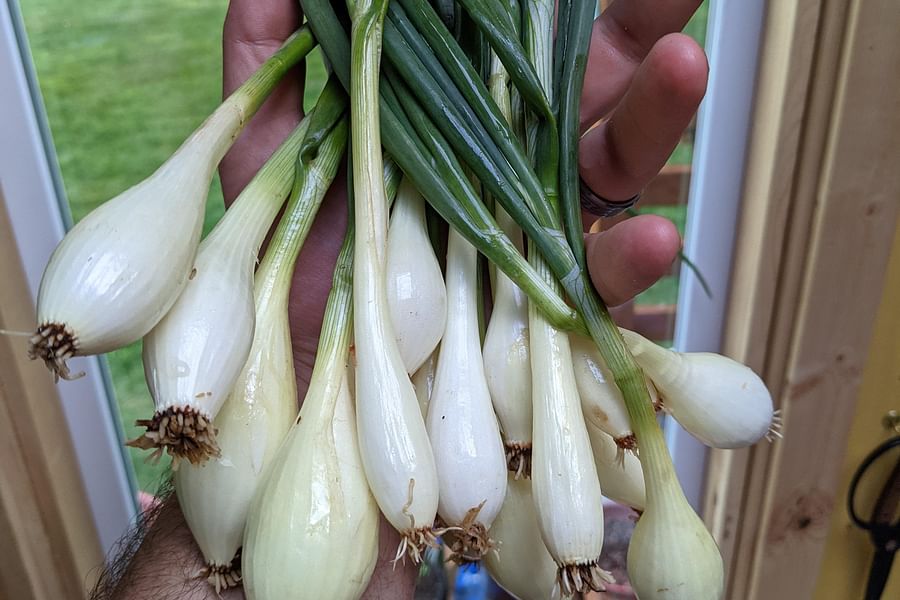
- Spring Onions - Mild and versatile, great for salsas and chutneys.
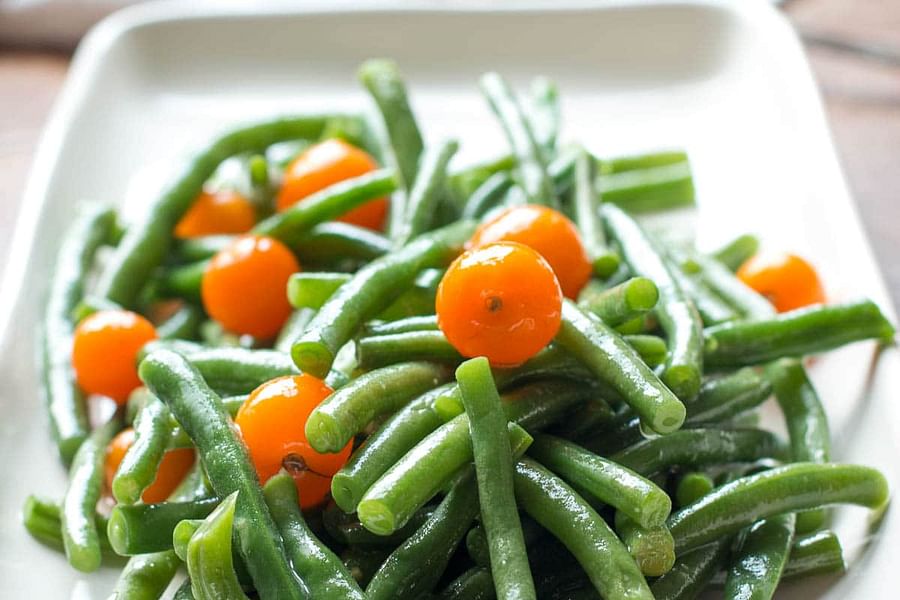
- Green Beans - Crunchy and garden-fresh, ideal for dilly beans or pickling.
For those just beginning their canning journey, spring offers forgiving recipes that are perfect for honing your skills. Discover mastering your canning kit with a step-by-step guide to ensure you have everything you need before diving into these lighter preserves.
Summer's Bounty: A Canner's Cornucopia
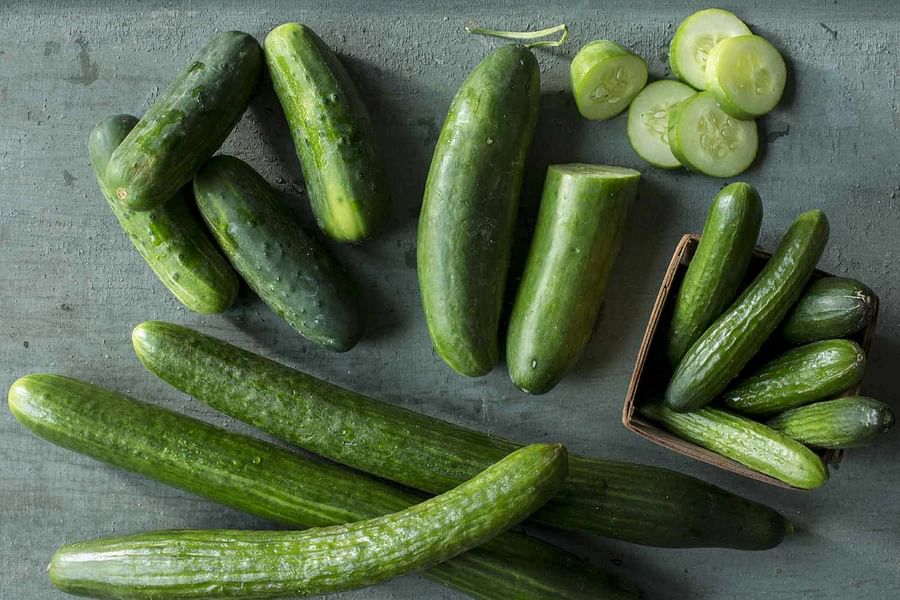
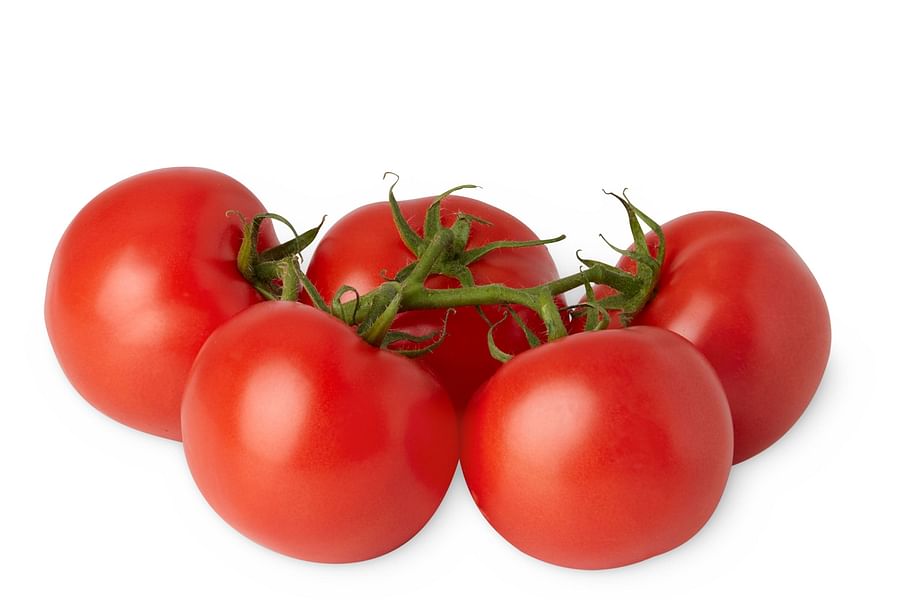
The heat of summer brings with it an abundance of fruits and vegetables that beg to be sealed away for colder days. Tomatoes in every hue, plump berries bursting with juice, cucumbers ready for pickling—this is the peak season for canners. It's also an ideal time to explore preserving summer in a jar, from savory squashes to sweet stone fruits.
Don't let the variety overwhelm you; focus on what you love most or what grows best in your region. Summer is also perfect for experimenting with combinations—imagine a salsa where mango meets tomato or a jam where berry meets peach. And if you're curious about how complex canning recipes can get, take our canning recipes and techniques quiz.
Fall Harvest: Rich Flavors in Every Jar
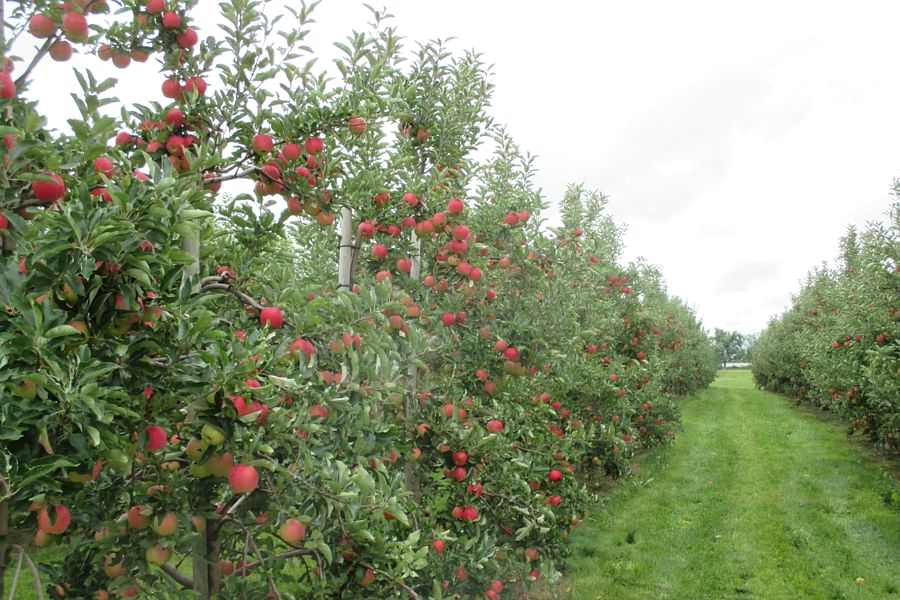
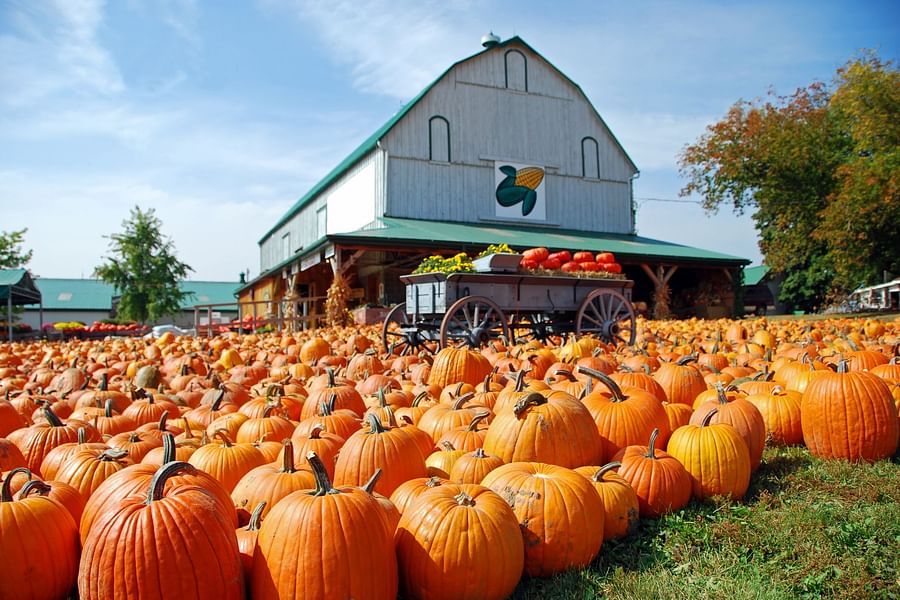
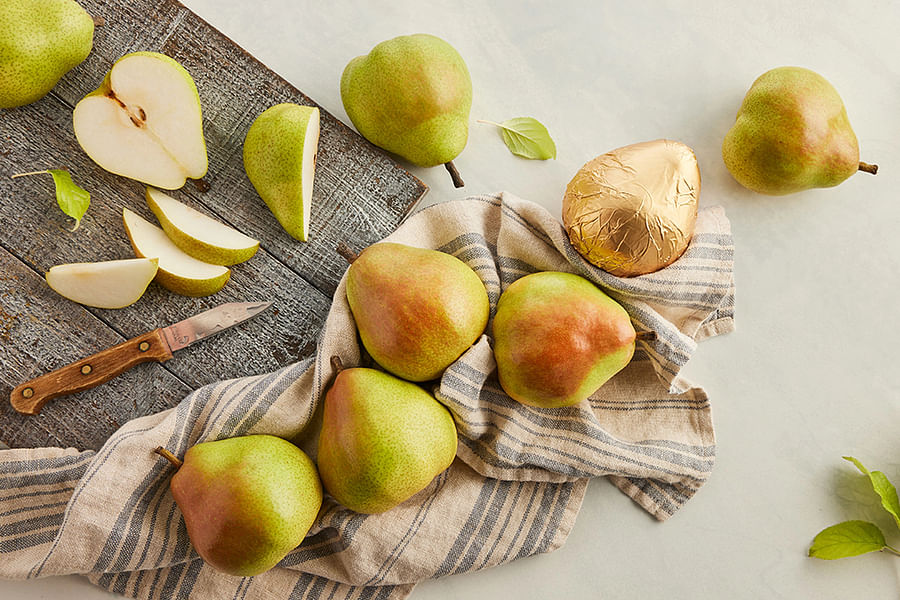
As leaves turn fiery hues and evenings grow crisp, fall signals a time to savor richer flavors. Apples, pears, pumpkins—these are the staples of autumnal canning that fill your pantry with comfort as the year wanes. It’s not just about making jams and jellies; it’s about crafting apple butters, pear nectars, and spiced preserves that embody fall’s essence.
Homemade Apple Butter
You will need:
 Fresh apples
 Granulated sugar
 Ground cinnamon
 Ground cloves
 Salt
Salt Lemon juice
 Water
Water Canning jars
 Large pot
 Immersion blender or food processor
 Canning funnel
 Ladle
Ladle
Instructions
- Start by washing and coring the apples.
- Cut the apples into chunks.
- Combine apples, water, and lemon juice in a large pot.
- Cook over medium heat until the apples are soft.
- Puree the mixture using an immersion blender or food processor.
- Add sugar, cinnamon, cloves, and salt to the pureed apples.
- Simmer the mixture on low heat until thickened.
- Prepare the canning jars by sterilizing them.
- Ladle the apple butter into the jars, leaving headspace.
- Wipe the rims, apply the lids, and tighten the bands.
- Process the jars in a boiling water bath for the recommended time.
- Remove the jars and let them cool undisturbed for 12-24 hours.
Notes
Always use ripe, high-quality apples for the best flavor. The type of apple can vary based on your preference, but a mix of tart and sweet varieties often yields a well-balanced apple butter. The sugar can be adjusted based on the sweetness of your apples and personal taste. For a smoother texture, you can peel the apples before cooking, but this is optional. Remember to check the seal on your jars after they've cooled; if the lid springs back when pressed, it hasn't sealed properly and should be refrigerated and used first.
The robust nature of fall produce makes it ideal for those looking to venture into longer-lasting preserves such as chutneys or sauces that mellow with time. Be sure to check out mastering low-acid canning as many fall favorites require special attention due to their lower acidity levels.
Capturing these seasonal flavors requires not only skill but also quality equipment. Quart jars become essential as they offer ample space for larger batches of autumn harvests—learn more about their versatility through our guide on exploring quart jars in home canning endeavors.
Remember that while enthusiasm is key in canning, safety is paramount. Always adhere to tested recipes and guidelines to ensure your preserved goods are both delicious and safe to consume.
Fall Into Canning: Preserving the Harvest
As the leaves start to turn and the air gets crisp, it's time to think about preserving those hearty fall crops. Apples, pears, and pumpkins are ripe for the picking and perfect for canning. Creating spiced apple preserves or pear butter can capture the essence of fall in a jar. Pumpkin puree is another seasonal favorite, but it's important to note that low-acid canning techniques are necessary for safety when preserving pumpkin.
Spiced Apple Preserves
You will need:
 Apples
- Granulated sugar
 Lemon juice
 Ground cinnamon
 Ground nutmeg
- Ground cloves
 Canning jars
- Large pot
 Water bath canner
 Jar lifter
Instructions
- Start by washing and peeling the apples.
- Core and slice the apples into thin pieces.
- In a large pot, combine apples, sugar, lemon juice, cinnamon, nutmeg, and cloves.
- Cook over medium heat, stirring occasionally, until the sugar dissolves and the apples are tender.
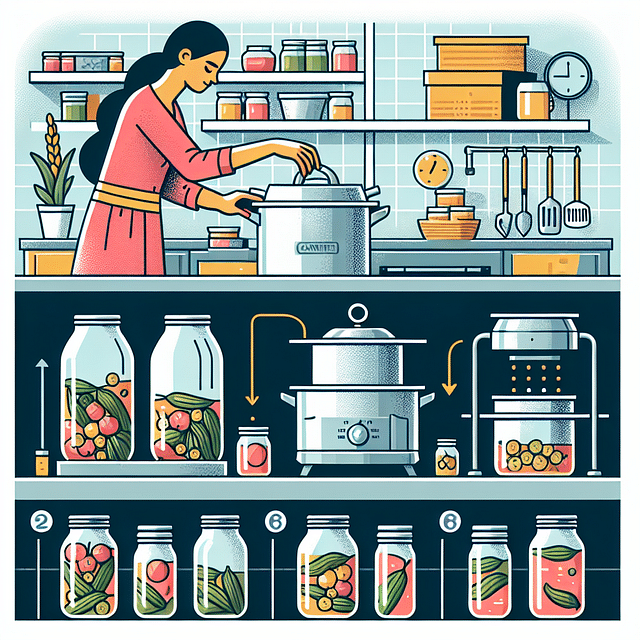
- While the apple mixture is cooking, sterilize the canning jars and lids.
- Fill the sterilized jars with the hot apple mixture, leaving a 1/4 inch headspace.
- Wipe the rims of the jars with a clean cloth, and secure the lids.
- Process the jars in a water bath canner for 10 minutes.
- Remove the jars with a jar lifter and let them cool on a towel, ensuring the seals are tight.
Notes
Ensure that all utensils and canning equipment are clean and sterilized before use. The processing time may vary based on altitude; consult a canning guide for adjustments. Store sealed jars in a cool, dark place and use within a year for best quality. If any jars fail to seal, refrigerate and use within a couple of weeks.
Don't forget about late-harvest vegetables like beets and carrots! These root vegetables can be pickled or canned in water for future use. Canning your own beets allows you to control the sodium and added sugars, making for a healthier product than what you might find on store shelves.
Winter Wonders: Canning in the Cold
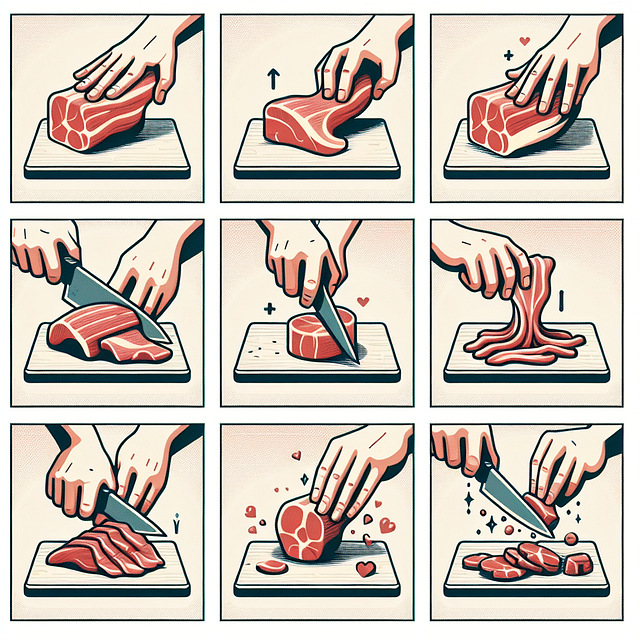
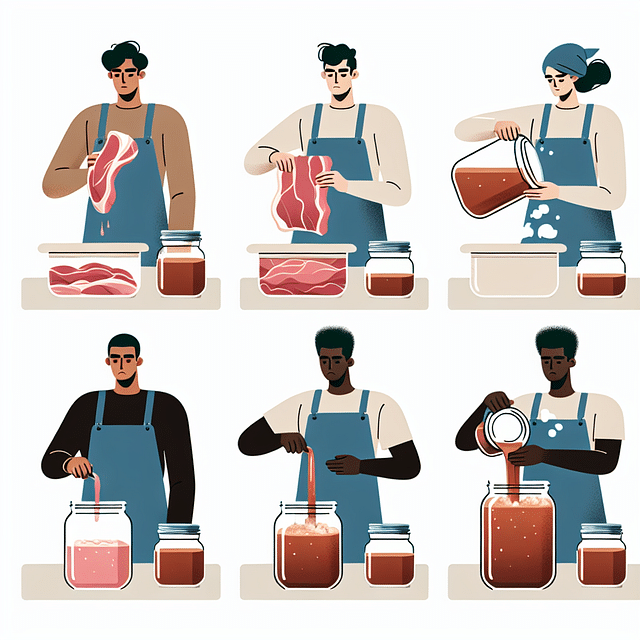
The chill of winter may slow down your garden's output, but it doesn't mean you have to stop canning. This is a great time to focus on meats, stews, and soups. With proper pressure canning techniques, you can preserve hearty meals that will warm you up on a cold day. Imagine opening a jar of homemade beef stew or chicken soup – it's like having meal prep done months in advance!
Pressure Canning Meats Safely: A Step-by-Step Guide


Citrus fruits are also abundant during winter months. Oranges, lemons, and grapefruits reach their peak during this season. You can preserve these flavors by making jams, jellies, or marmalades. The bright citrus flavors will bring a pop of summer into your winter days.
Spring into Action: Early Season Canning
As winter thaws into spring, early vegetables like peas and asparagus make their debut. These tender veggies are fantastic for pickling or canning as they are – giving you a taste of spring long after the season has ended. Strawberries also start to make an appearance and what could be more delightful than homemade strawberry jam? It's a classic for a reason!
Rhubarb is another spring crop that's ideal for canning. Whether you're making rhubarb jam or combining it with strawberries for a pie filling, these jars will be welcomed with open arms at any dessert table.
Remember that with each new season comes an opportunity to refine your skills and experiment with new recipes. If you're just getting started or looking to improve your technique, consider exploring our comprehensive guide to mastering your canning kit. And don't forget – safety first! Always adhere to recommended guidelines when preserving foods at home.
“To everything there is a season...and in every season there is an opportunity to preserve its bounty.” - Just Canning Wisdom
Canning isn't just about putting food in jars; it's about capturing moments in time – the taste of freshly picked berries or the warmth of sun-ripened tomatoes. It connects us with the cycles of nature and provides sustenance throughout the year.
As we wrap up our seasonal guide to canning, remember that every jar you seal is filled not just with produce but also with memories and care. Take pride in your home-canned goods which represent not only preservation but also preparation – ensuring that no matter what the season brings, there’s always something delicious waiting on your shelf.
Seasonal Canning Picks
- Strawberries - Capture the sweetness of spring with homemade strawberry jam.
- Cherries - Early summer brings tart and sweet cherries, perfect for preserves.
- Cucumbers - Crisp pickles are a must in the heat of summer.
- Tomatoes - From sauces to salsas, late summer tomatoes are ideal for canning.
- Peaches - Preserve the lush flavors of late summer with canned peaches.

- Apples - Autumn's apple harvest is perfect for jellies, sauces, and butters.
- Pumpkin - Can your own pumpkin puree for pies and more during fall.
- Pears - Delicate and sweet, pears are a fall favorite for canning.
To continue expanding your knowledge and skills in home preservation, dive into our resources like The Perfect Plum Canning Guide, discover how versatile quart jars can be in your endeavors, or take our fun Canning Recipes and Techniques Quiz. Happy Canning!


No comments yet. Be the first to share your thoughts!