
Embarking on the journey of home canning can feel like navigating a labyrinth, especially when it comes to selecting the right equipment. But fear not, for with a little guidance, you'll be on your way to preserving your favorite foods with confidence and ease. A comprehensive canning kit is the cornerstone of any successful home preservation endeavor, and choosing the one that best fits your needs is paramount.
The Essential Components of a Canning Kit
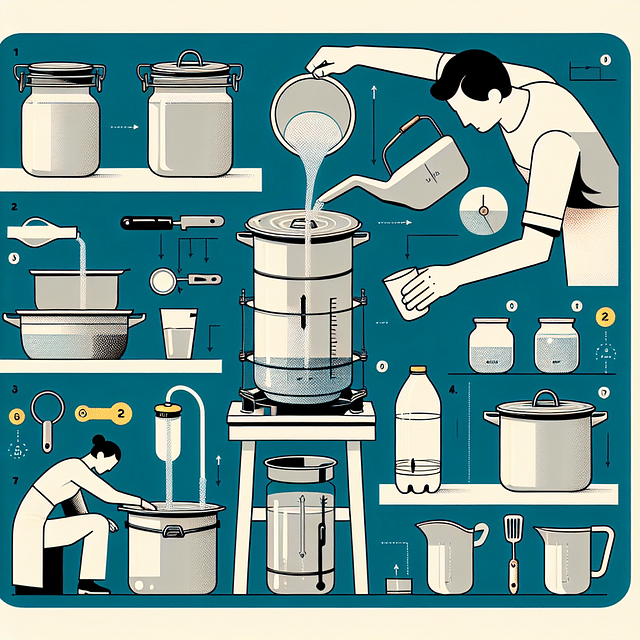
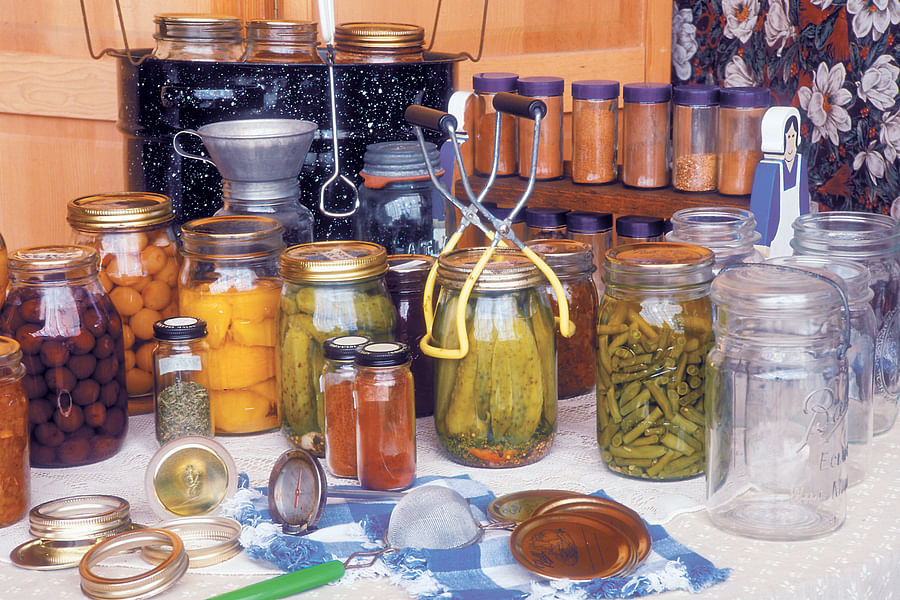
At its core, a canning kit should provide you with all the necessary tools to safely and efficiently preserve food. This typically includes a large canning pot with a rack, various sizes of jars, lids and bands, a jar lifter, a funnel, a headspace tool, and often a magnetic lid lifter. These tools work in concert to ensure that your canning process is hygienic, preventing spoilage and foodborne illnesses.
Canning Essentials
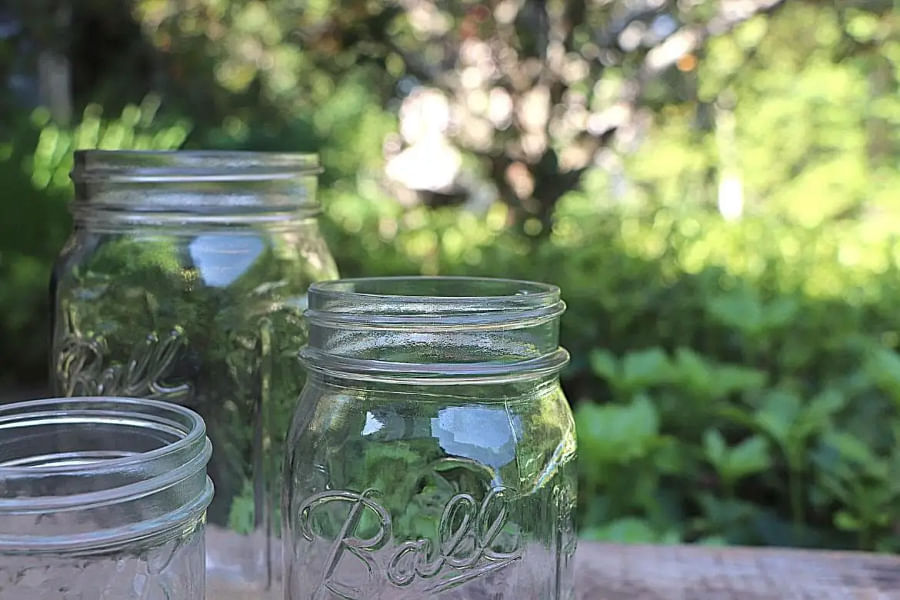
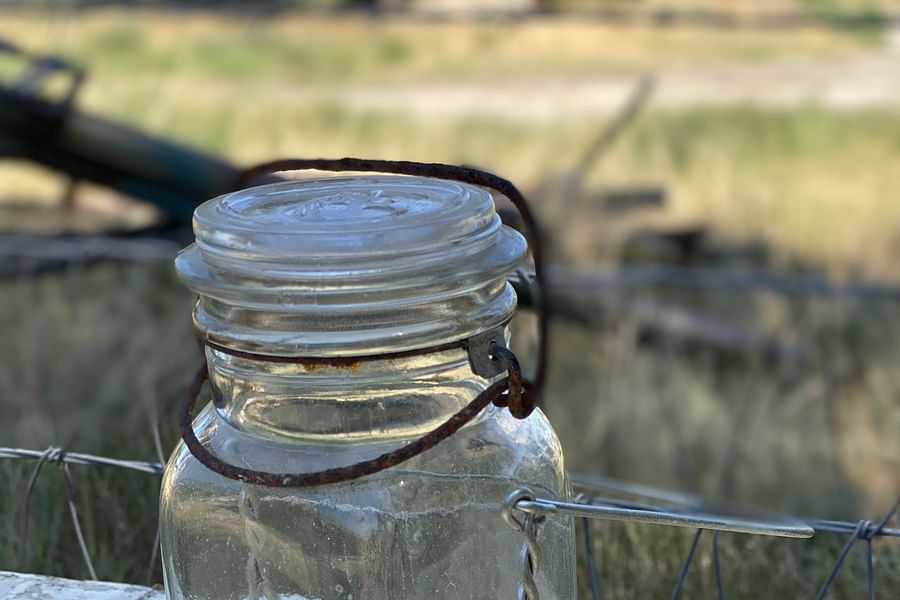
- Canning Jars - Glass containers for preserving food.
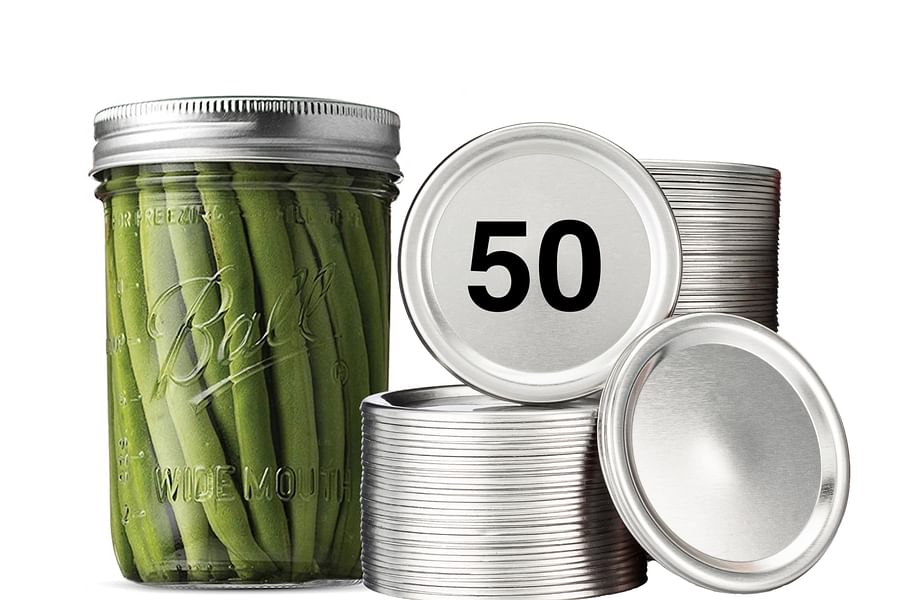
- Lids and Bands - Seals jars airtight for safe preservation.
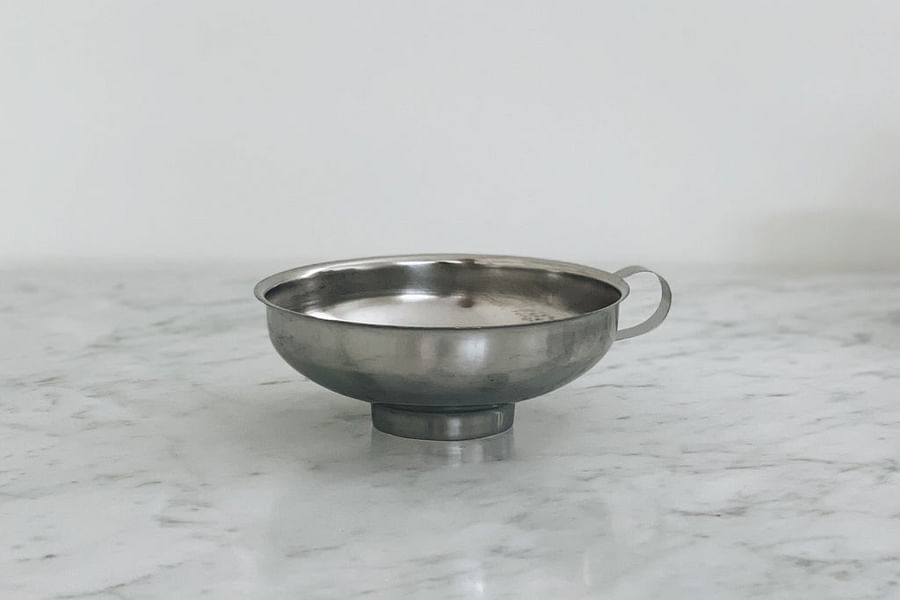
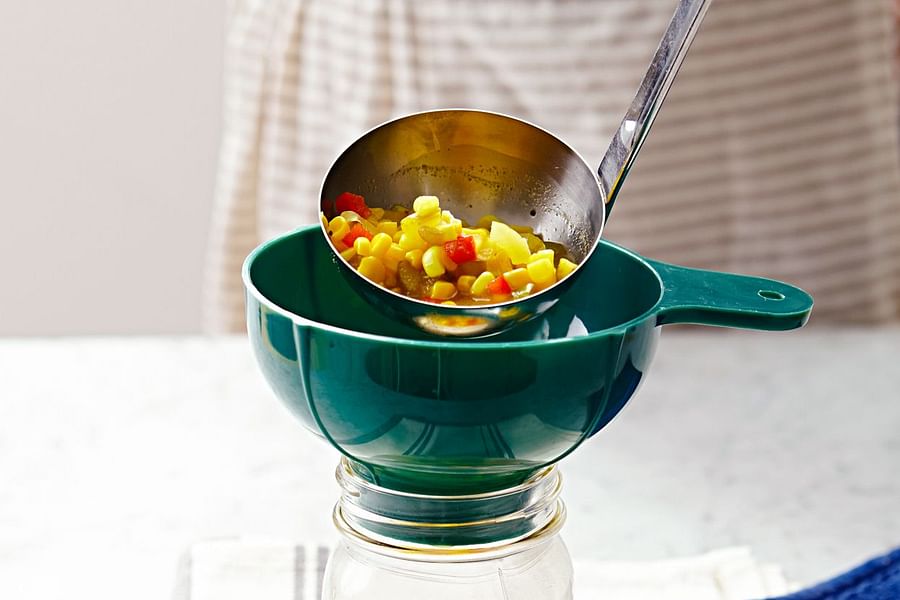
- Canning Funnel - Ensures clean and precise filling of jars.
- Jar Lifter - Safely handles hot jars during the canning process.
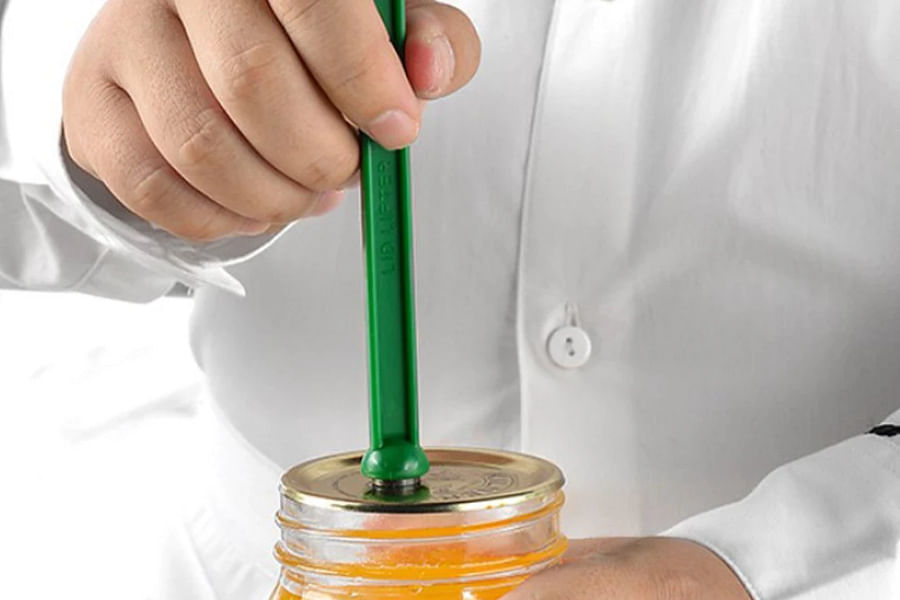
- Magnetic Lid Lifter - Helps place lids on jars without contamination.
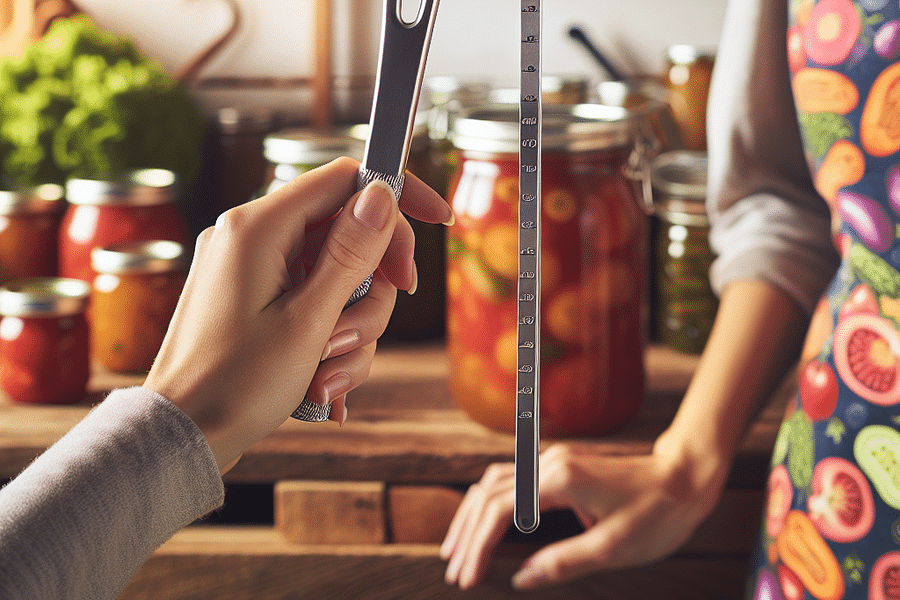
- Bubble Remover/Headspace Tool - Measures and adjusts the headspace; releases air bubbles.
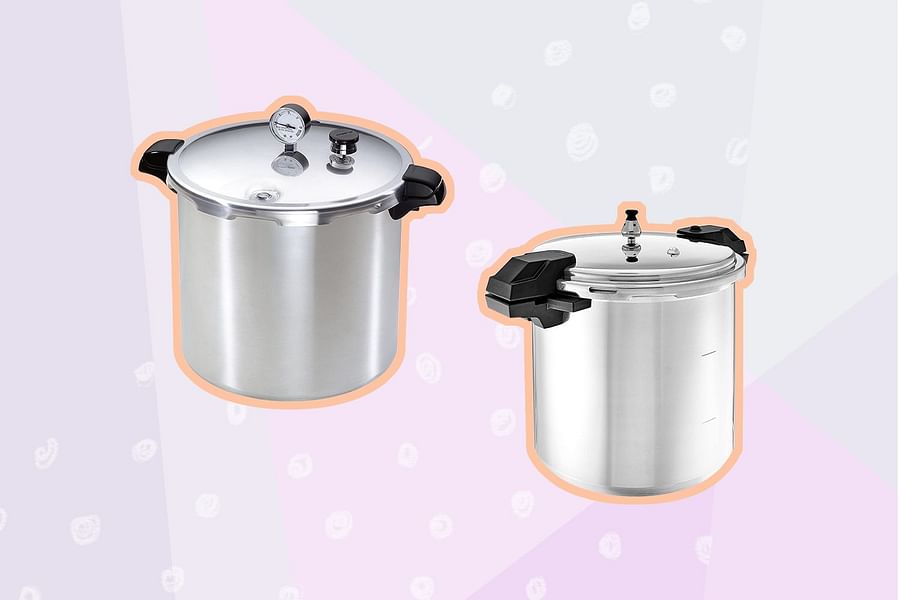
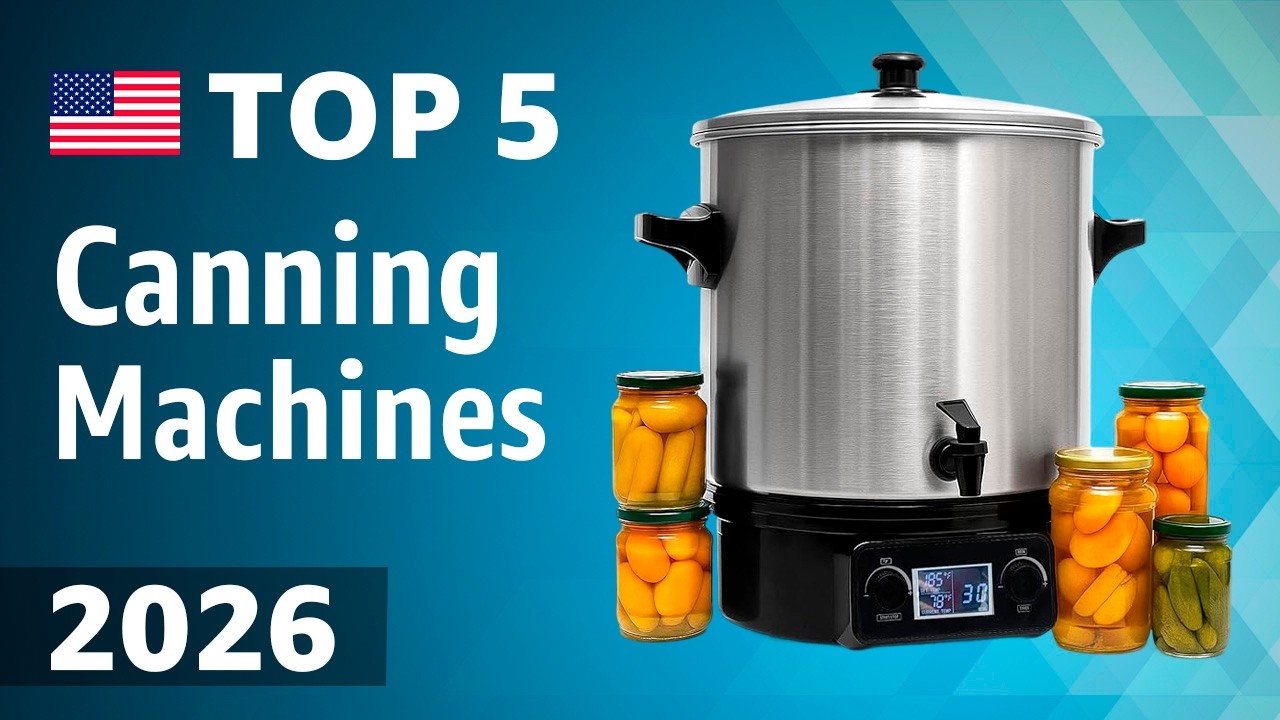
- Pressure Canner or Water Bath Canner - The appliance for processing jars based on the canning method.
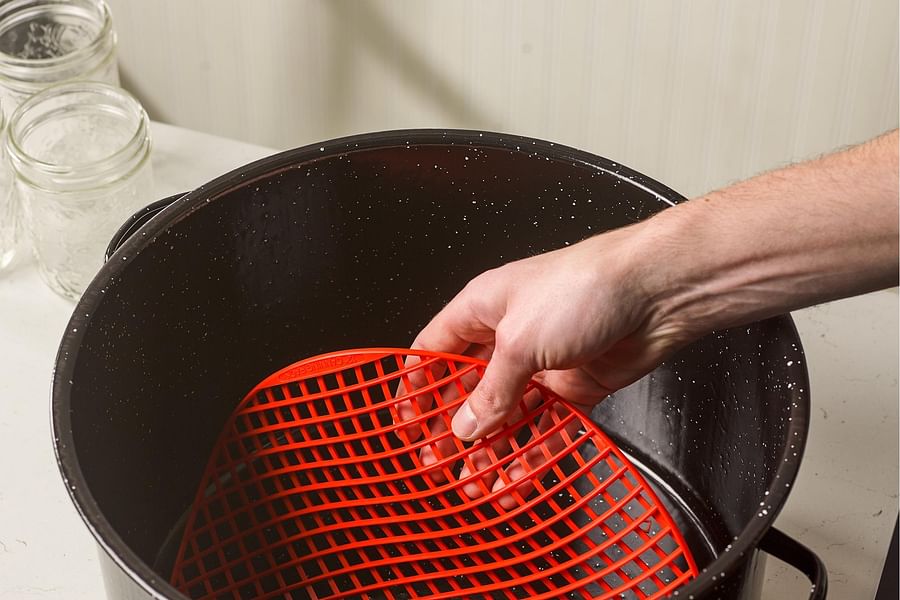
- Canning Rack - Keeps jars off the bottom of the canner; allows water or steam circulation.
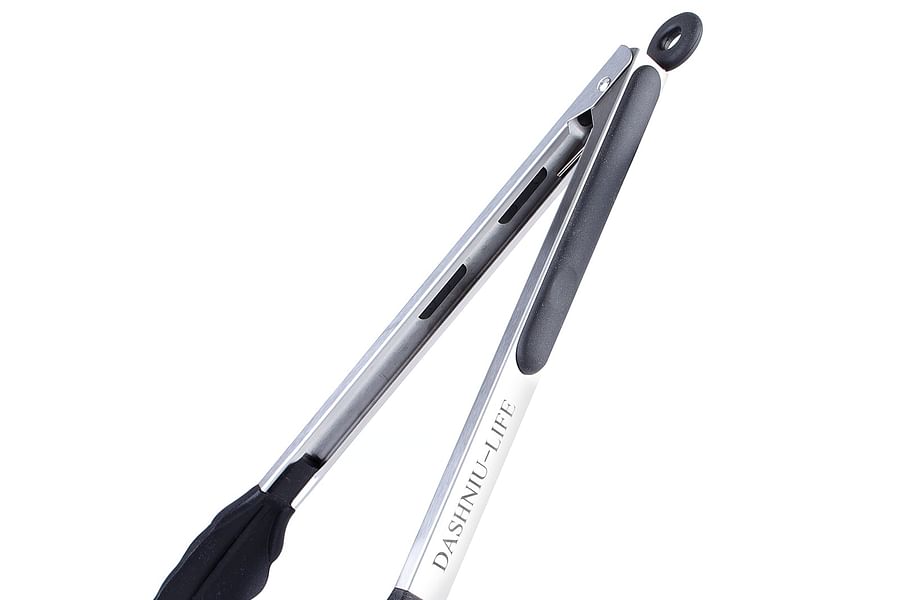
- Kitchen Tongs - Assists in handling sterilized items and hot ingredients.
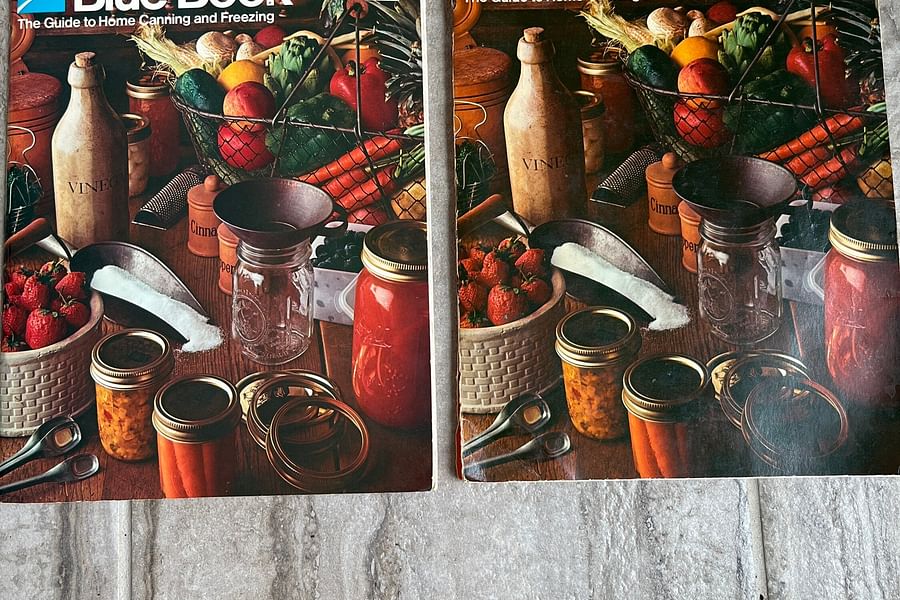
- Canning Cookbook or Guide - Provides recipes and instructions for safe canning.
Understanding how each component functions is crucial. The canning pot, preferably with an encapsulated base for even heating, should be large enough to accommodate multiple jars while allowing for proper water circulation. The rack keeps jars off the bottom of the pot to prevent breakage and allows for better water flow. Jars, which come in various sizes from half-pints to quarts, should be chosen based on what you plan to preserve; small jars are ideal for jams and jellies while larger ones suit pickles or whole fruits.
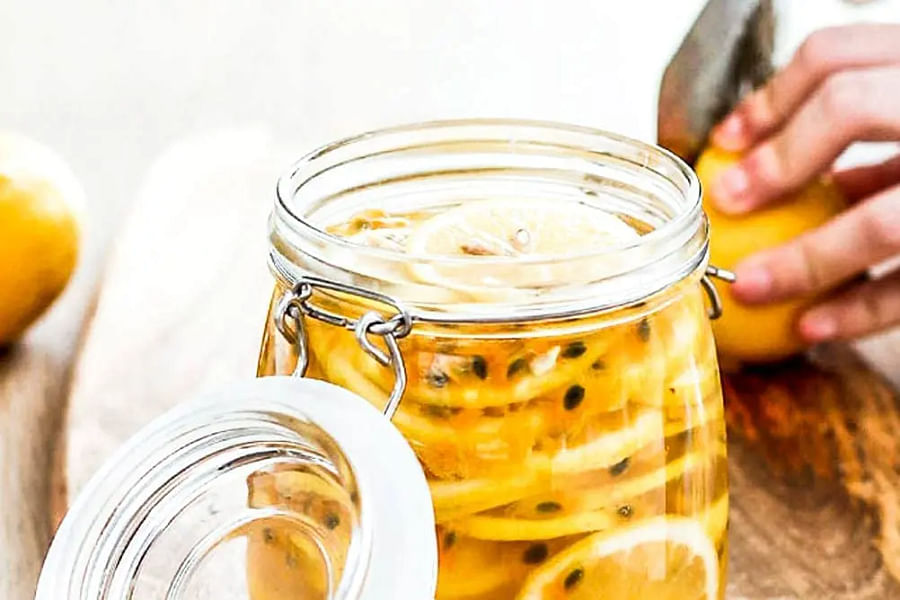
Selecting Quality Jars and Lids
Jars are reusable if they remain chip-free but lids are another story. It's vital to understand when it's safe to reuse lids or when new ones are necessary for ensuring a proper seal. With our focus on superb canning lids, we advocate for quality over quantity – always check for defects before use.
When browsing options like those found in our guide at Walmart's best canning jars, consider both durability and practicality. The same goes for lids; while some may opt for traditional two-part lids consisting of a flat lid and screw band, others might prefer single-piece reusable lids that offer longevity but may require different processing techniques.
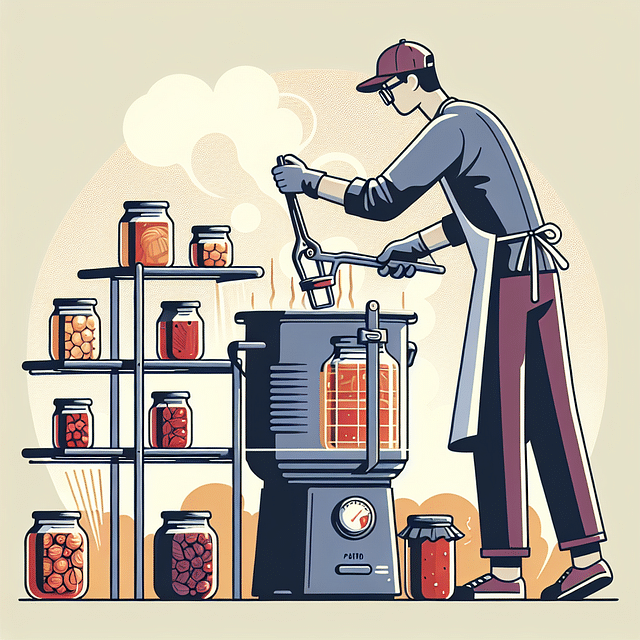
Understanding Your Canning Method: Water Bath vs. Pressure Canning
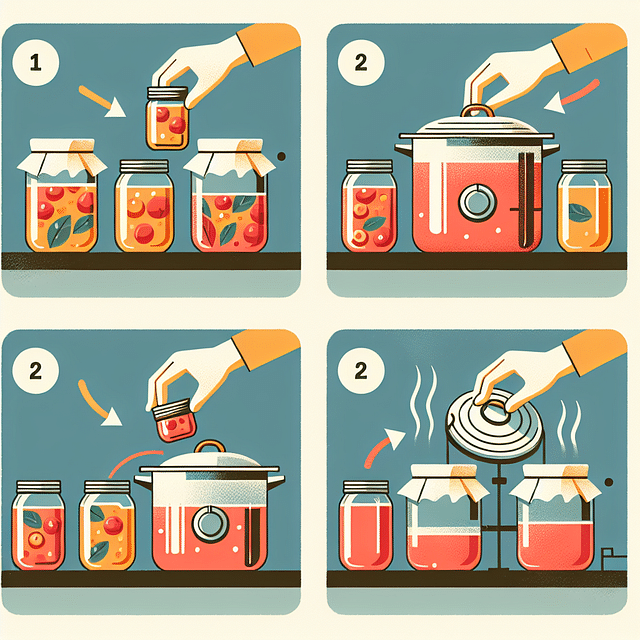
The type of food you plan to preserve will dictate whether you need a simple water bath kit or if you'll require the additional capabilities of pressure canning equipment. Water bath canning is suitable for high-acid foods such as fruits, pickles, jams, jellies, and tomatoes with added acid. Pressure canning is essential for low-acid foods including meats, poultry, seafoods, and most vegetables due to their susceptibility to botulism when not processed at higher temperatures.
Water Bath vs. Pressure Canning: A Comparative Overview
If you're new to this world or looking to refine your skills further, our step-by-step guides such as Mastering Your Canning Kit or Mastering Low-Acid Canning provide detailed instructions that demystify these processes.
In addition to understanding the method behind your madness – so to speak – it's also important to consider your volume needs. Are you preserving small batches from your garden or do you have bushels of produce needing processing? This will influence not only the size of your equipment but perhaps even necessitate owning both types of canners.
Stay tuned as we delve deeper into choosing the best canning machine tailored specifically for your needs in our next section...
[quiz: choosing-the-best-canning-machine-take-the-quiz]Once you've selected the canning kit that best fits your needs, it's time to master the nuances of its use. A well-chosen canning kit is a gateway to preserving a variety of foods, but knowing how to utilize each component effectively is key to ensuring both the safety and quality of your home-canned goods.
Getting Started with Your Canning Kit
Before diving into your first canning session, familiarize yourself with the basic principles of canning. This includes understanding the differences between water bath canning and pressure canning. Water bath canning is suitable for high-acid foods like fruits, tomatoes, and pickles. In contrast, pressure canning is necessary for low-acid foods like most vegetables and meats. For a detailed walkthrough on using your kit, consider our step-by-step guide.
Advanced Canning Techniques
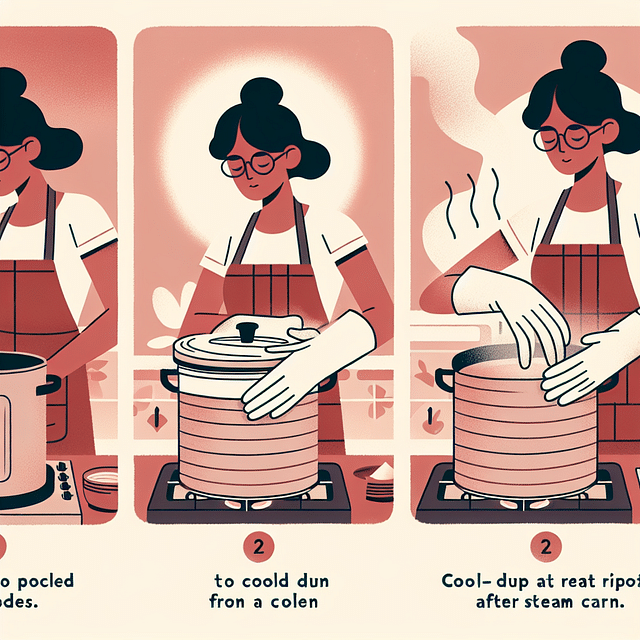
Once you're comfortable with the basics, you might want to explore more advanced techniques such as steam canning, which uses less water and energy than traditional methods. Steam canners are particularly useful for those living in areas with water restrictions or for those who wish to conserve resources. Our quart jar canning guide provides insights into this efficient method.
Mastering Advanced Steam Canning Techniques

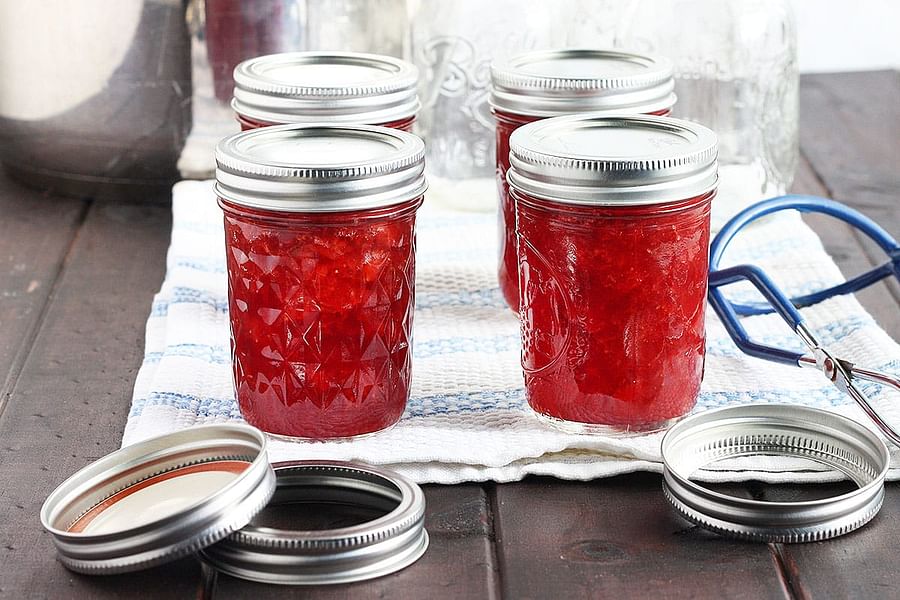
Canning is not just about preserving food; it's also an art that allows for creativity. Experimenting with different recipes and flavors can transform your home-preserved goods into gourmet delights. Our collection of canning recipes, from sweet jams to savory sauces, will inspire you to push your culinary boundaries.
Gourmet Strawberry Balsamic Jam
You will need:
 Fresh strawberries
 Granulated sugar
 Balsamic vinegar
 Lemon juice
 Fruit pectin
 Butter
 Canning jars
Instructions
- Start by washing and hulling the strawberries.
- Crush the strawberries to your desired consistency.
- Combine strawberries, lemon juice, and pectin in a large saucepan.
- Bring the mixture to a rolling boil over high heat.
- Add the sugar and balsamic vinegar, then return to a rolling boil.
- Stir in a small pat of butter to reduce foaming.
- Boil for 1 minute, stirring constantly.
- Remove from heat and skim off any foam.
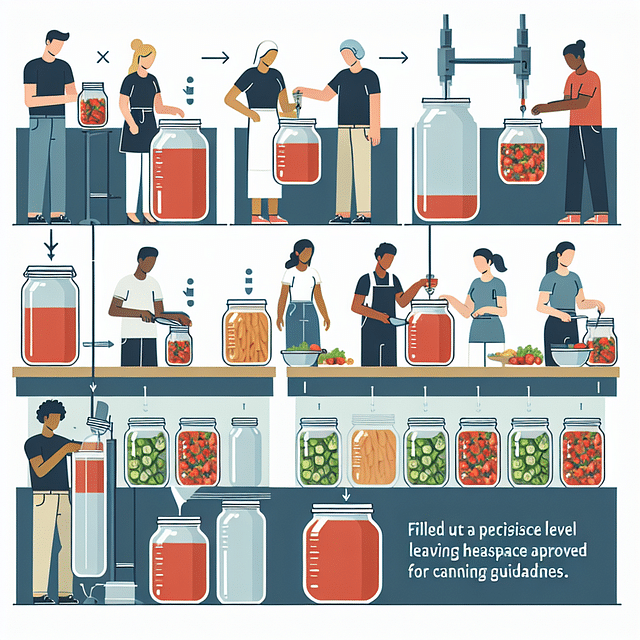
- Ladle the jam into sterilized canning jars, leaving 1/4 inch headspace.
- Process the jars in a boiling water canner for 10 minutes.
Notes
For best results, use fully ripe, but not overripe, strawberries. The quality of the fruit will greatly affect the flavor of your jam. Also, be sure to use a large enough pot to prevent boiling over when the jam reaches a full rolling boil. Lastly, the processing time may vary based on altitude; check your local guidelines if necessary.
Maintaining Your Canning Equipment
Maintenance is crucial for longevity and safety when it comes to your canning equipment. Always inspect your jars for nicks or cracks before use and replace any that are damaged. When it comes to lids, there's often debate about reusing them. While some home-canners reuse lids with success, manufacturers typically recommend against it due to safety concerns—the sealing compound may not perform as well after the first use.
For more information on lid safety and best practices, delve into our ultimate guide on superb canning lids.
Canning Kit Care
- Inspect Seals & Gaskets - Regularly check for wear and replace to prevent leaks.
- Clean After Use - Thoroughly wash all components to remove food residue and prevent mold.
- Dry Completely - Ensure all parts are dry before storing to avoid rust and corrosion.
- Store Properly - Keep equipment in a cool, dry place away from direct sunlight.
- Check for Rust - Examine metal parts for rust and treat or replace if necessary.
- Sharpen Cutting Blades - Keep blades sharp for efficient and safe operation.
- Lubricate Moving Parts - Apply food-grade lubricant to gears and hinges for smooth use.
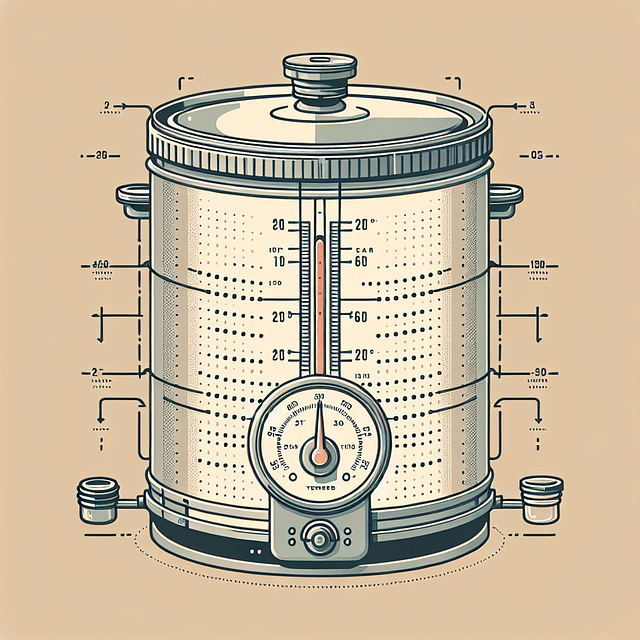
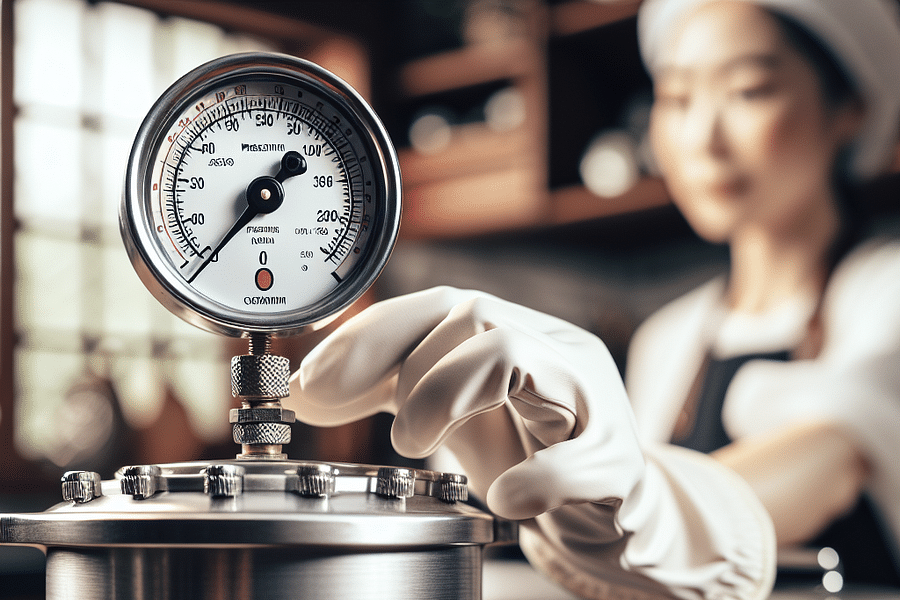
- Test Pressure Canners - Annually check gauges and weights to ensure accuracy during processing.
- Replace Aging Equipment - Upgrade old or worn-out tools to maintain quality and safety standards.
Maintaining cleanliness is also paramount; ensure all components are sterilized before each use to prevent contamination. Don't forget that regular checks on your pressure canner's gasket and vent pipes are necessary—consult the manufacturer’s guidelines or our comprehensive FAQ section at Just Canning for assistance.
Incorporating these practices will help extend the life of your kit and guarantee the quality of your canned goods.
To round off your expertise in home preservation, consider exploring our various guides such as mastering low-acid foods in our low-acid food guide, or choosing the perfect set of quart jars through our buyer's guide at Walmart (Exploring the Best Canning Jars at Walmart: A Buyer’s Guide). Additionally, if you're looking at upgrading or adding a new machine to your arsenal, take our quiz (Choosing The Right Canning Machine: Factors To Consider And Costs) tailored specifically to help you make an informed decision.
Canning is more than just a method of food preservation—it's a lifestyle choice that promotes self-sufficiency and sustainability. By choosing the right kit and mastering its use through practice and continual learning, you'll be well on your way to creating delicious preserves that will serve you throughout the year. Remember, every jar sealed is a step closer towards perfecting this timeless tradition!


No comments yet. Be the first to share your thoughts!