

Butter has a way of making everything better, doesn't it? From the golden pools atop a stack of pancakes to the secret behind that rich, flaky pie crust, it's a staple in the kitchen. But what about preserving this dairy delight? Canning butter is a topic swirled with controversy and folklore in the home preservation world. Today, we're going to churn through the myths and spread the truth about canning butter safely. So grab your jars and let's get to it!
The Myths Surrounding Canned Butter
Before we dive into the nitty-gritty of canning butter, let's address some of the tall tales that have been spread thicker than... well, butter. You might have heard that canning butter is unsafe or impossible due to its high fat content and low acidity. While it's true that these factors require special consideration, reliable methods do exist for preserving butter for long-term storage. It's crucial to approach this process with care and knowledge—something we're passionate about here at Just Canning.
Understanding The Risks
Canning any food product comes with its risks if not done properly. With butter, those risks are amplified due to its composition. Butter is prone to rancidity and separation when not stored correctly. Moreover, improper canning methods could lead to botulism—a serious foodborne illness caused by bacteria thriving in low-acid, anaerobic environments. That's why it's essential to stay informed about common canning mistakes and how to avoid them.
Canning Butter Safely: Test Your Knowledge
Canning butter at home can be a controversial topic, with various methods circulating online. It's important to know the facts and follow safe canning practices. Take this quiz to see if you can separate the myths from the reliable methods of canning butter.
The Right Way To Can Butter
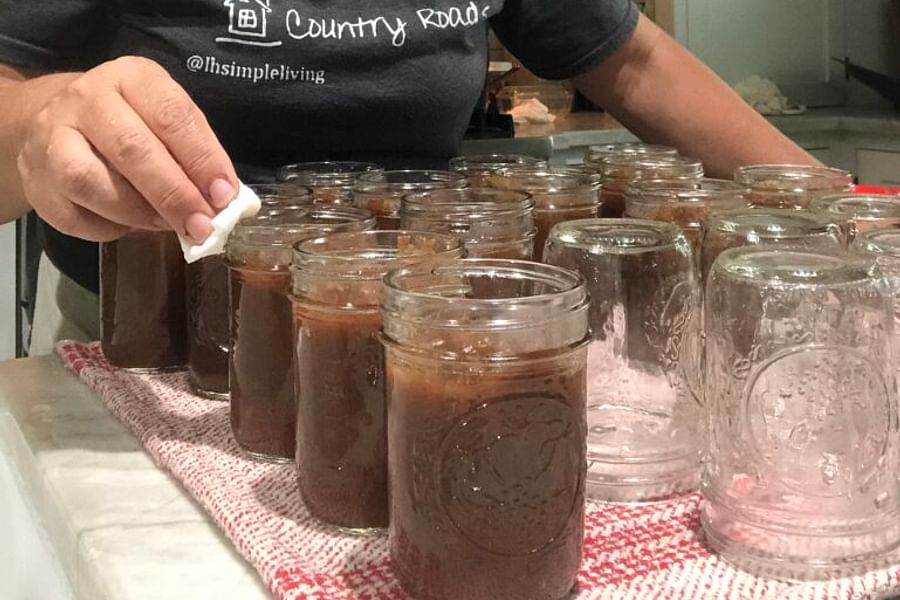
Now let's get into the heart of our creamy conundrum—how do you actually can butter safely? The key lies in heat processing and eliminating potential contaminants. One reliable method involves slowly melting the butter and skimming off impurities before carefully pouring it into pre-sterilized jars. Ensuring that you've followed proper sterilization techniques is vital; learn more with our guide on sterilizing canning jars.
Remember: When in doubt, always prioritize safety over shelf-life.
Some adventurous canners have turned to their trusty Instant Pots for canning, but when it comes to butter, traditional methods are your best bet for ensuring safety.
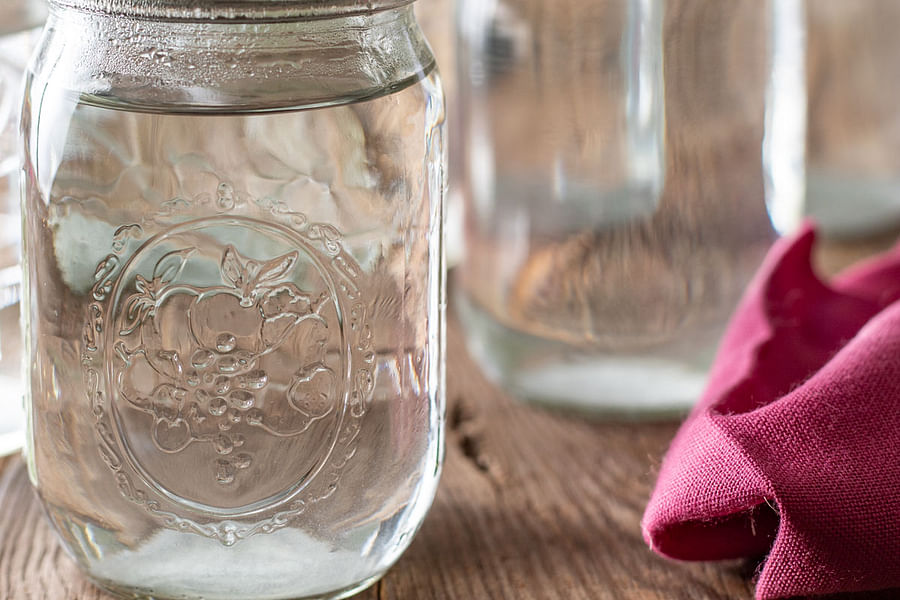
Sterilizing Jars Like a Pro: A Step-by-Step Guide
After filling your jars with liquid gold (aka melted butter), they need to be processed correctly using a water bath or pressure canner method—depending on your altitude and equipment. This step cannot be skipped or improvised as precise temperatures are necessary for safety.
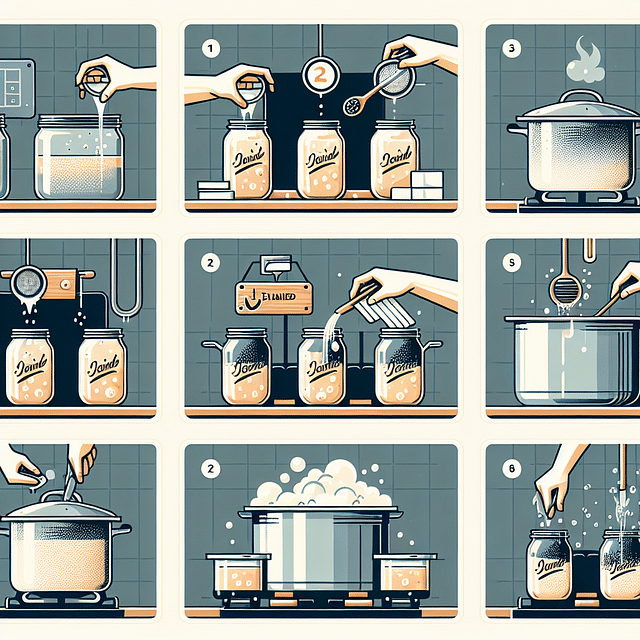
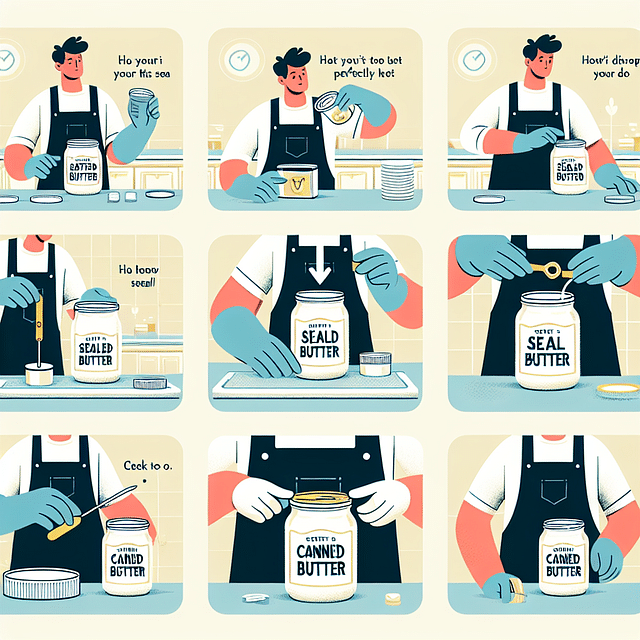
Canning Butter Steps
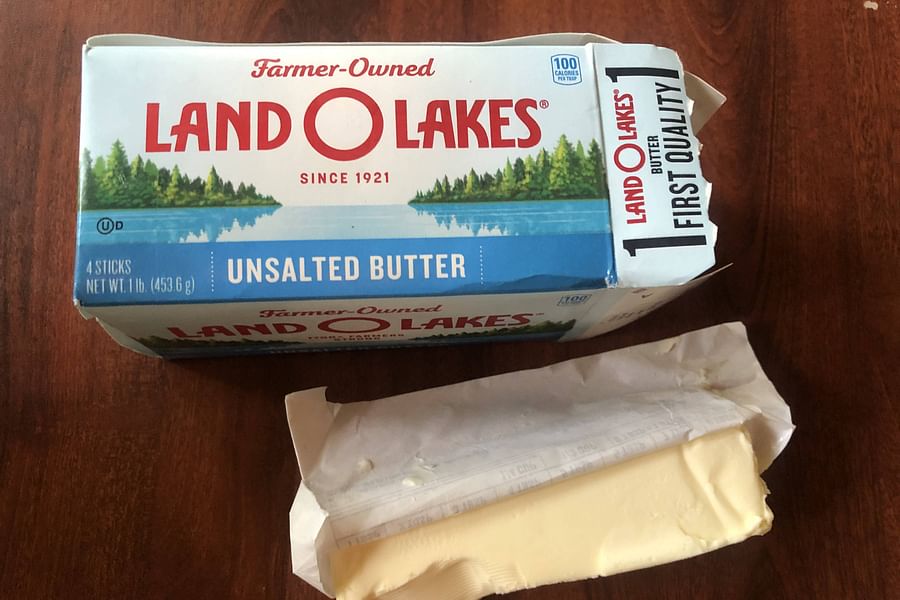
- Start with Quality Butter - Choose high-grade, unsalted butter for the best preservation.
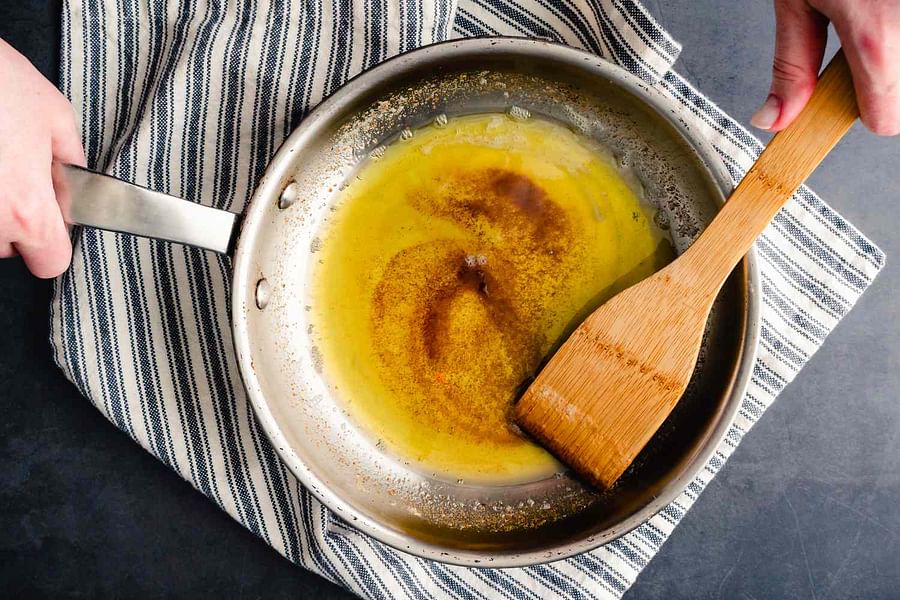
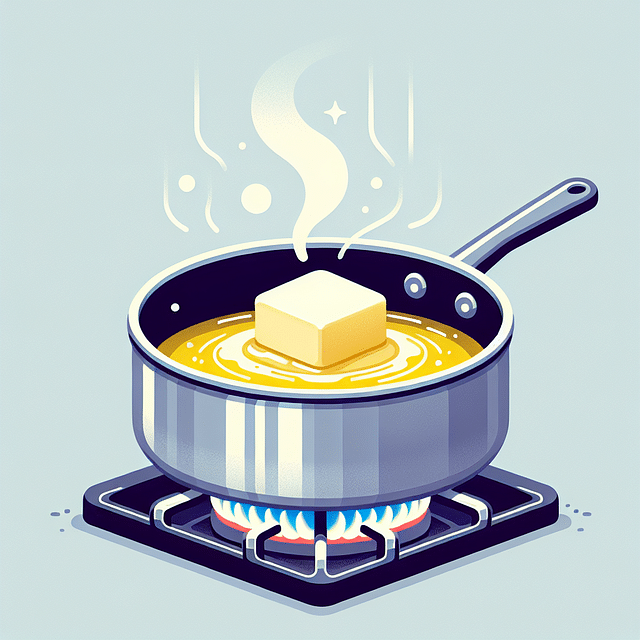
- Melt the Butter - Gently melt the butter in a saucepan over low heat to prevent burning.
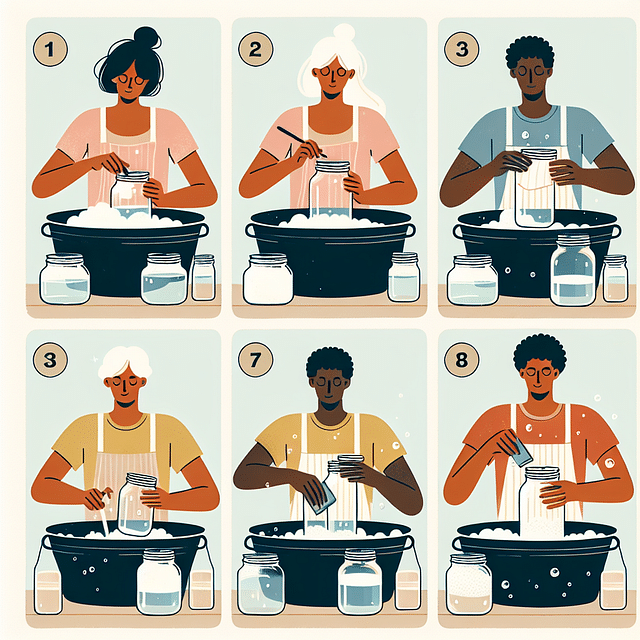
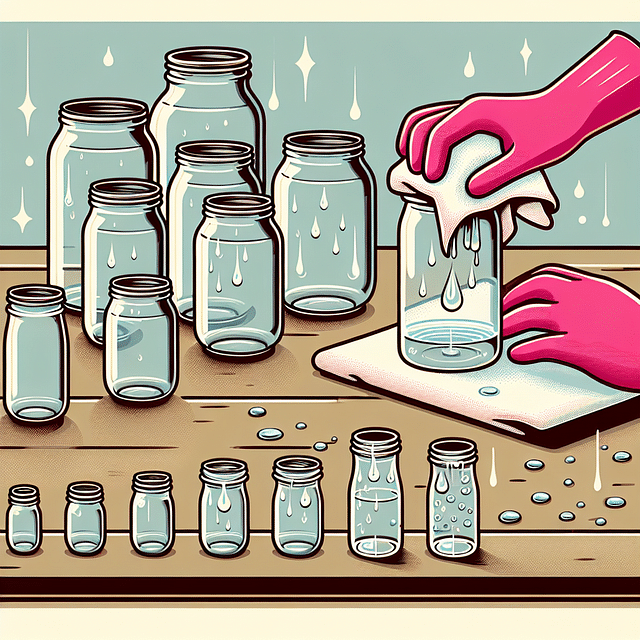
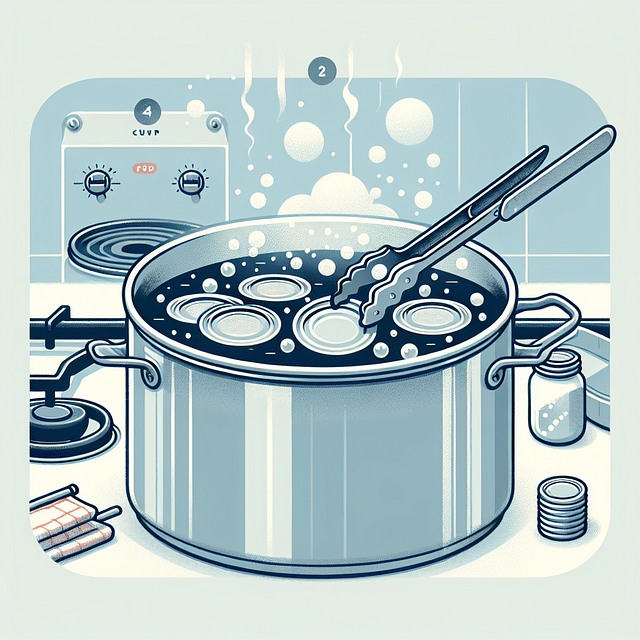
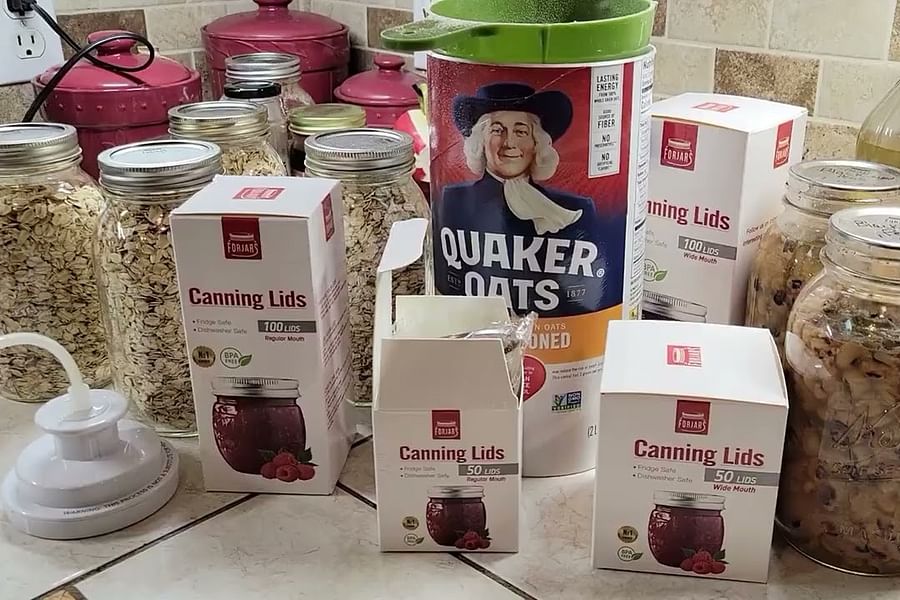
- Sterilize Jars - Thoroughly clean and then boil jars and lids to sterilize before use.
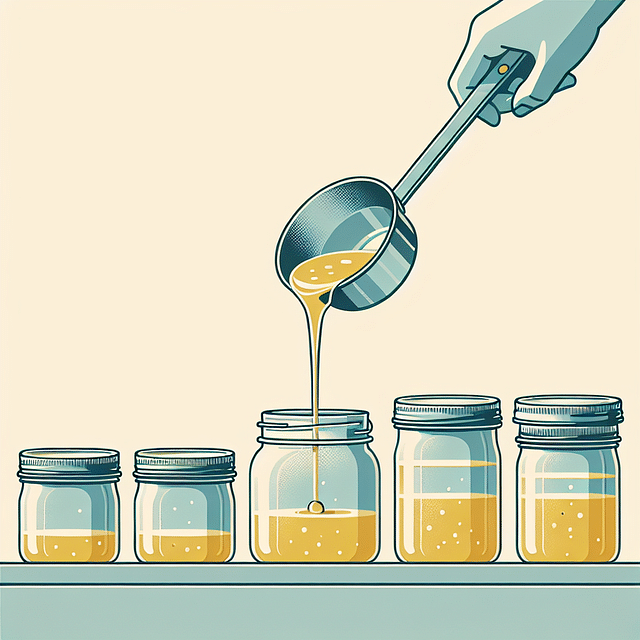
- Fill Jars with Butter - Carefully pour the melted butter into the sterilized jars, leaving headspace.
- Remove Air Bubbles - Run a clean spatula around the inside of the jar to release any trapped air bubbles.
- Seal the Jars - Wipe the rims clean and place the lids on the jars, then screw on the bands until fingertip tight.
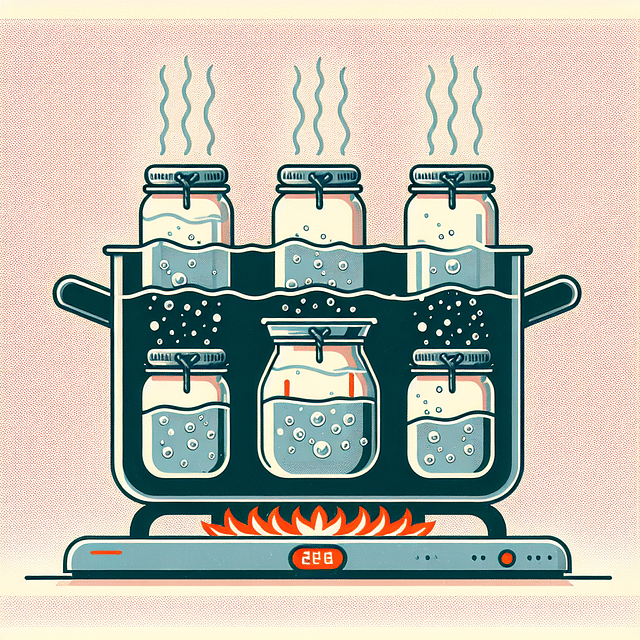
- Process in a Water Bath - Place the jars in a canner and cover them with water, then bring to a boil for the recommended time.
- Cool Down - Once processed, turn off the heat and let the jars sit in the water to cool gradually.
- Check Seals - After cooling, check that the lids have sealed by pressing the center of each lid. It should not pop back.
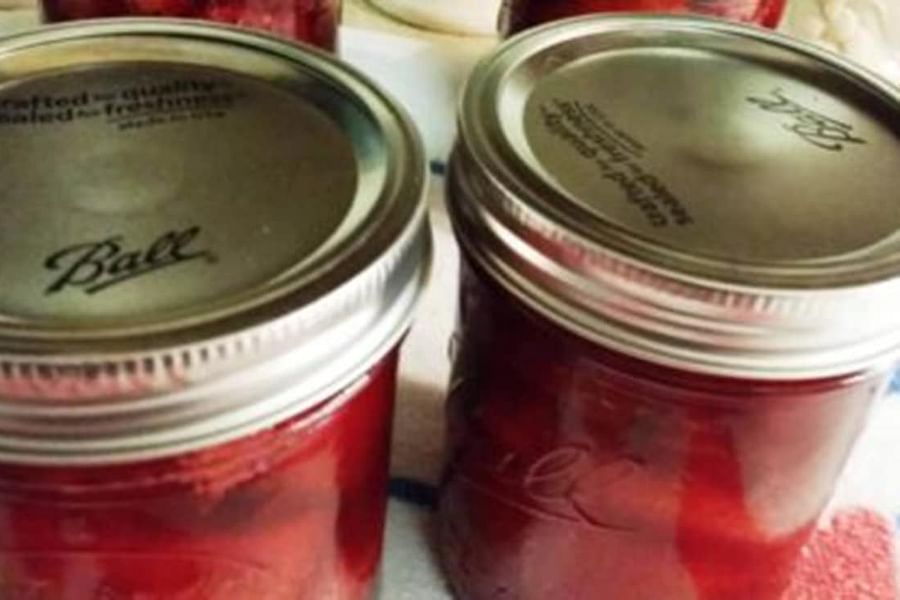
- Store Properly - Label your jars with the date and store them in a cool, dark place until ready to use.
In addition to heat processing, there are other tips and tricks you might find helpful when embarking on your butter canning journey. For example, did you know shaking your jars while they cool helps maintain an even consistency? Or that some folks add salt not just for flavor but also as a preservative boost? There’s much more than meets the eye when it comes to this creamy craft.
We've covered quite a bit so far but hang tight—there's more creamy knowledge coming your way! Stay tuned as we continue our journey through safe practices for canning this kitchen staple. In the meantime, why not test your current knowledge with our quiz on milk product preservation practices? After all, who doesn't love a little challenge with their churning?
Understanding the Risks of Canning Butter
Before we dive into the safe methods of canning butter, it's important to understand the risks involved. Butter is a low-acid food and, as such, is prone to bacteria growth, especially botulism, if not canned correctly. This is why many experts advise against home canning of butter. However, with the right precautions and techniques, you can minimize these risks. Be sure to familiarize yourself with common canning mistakes to ensure your butter remains safe and delicious.
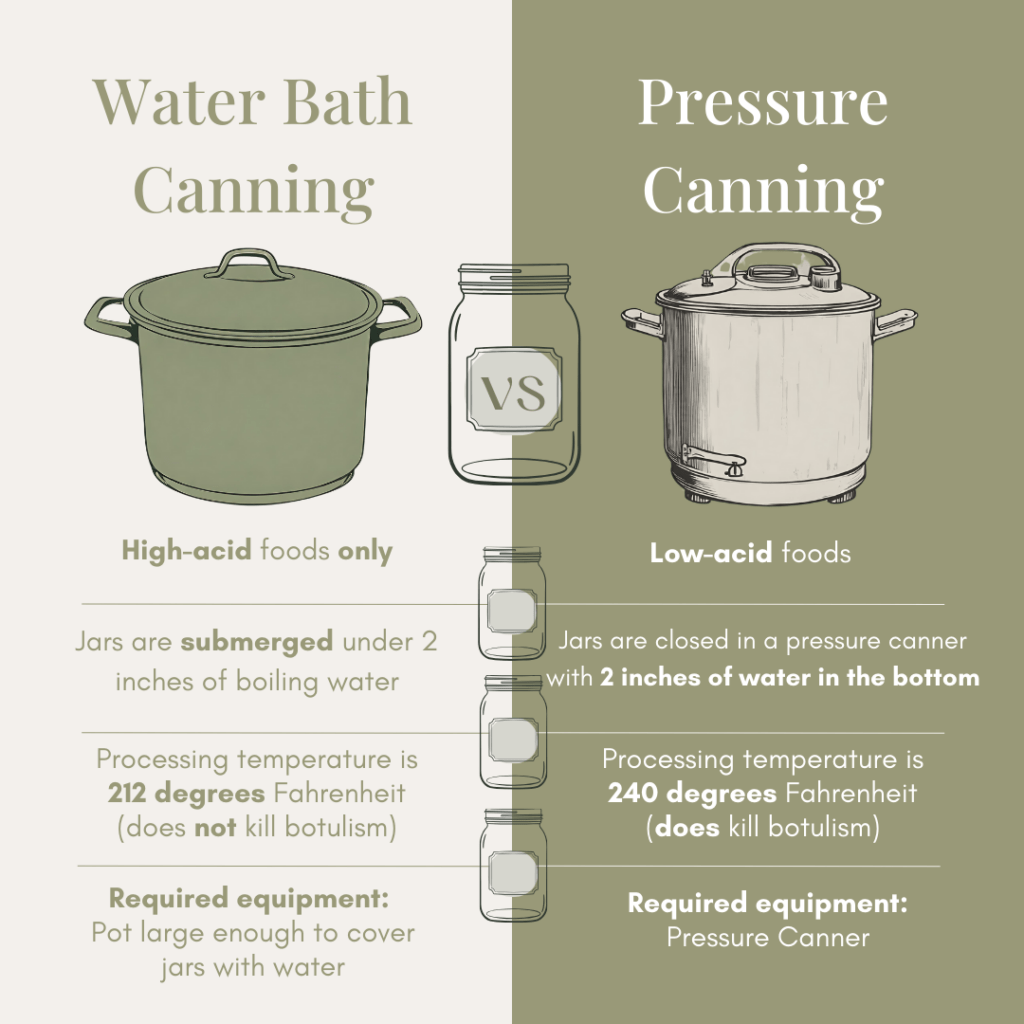
Pressure Canning: The Safe Way to Can Butter
If you're set on preserving butter, pressure canning is your safest bet. This method involves using a specialized pressure canner to achieve temperatures high enough to kill off any potential bacteria. Remember that this differs from a water bath canner which does not reach the necessary temperatures for low-acid foods like butter. To get started with pressure canning, check out our step-by-step guide on mastering low-acid canning.
Pressure Canning Butter: A Step-by-Step Guide to Liquid Gold


Note: Always use up-to-date recipes from reliable sources when pressure canning butter. Botulism spores are incredibly resistant and require temperatures of 240°F or higher to be destroyed, which is only achievable through pressure canning.
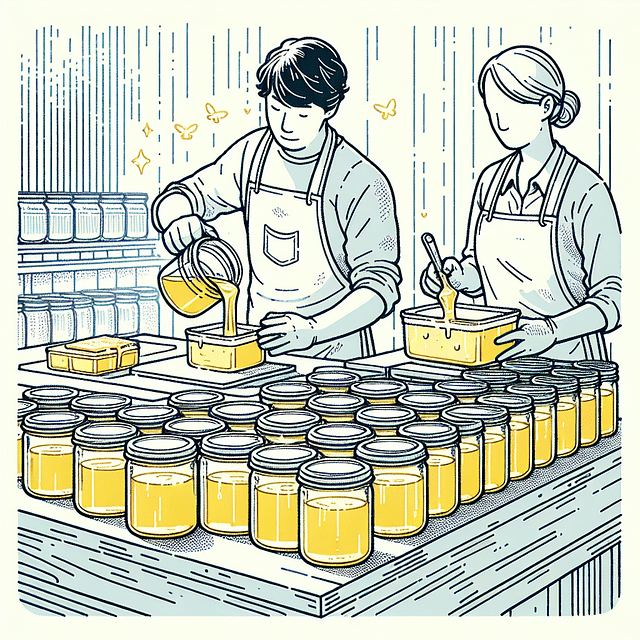
Creative Uses for Your Home-Canned Butter
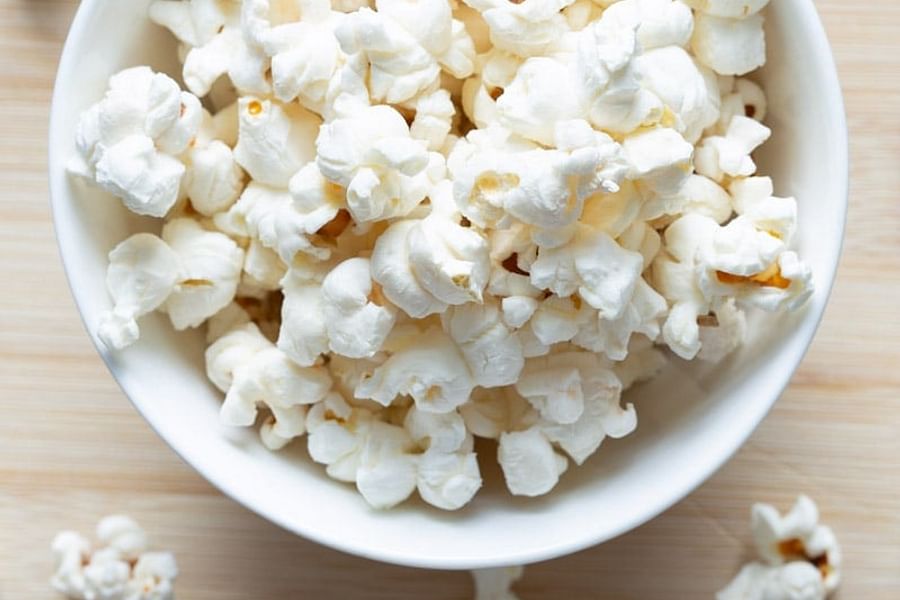
Once you've successfully canned your butter, the possibilities are endless! Spread it on fresh bread, use it in your baking recipes or melt it for a decadent drizzle over popcorn. Not only does home-canned butter offer convenience but also a sense of accomplishment knowing you've created something both delicious and practical from scratch.
Butter Up Your Cooking
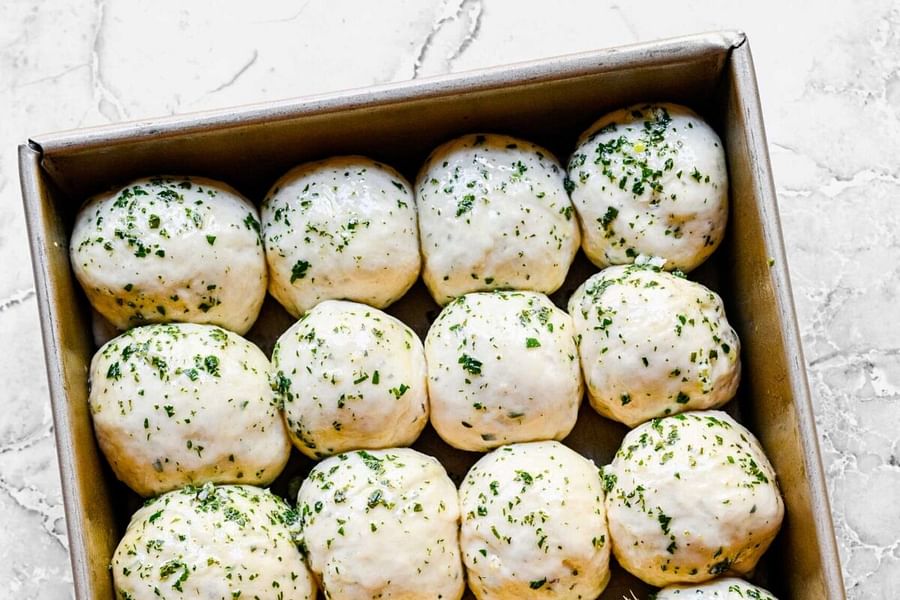
- Buttery Herb Rolls - Elevate your homemade rolls with a swirl of home-canned butter mixed with fresh herbs.
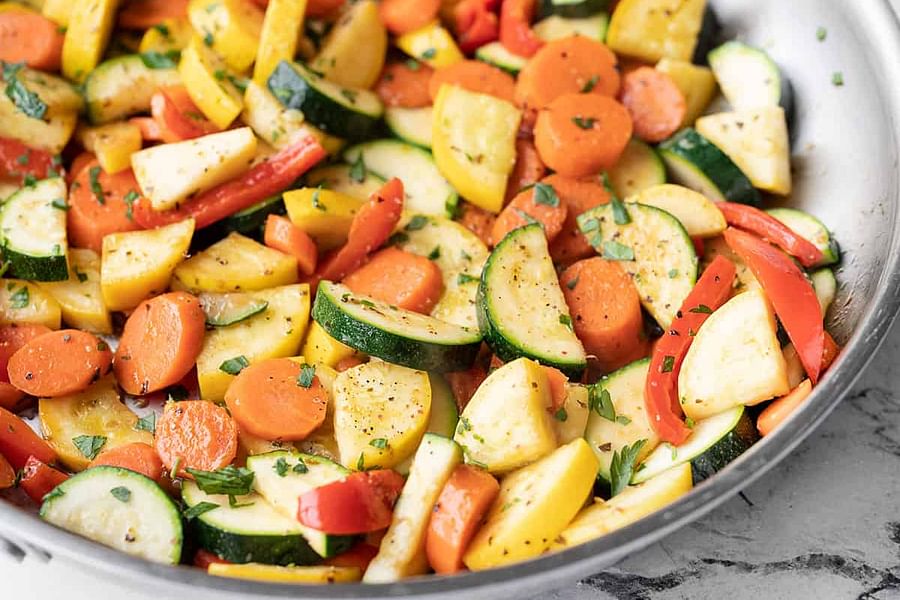
- Sautéed Butter Veggies - Toss your favorite vegetables in a pan with a dollop of canned butter for a rich, flavorful side dish.
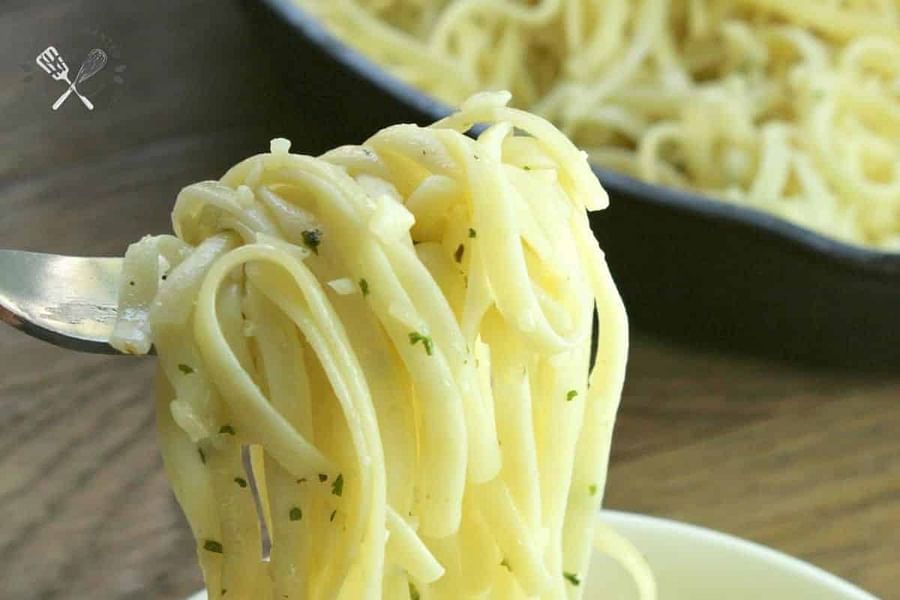
- Butter-Infused Pasta - Mix home-canned butter into warm pasta, add Parmesan, and a sprinkle of parsley for a simple yet delicious meal.
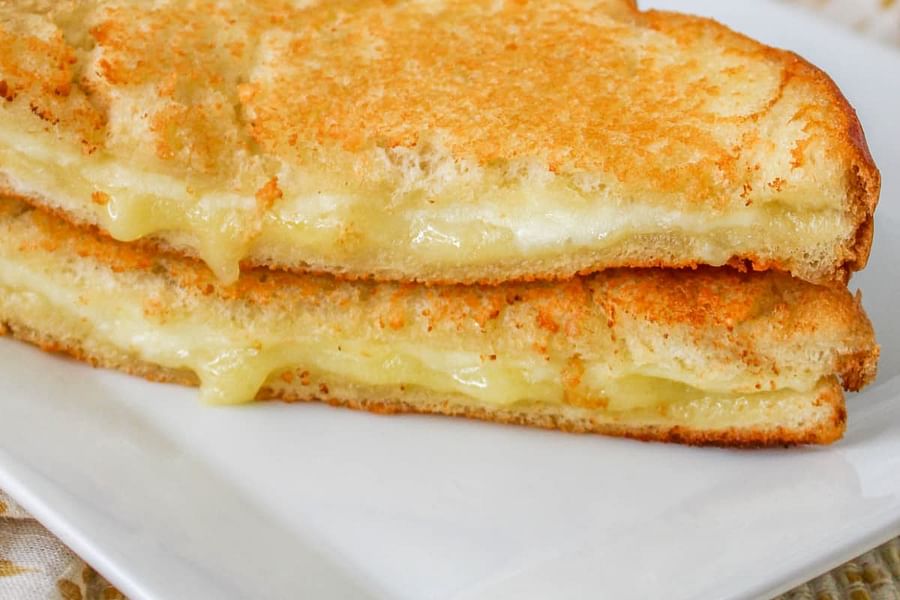
- Buttery Grilled Cheese - Spread your canned butter on the bread for a golden, crispy, and ooey-gooey grilled cheese sandwich.
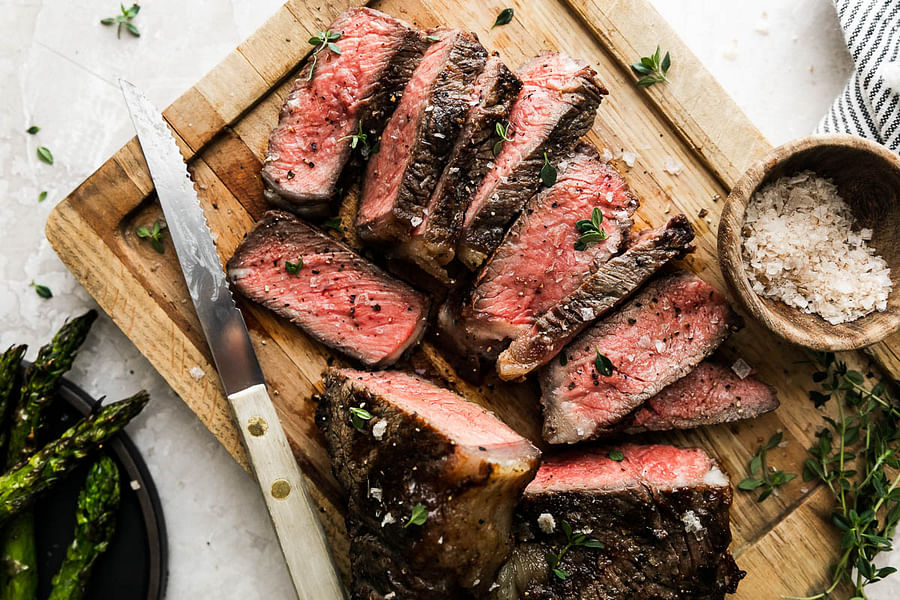
- Butter Basted Steaks - Baste your steaks with canned butter as they cook to add a new level of richness to your meat.
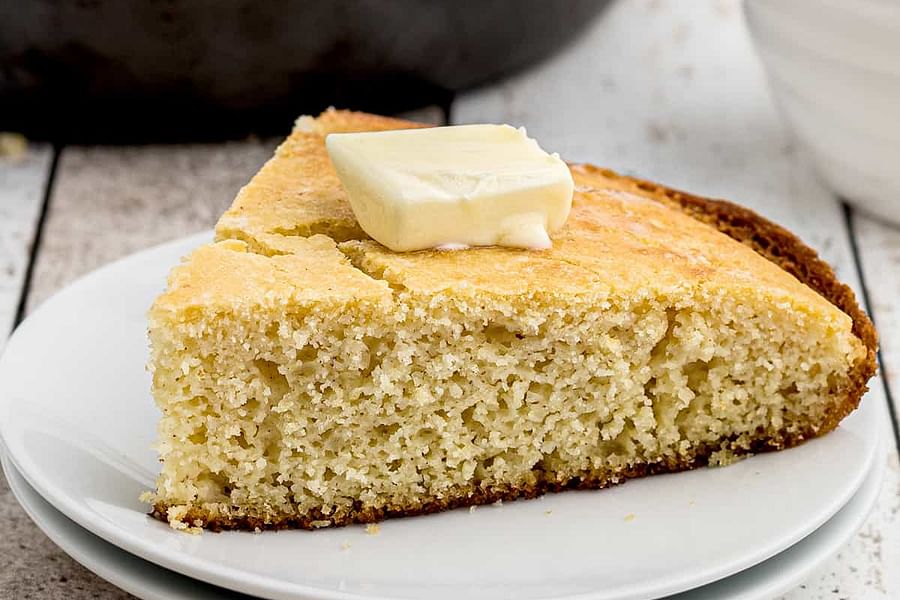
- Sweet Buttered Cornbread - Use your canned butter in the batter and to top off warm slices of homemade cornbread.
- Butter-Drizzled Popcorn - Melt canned butter and drizzle over freshly popped popcorn for a movie night treat.
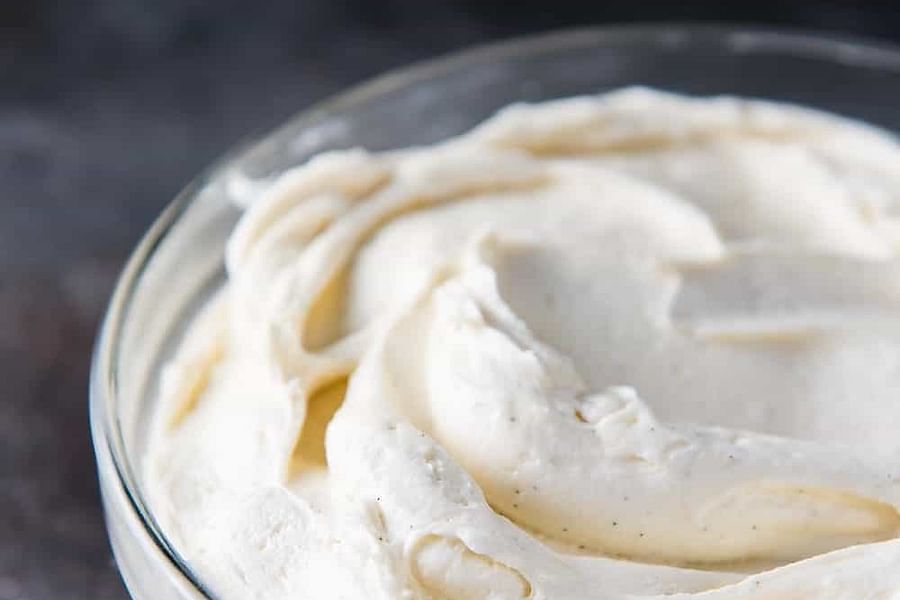
- Decadent Butter Frosting - Whip up a creamy butter frosting for cakes and cupcakes using your home-canned butter.
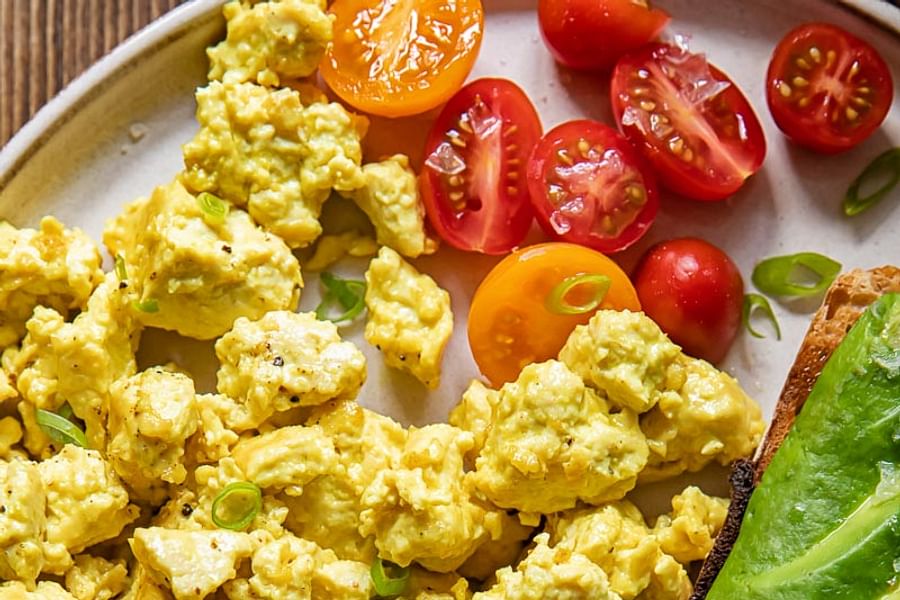
- Butter-Enriched Scrambled Eggs - Start your day with scrambled eggs made extra creamy with a spoonful of canned butter.
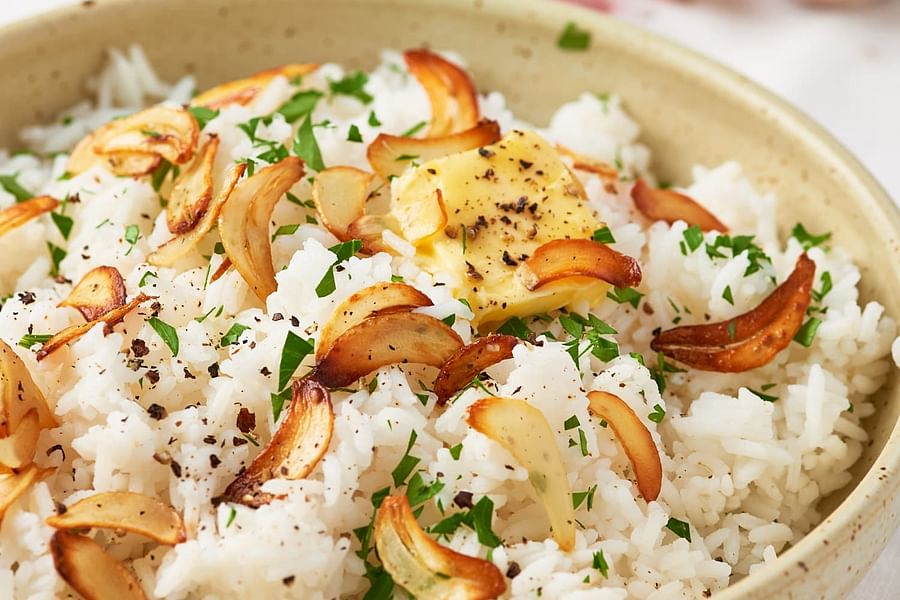
- Butter-Flavored Rice - Stir in home-canned butter into your cooked rice for a simple, yet luxurious side dish.
To keep expanding your canning repertoire beyond just dairy products like milk or butter, why not take one of our quizzes? They're fun and informative! Try your hand at our Canning Recipes and Techniques Quiz, or if you want something more specific, give our Canning Milk Safety Process Quiz a shot.
Maintaining Quality Over Time
Maintaining the quality of your canned goods is crucial for enjoying them at their best down the line. For your canned butter, this means storing jars in a cool, dark place away from direct sunlight. It's also essential to label each jar with the date of canning so you'll know when it's time to use them—ideally within one year for optimal taste and safety.
Incorporating sustainable living practices through methods like home canning is not just about being eco-friendly—it's about creating a wholesome lifestyle that brings joy and health to your table every day. As we wrap up our journey into safely canning butter, remember that every jar you seal is a step towards self-reliance and culinary creativity.
If you're looking for more ways to utilize your Instant Pot beyond traditional cooking methods, explore our piece on revolutionizing traditional canning methods with an Instant Pot. And don't forget—canning isn't just limited to fruits and vegetables; expand your skills by mastering the art of canning with quart jars.
Cheers to filling your pantry shelves with golden jars of homemade goodness!
Clarified Canned Butter
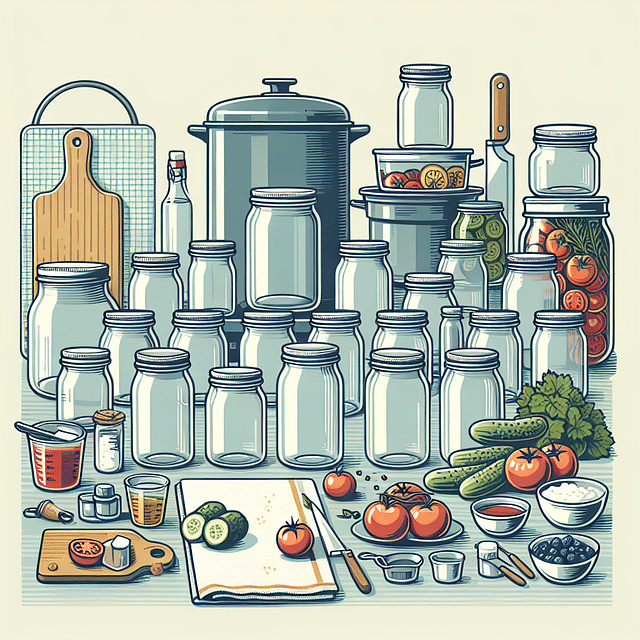
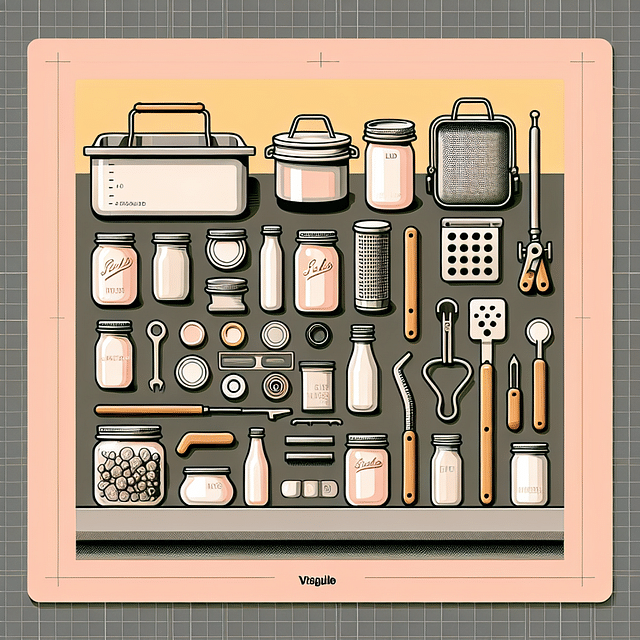
You will need:
 Unsalted butter
 Large saucepan
 Wooden spoon
 Cheesecloth
 Canning jars
 Canning funnel
 Ladle
Ladle Pot for boiling water
 Jar lifter
 Canning labels
Instructions
- Start by cutting the unsalted butter into even chunks.
- Melt the butter chunks in a large saucepan over low heat.
- Simmer gently, stirring occasionally, until the butter separates into layers.
- Remove from heat and let the butter stand for a few minutes to settle.
- Skim off the foam that has risen to the top and discard.
- Line a sieve with cheesecloth and set it over a large bowl.
- Pour the butter through the lined sieve to separate the clear liquid from the solids.
- Prepare the canning jars by sterilizing them in boiling water.
- Using a canning funnel, ladle the clarified butter into the jars, leaving appropriate headspace.
- Wipe the jar rims, apply the lids, and tighten the bands to fingertip tightness.
- Process the jars in a boiling water bath for the recommended time.
- Remove the jars with a jar lifter and let them cool undisturbed on a towel.
- Label the jars with the contents and canning date.
Notes
Clarified butter has a higher smoke point than regular butter, making it suitable for high-heat cooking. Canning clarified butter extends its shelf life and is a great way to have a ready supply of cooking fat on hand. Always follow proper canning guidelines to ensure safety.

No comments yet. Be the first to share your thoughts!