Learn more


Are you looking to master the art of freezing onions? Look no further! Just Canning is here to guide you step by step through the process. Freezing onions is a great way to preserve their freshness and flavor for future use in your favorite recipes. Whether you want to have chopped onions on hand for quick meal prep or want to stock up on onions when they are in season, freezing is the way to go.
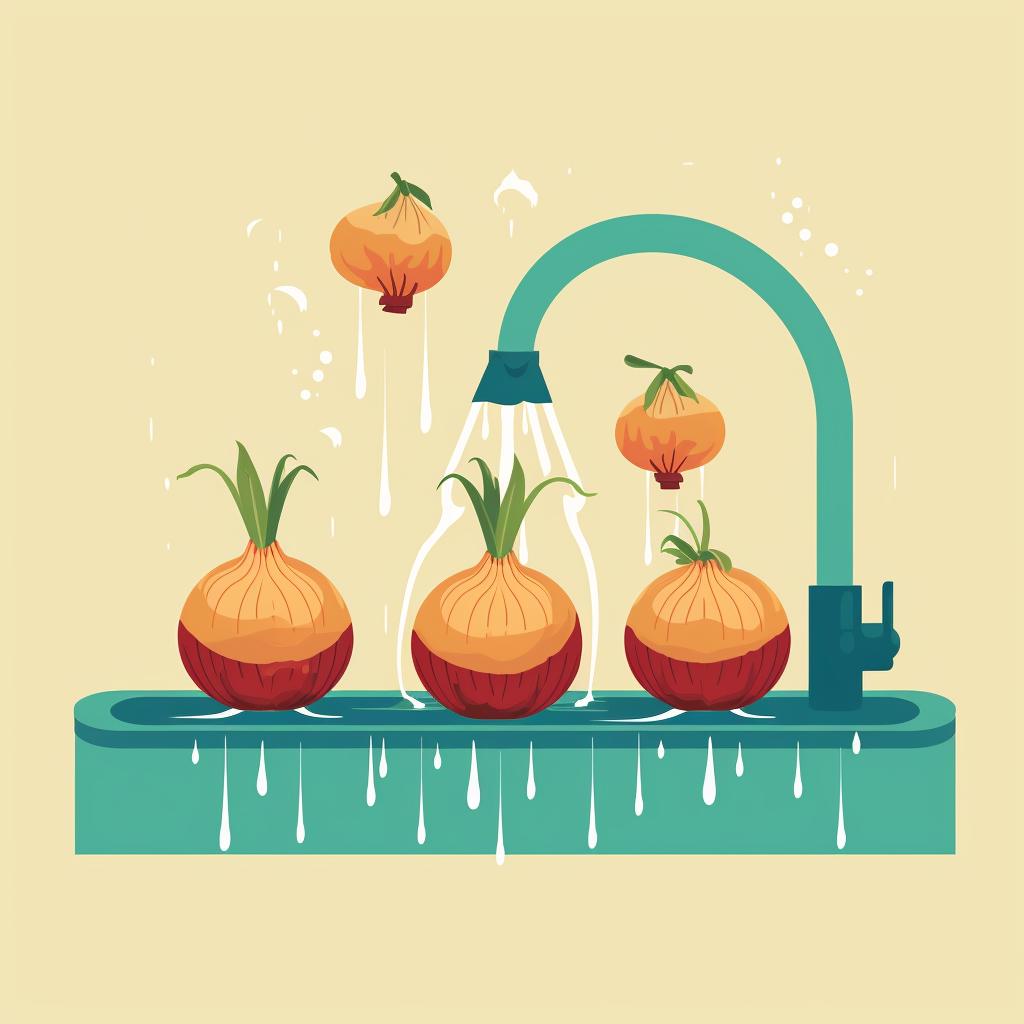
Step 1: Select and Clean the Onions
Start by choosing fresh, ripe onions with no signs of decay. Rinse them under cool running water to remove any dirt or debris. This ensures that your frozen onions will be clean and ready to use whenever you need them.
Step 2: Peel and Chop the Onions
Peel off the outer skin of the onions and chop them into your preferred size. Remember, smaller pieces will freeze faster. By chopping the onions before freezing, you'll save time and effort when it comes to using them in your recipes later on.
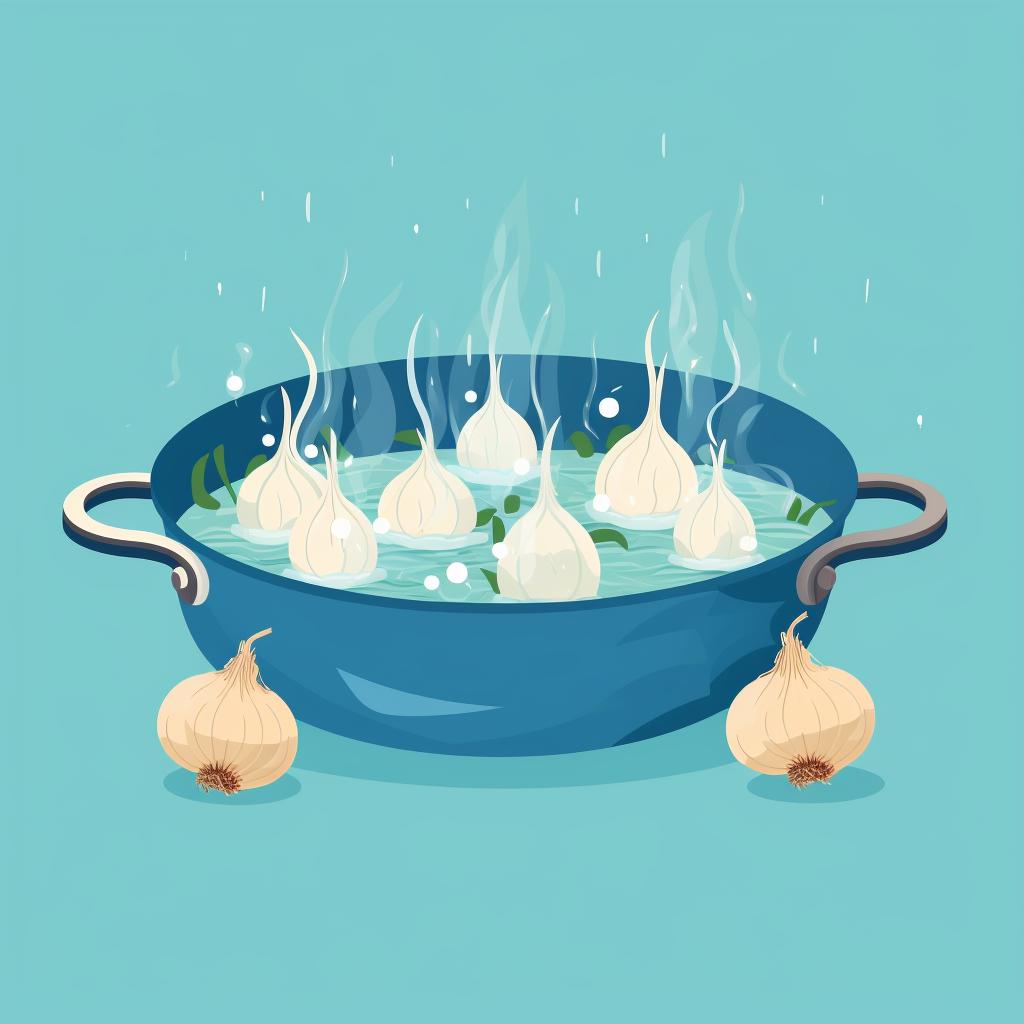
Step 3: Blanch the Onions
Blanching is an important step in the freezing process as it helps preserve the texture and flavor of the onions. Bring a pot of water to a boil and add the chopped onions. Let them blanch for about 1-2 minutes. Blanching also helps to deactivate enzymes that can cause the onions to spoil over time.
Step 4: Cool the Onions
After blanching, immediately transfer the onions into a bowl of ice water. This stops the cooking process and helps retain the onions' texture and flavor. Cooling the onions quickly also helps them maintain their vibrant color.
Step 5: Pack and Freeze the Onions
Drain the cooled onions and pack them into airtight freezer bags. Squeeze out any excess air and seal the bags. Label them with the date and place them in the freezer. Freezing the onions in individual portions will make it easier to take out only what you need for each recipe.
By following these simple steps, you can master the art of freezing onions and have a convenient stash of onions ready to use whenever you need them. Whether you're making soups, stews, stir-fries, or any other dish that calls for onions, having them readily available in the freezer will save you time and make your cooking experience more enjoyable.
At Just Canning, we are passionate about providing you with the best resources for all your canning and food preservation needs. From canning jars to canning recipes, we've got you covered. Explore our website to discover more tips and tricks for preserving the freshness of your favorite foods. Happy freezing!
All Rights Reserved © 2025