Learn more

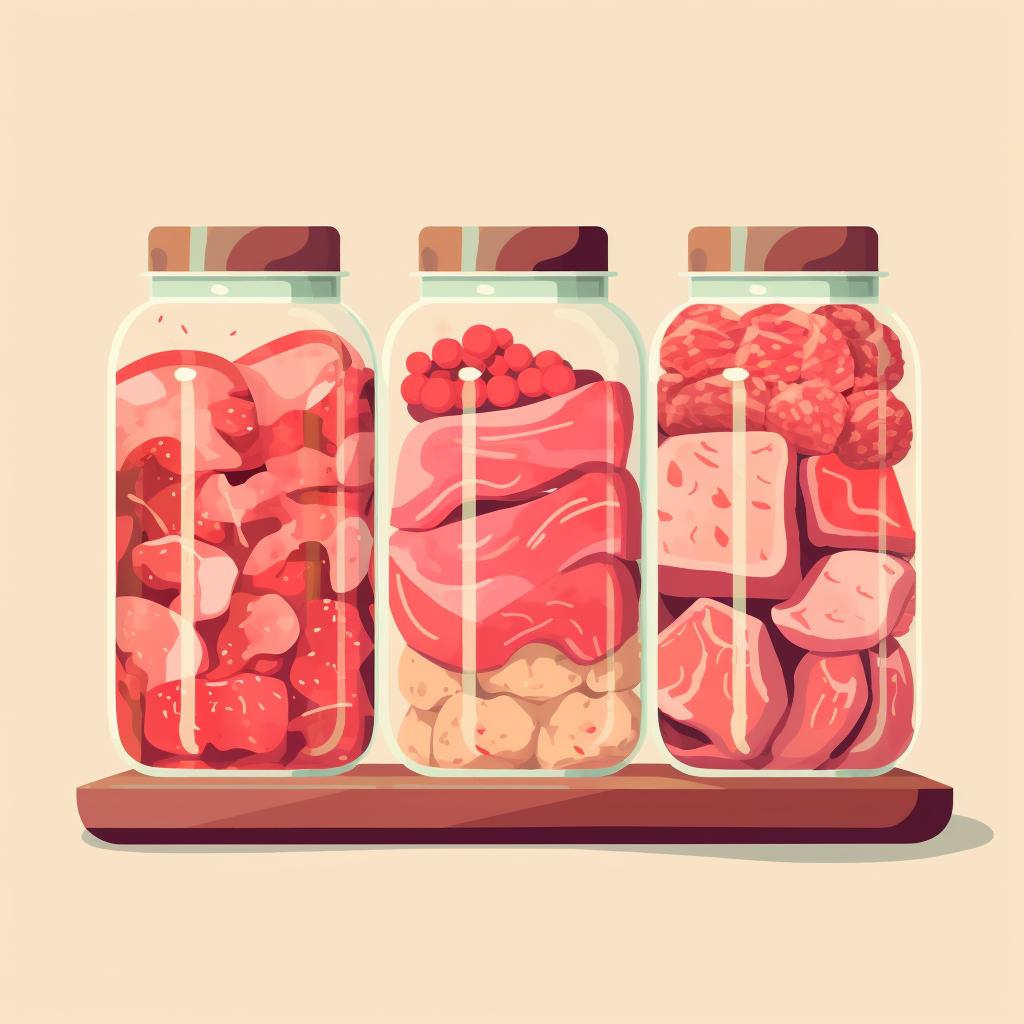


Are you ready to master the art of pressure canning meat? Look no further! Just Canning is here to guide you through the step-by-step process of preparing and preserving your meat using a pressure canner.
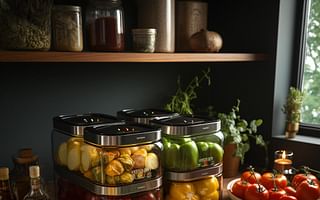
Step 1: Prepare Your Canning Equipment
Before you begin, make sure your canner, jars, and lids are clean and in good condition. It's important to ensure that your canner is large enough to accommodate the jars you plan to use. A clean and well-maintained canner is essential for successful pressure canning.
Step 2: Prep the Meat
Next, it's time to prepare your chosen meat. Cut it into suitable sizes, removing any bones if desired, and trim off excess fat. The meat pieces should fit comfortably into your jars. This step ensures that your meat is ready for canning and will be easy to use when you're ready to enjoy it.
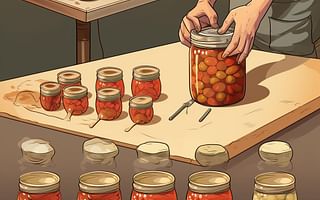
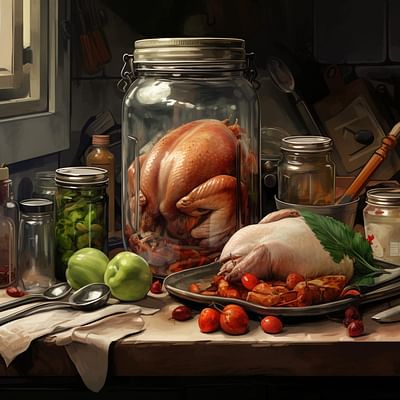
Step 3: Pack the Jars
Now it's time to pack the cut meat into your jars. Be careful not to overpack them; leave enough headspace for broth or water. This space allows the food to expand during the canning process. Properly packed jars will help ensure even heat distribution and safe preservation.
Step 4: Add Liquid
Pour boiling broth, water, or tomato juice over the meat in the jars, maintaining the necessary headspace. This liquid helps with heat penetration during the canning process. It also adds flavor and moisture to your preserved meat, making it even more delicious when you're ready to enjoy it.
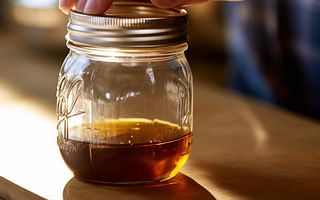
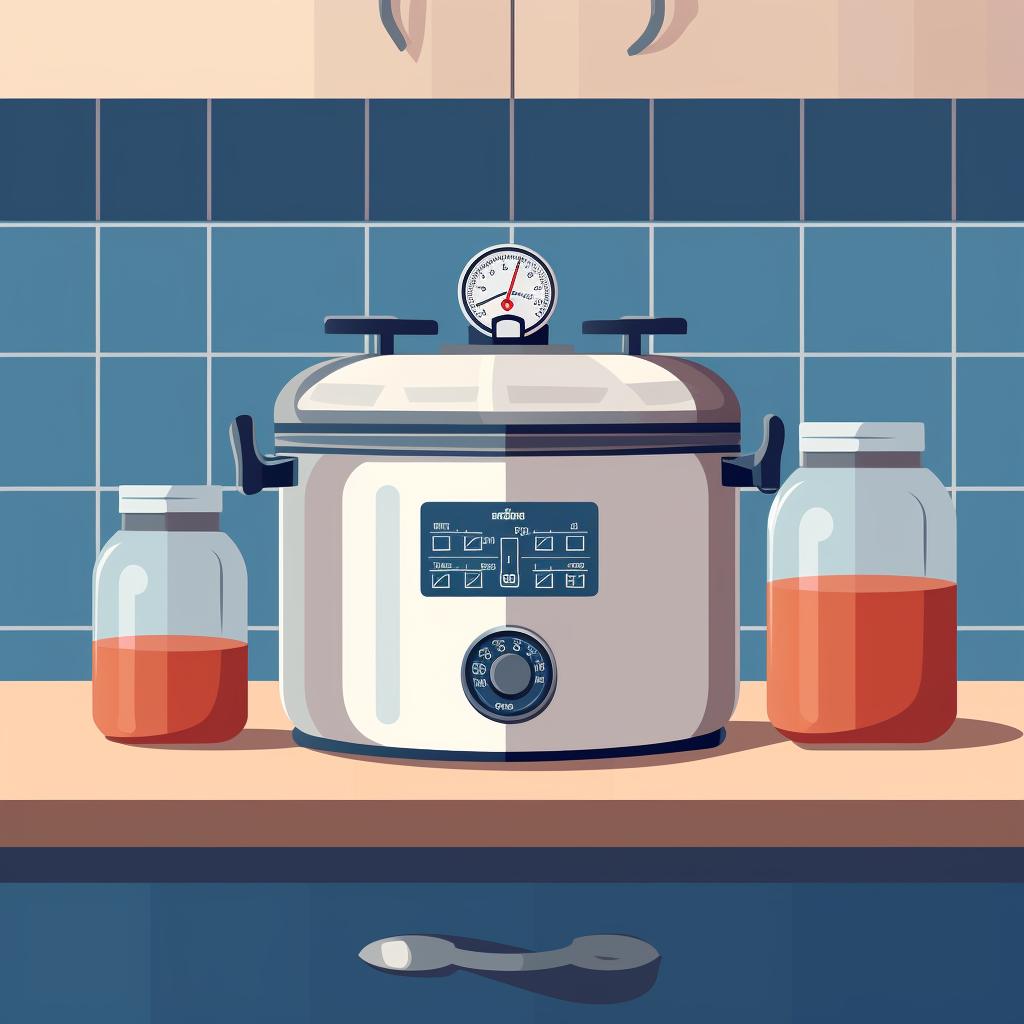
Step 5: Seal and Process
Wipe the rims of the jars clean, place the lids on, and screw on the bands until they are fingertip tight. This step ensures a proper seal and prevents any contamination during the canning process. Once your jars are sealed, place them in the pressure canner and process according to the manufacturer's instructions and your recipe's specified time. This step is crucial for safe and effective preservation.
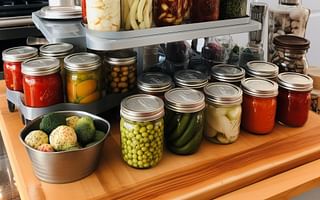
Step 6: Cool and Store
Once the processing time is up, turn off the heat and let the canner cool naturally. It's important not to rush this step, as rapid cooling can lead to jar breakage. Once the canner is cool, carefully remove the jars and let them cool completely before storing them in a cool, dark place. Proper storage will ensure that your canned meat stays fresh and safe to eat for an extended period.
Now that you've mastered the art of pressure canning meat, you can enjoy the convenience of having delicious, homemade meat on hand whenever you need it. Whether you're preparing for a camping trip or simply stocking up your pantry, pressure canning meat is a great way to preserve its quality and flavor. Happy canning!
For more canning tips, recipes, and resources, visit Just Canning. We're your one-stop resource for all things related to canning, from superb canning lids to quart canning jars. Discover the joy of canning and explore our collection of canning recipes today!
All Rights Reserved © 2025