
Get the ratio right
Before you load the canner, you need to establish the correct water-to-steam ratio. Steam canning relies on a precise balance: enough water to generate a steady stream of vapor, but not so much that the jars sit submerged. Submerging the jars defeats the purpose of steam canning and can lead to uneven heating or cracked glass.
Start by adding the minimum amount of water specified in your canner’s manual. For most standard steam canners, this is typically between 1 and 2 cups. If you are processing a large batch, you may need slightly more, but always check the manufacturer’s guidelines first. The goal is to have a thin layer of water at the bottom that boils off into steam within a few minutes.
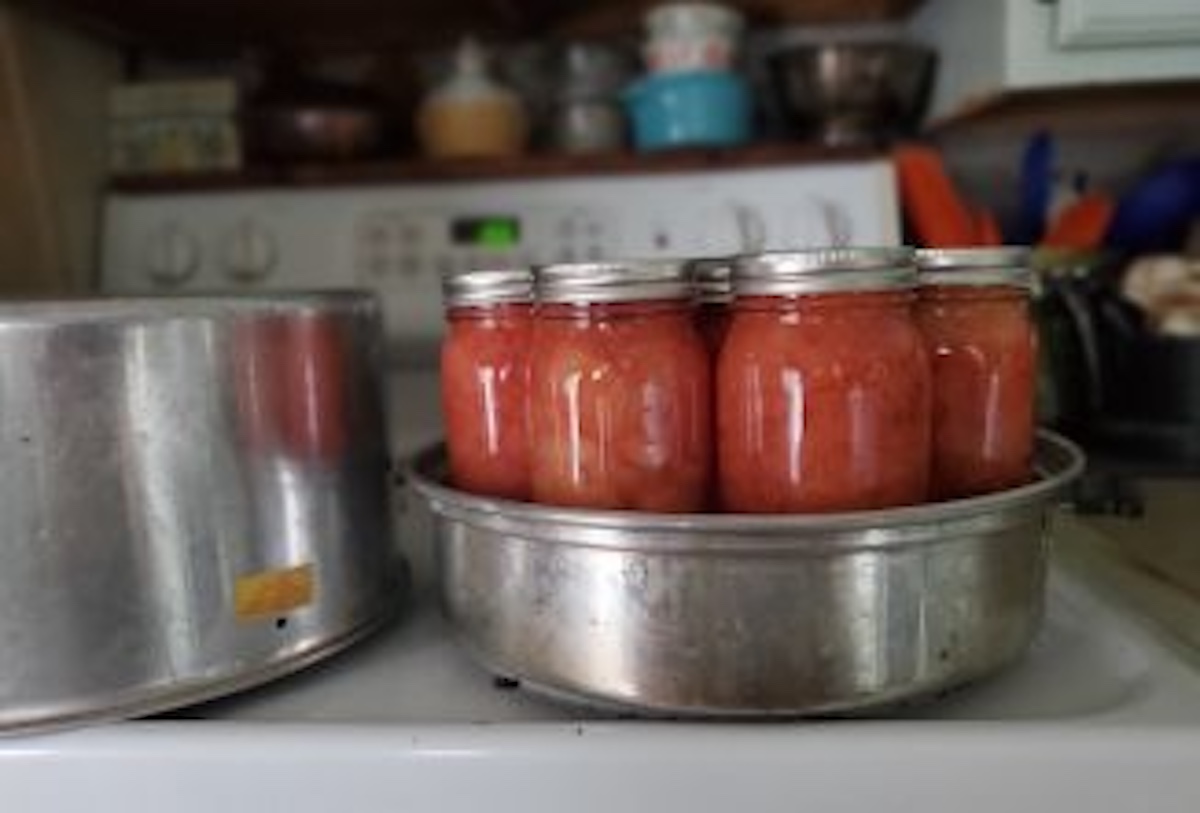
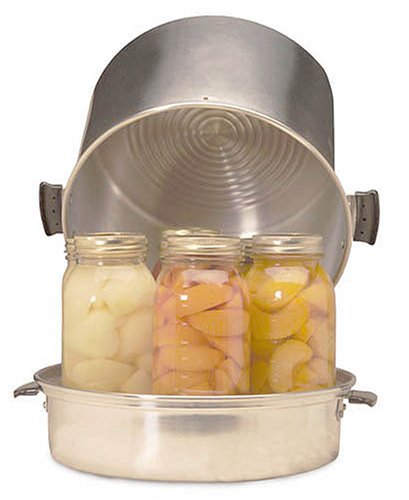
Fill your jars with cucumbers and brine, leaving the recommended headspace. Place them carefully into the steamer basket. Ensure the basket is not overloaded; air needs to circulate around each jar for consistent heat penetration. If the jars are touching or stacked, the steam cannot reach the surfaces evenly, which compromises the seal and safety. A tight, well-ventilated load is safer than a packed one.
Mix it in the right order
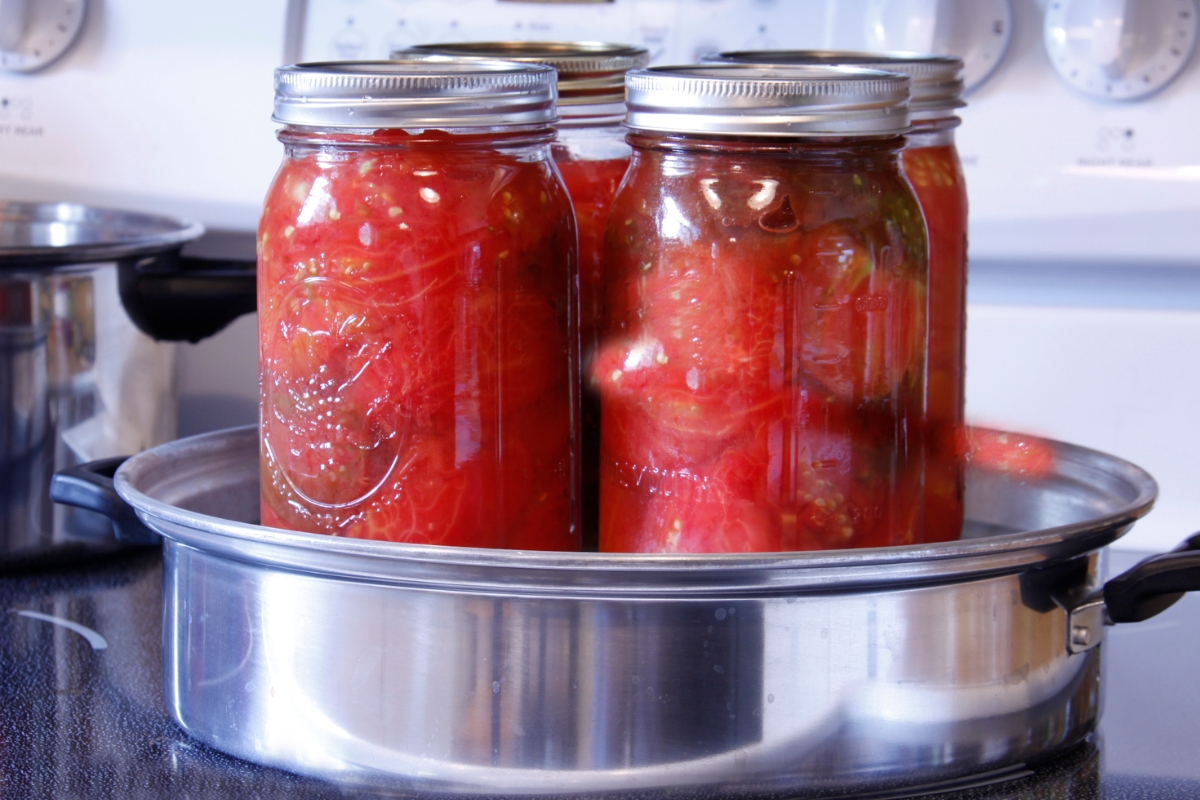
Steam canning relies on a precise sequence to generate enough consistent steam to safely preserve low-acid and high-acid foods like cucumbers. Unlike water bath canning, where the jars are submerged, steam canning requires a specific amount of water in the bottom of the pan to create the heat source. Getting the order wrong can lead to insufficient steam production, which compromises the seal and safety of your preserves.
Follow this exact sequence to ensure your cucumbers are processed correctly.
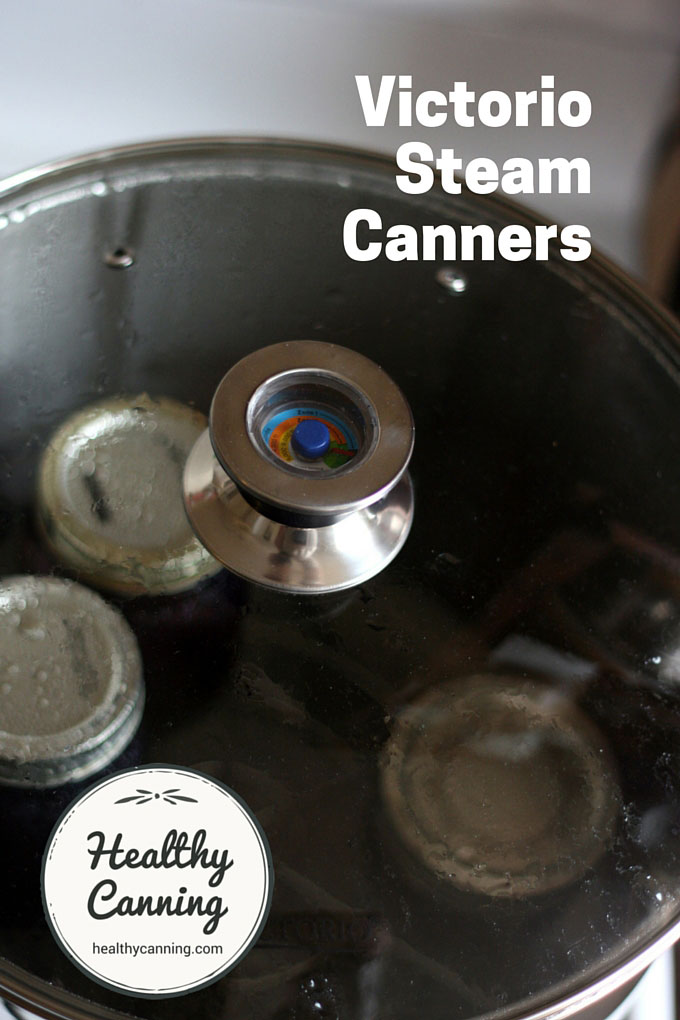
Pour the recommended amount of water into the bottom of your steam canner. The SDSU Extension guidelines specify that you typically need about one inch of water, or as directed by your specific canner manufacturer. Too little water will boil dry before the processing time is complete, while too much water can cause the jars to sit in boiling liquid rather than being steamed, altering the cooking dynamics.
Place the canner on the stove over high heat and cover it with the lid. Allow the water to come to a vigorous boil. You are looking for a steady, thick stream of steam escaping from the vent or the sides of the lid. This preheating phase ensures that the air inside the canner is fully displaced by steam, which is critical for uniform heat distribution. Do not skip this step; adding jars to a cold canner significantly extends the time needed to reach processing temperature.
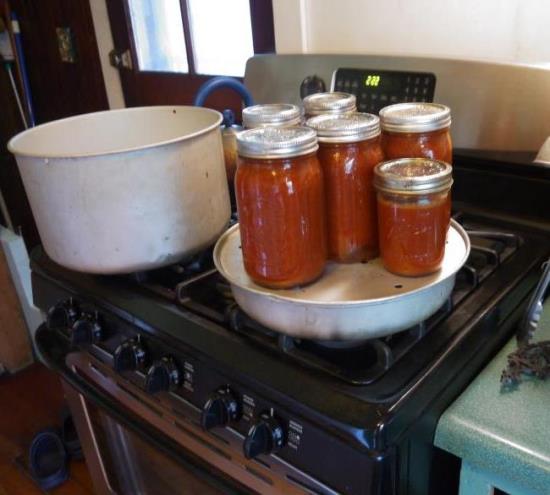
Once steady steam is flowing, remove the lid briefly and place your prepared jars of cucumbers into the canner baskets. Use a jar lifter to avoid breaking the glass or burning your hands. Arrange the jars so they are not touching each other, allowing steam to circulate freely around every surface. If the steam stops flowing when you open the lid, wait a minute for it to resume before loading, or load quickly to minimize heat loss.
Replace the lid immediately and start your timer only when the steam begins to vent vigorously again. The processing time for pickled cucumbers typically ranges from 10 to 20 minutes depending on the jar size and recipe acidity. Keep the heat at a level that maintains a steady steam flow throughout the entire process. If the water level drops, you may need to add more boiling water carefully to prevent the canner from running dry.
When the timer goes off, turn off the heat and let the pressure equalize or the canner cool naturally for the recommended time. Remove the jars and place them on a towel-lined counter. Do not tighten the bands again; just leave them fingertip-tight. After 12-24 hours, check that the lids have concave down and do not flex when pressed. This cooling phase is when the vacuum seal forms, securing the preservation.
Fix bitter or weak flavor
Steam canning cooks at lower temperatures than boiling water bath methods. This difference changes how acids, sugars, and spices interact with the cucumber tissue. If your batches taste off, the issue usually lies in the balance of ingredients or the timing of the spice release.
Weak or bland pickles
A lack of sharpness often means the acid balance is off. Steam canning does not break down cucumber cell walls as aggressively as heat-processing. Because the texture stays crisper, the brine has a harder time penetrating the flesh. If the brine isn't strong enough to penetrate, the final product tastes watery and mild.
- Check your vinegar ratio: Ensure you are using the correct volume of vinegar for the water in your brine. Do not reduce the vinegar amount to "taste." The acid level must be high enough to ensure safety and provide that characteristic snap.
- Slice thickness matters: Thicker slices require a longer soak in the brine before processing. If you slice cucumbers too thick for a quick steam can, the center will remain bland.
- Salt the cucumbers first: Salting the sliced cucumbers for an hour before draining and rinsing draws out excess water. This concentrates the cucumber's natural flavor and creates more room for the brine to enter the tissue.
Bitter or tough pickles
Bitterness is rarely about bad ingredients; it is usually about the cucumber variety or how the spices are handled. Steam canning is gentle, so harsh compounds in spices can remain unbalanced if not managed.
- Pick the right cucumbers: Use pickling varieties like Kirby or Boston pickling cucumbers. Standard slicing cucumbers have thin skins and large seeds that turn bitter quickly, especially when exposed to steam heat.
- Manage the spice load: Steam canning extracts flavor quickly. If you use too many peppercorns, mustard seeds, or dried chilies, the brine can become astringent and bitter. Start with less spice than your boiling water bath recipe calls for, then adjust next time.
- Remove seeds if necessary: For very large cucumbers, scoop out the seeds before slicing. The seeds hold the highest concentration of bitter compounds. Removing them ensures a cleaner, sweeter pickle profile.
The "Metallic" Aftertaste
Sometimes a sharp, metallic tang ruins the jar. This is often a chemical reaction between the brine and the canner material or the lid.
- Use non-reactive pots: Always prepare your brine in stainless steel or enamelware. Never use aluminum or cast iron pots for making vinegar-based brines. The acid reacts with the metal, leaching compounds that taste metallic and can discolor the pickles.
- Check lid reusability: When reusing steam canner lids, ensure they are not warped. A warped lid can create a poor seal, allowing air in. While this is primarily a safety issue, it can also lead to off-flavors as oxidation begins. If the lid does not snap flat and secure, discard it. Never reuse a lid that shows signs of corrosion or pitting.
No comments yet. Be the first to share your thoughts!