
What steam canning actually is
Steam canning is a method of home preservation where filled jars are processed in an enclosed pot using the heat of steam rather than being submerged in boiling water. While this technique was once dismissed as unsafe, recent research has validated it as an evidence-based practice for high-acid foods. It operates on the same safety principles as boiling water bath canning but achieves the necessary internal jar temperatures faster and more efficiently.
The primary advantage of steam canning is speed. Because steam transfers heat more rapidly than water, processing times are often shorter than traditional boiling methods. This helps preserve the texture, color, and nutritional value of the food. Additionally, steam canners use significantly less water than large stockpots, making them more energy-efficient and easier to handle, especially for smaller batches.
For this guide, we focus on using quart jars with reusable lids. Quart jars provide ample space for whole fruits or chunky salsas, while reusable lids offer a sustainable alternative to single-use metal discs. Always start with a research-tested recipe to ensure the acidity levels are correct for steam processing.
Gear you need for quart jars
Steam canning requires specific equipment to handle the larger volume and weight of quart jars safely. The process relies on consistent heat distribution, which standard quart canning jars provide when paired with the right steam canner. Below is the essential list of items you will need to start.
The steam canner
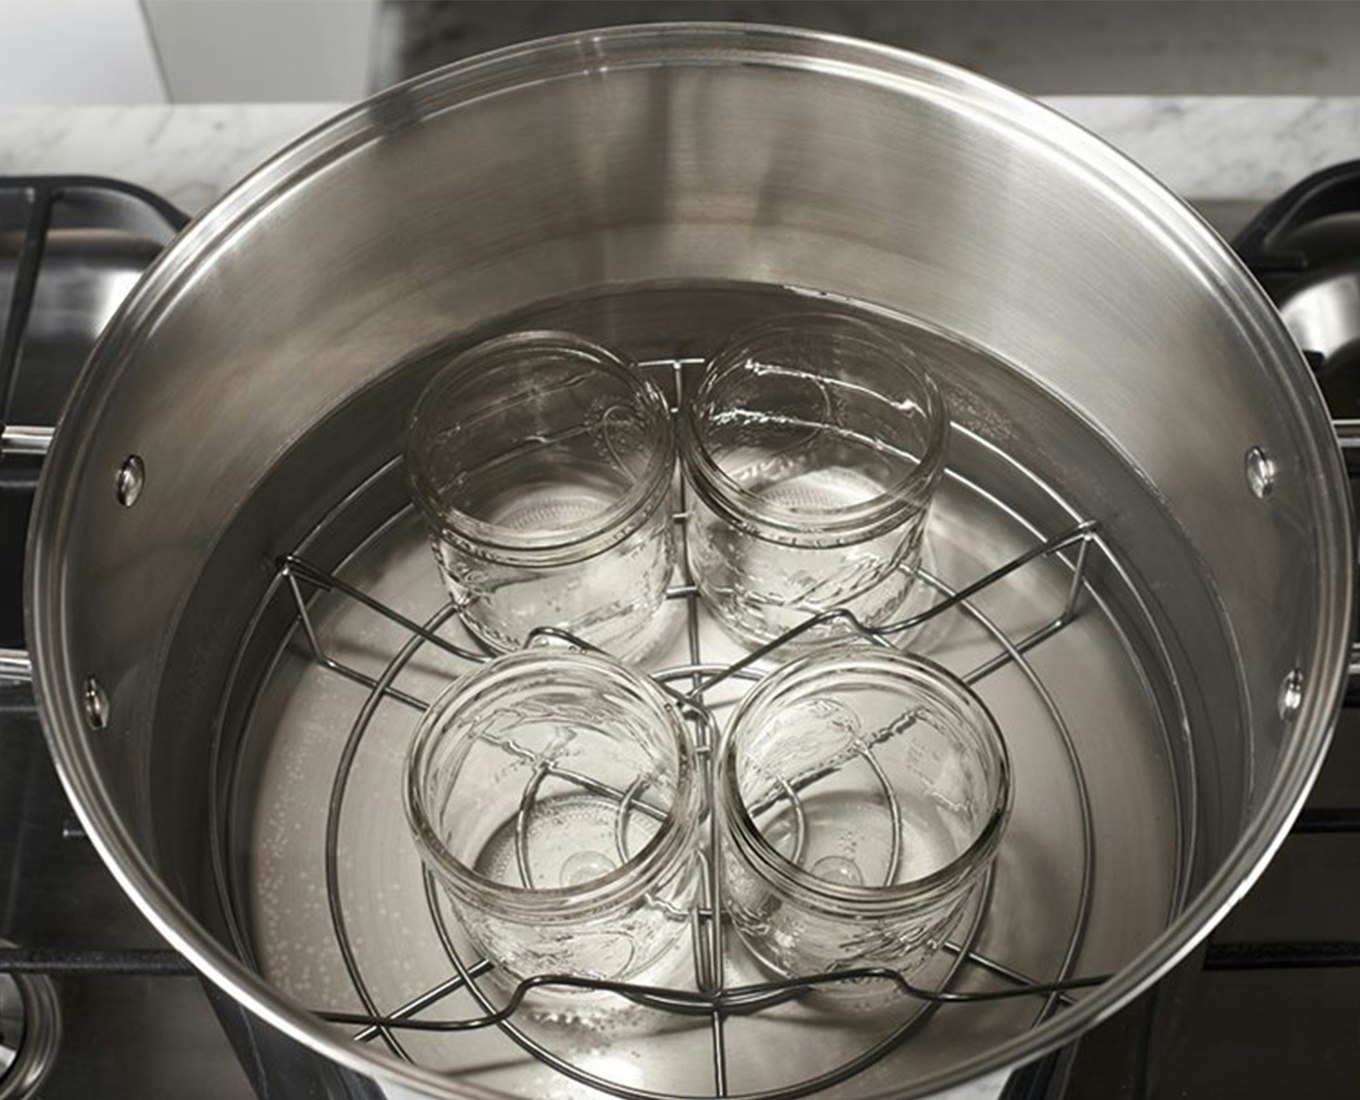
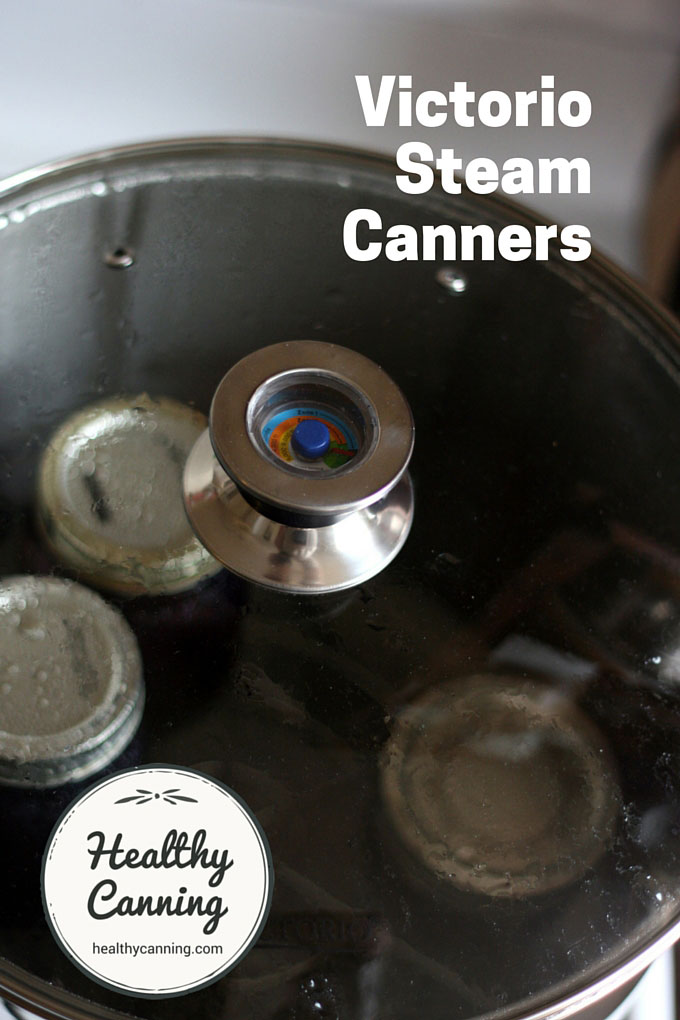
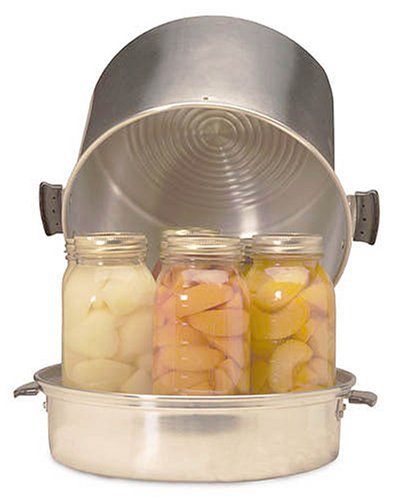
A dedicated steam canner is the most critical piece of equipment. Unlike water bath canners that submerge jars, steam canners use a shallow base with a tall, vented lid to circulate steam around the jars. This design is particularly effective for quart jars because it heats the food faster than boiling water while using less energy. Ensure your canner is large enough to hold your quart jars without touching the sides or each other, as proper spacing allows steam to circulate evenly.
Quart canning jars
Standard half-pint or quart-sized glass jars are suitable for steam canning, provided they are in good condition. Quart jars are ideal for bulkier foods like whole tomatoes, corn, or stews. Inspect each jar for chips or cracks before use. The glass must be able to withstand the thermal shock of steam heat. If a jar is damaged, it may shatter during the process, creating a safety hazard and ruining your batch.
Lids and bands
You will need two-part lids: flat metal lids with a rubber seal and screw bands. For steam canning, it is best to use reusable lids if available, as the shorter processing time can sometimes compromise the seal on single-use lids. The bands should be clean and free of rust. Tighten them "fingertip tight"—snug but not forced—to allow air to escape during processing.
Prep jars and lids for steam canning
Proper preparation is the foundation of a safe steam canning process. Because steam canning relies on rapid heat penetration rather than the prolonged submersion of water bath canning, your equipment must be clean and ready to handle high temperatures immediately.
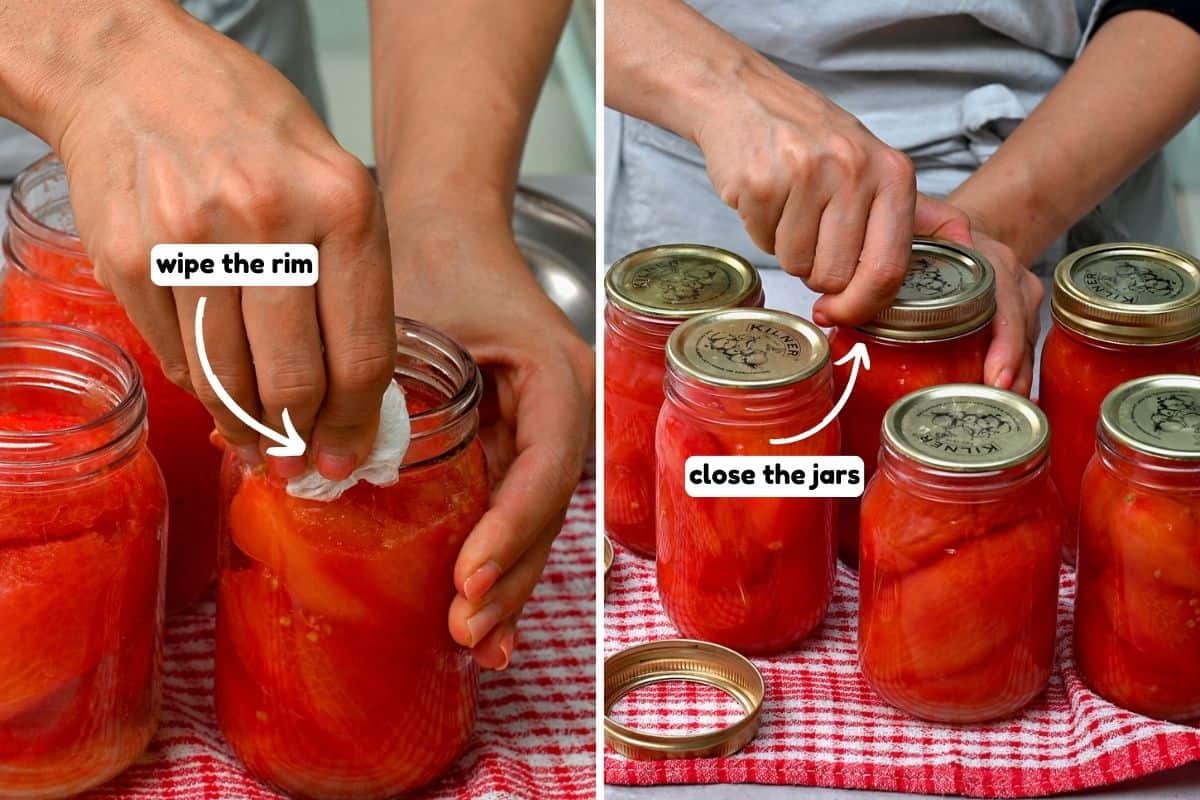
Start by washing all jars, lids, and bands in hot, soapy water. Rinse them thoroughly to remove any soap residue. Inspect each jar for chips, cracks, or scratches, especially around the rim. Even a small defect can prevent an airtight seal, leading to spoilage. Discard any compromised jars.
For the lids, use new, disposable sealing discs if you are following current USDA guidelines for steam canning. If your specific steam canner manual or recipe allows for reusable two-piece lids, ensure the sealing compound is soft and intact. Do not reuse lids that have been previously sealed, as the sealing compound may not form a reliable vacuum again.
Keep your prepped jars warm until you are ready to fill them. Cold jars placed into a hot steam canner can crack due to thermal shock. You can keep them warm in a pot of hot water or in a low-temperature oven (around 225°F / 107°C) until the moment of filling.
Steam canning process: preheat, load, and cool
Steam canning moves faster than water bath canning because steam transfers heat more efficiently than boiling water. This efficiency means shorter processing times for quart jars, but it also requires precise timing. Follow this sequence to ensure your quart jars reach the safe internal temperature without overcooking the contents.
Verify the seal and store properly
Once the processing time is complete, turn off the heat and let the steam canner cool naturally. Do not force-open the lid or rush the cooling process, as sudden temperature changes can break the seal or cause the jars to crack. Leave the jars in the canner with the lid closed for 5 to 10 minutes, then carefully remove them using a jar lifter. Place the jars on a towel or rack, leaving at least one inch of space between each jar to allow air to circulate.
As the jars cool, you will likely hear a distinct "ping" or "pop" sound. This is the sound of the lid sealing as the vacuum forms inside. Wait 12 to 24 hours for all jars to cool completely. During this time, do not touch, tighten, or test the lids. Moving the jars can disturb the seal before it sets. After the resting period, check that each lid is concave (curved downward) and does not flex when pressed in the center. If a lid pops back up or feels loose, the seal failed; refrigerate that jar and use it within a few days.
For long-term storage, remove the bands. You can leave the lids on the jars, but bands can rust over time if left on and may hide a broken seal. Wipe each jar with a damp cloth to remove any sticky residue, then label them with the contents and date. Store the jars in a cool, dark, and dry place. A pantry or cupboard away from direct sunlight is ideal. Properly sealed jars of steam-canned goods will remain safe for up to one year.
Common steam canning mistakes
Even with a reliable steam canner, small errors can compromise safety or quality. Avoid these frequent pitfalls to ensure every jar seals properly and preserves safely.
Water levels matter. Steam canners require a specific amount of water to generate sufficient steam without boiling dry. Too little water risks burning the jars or stopping the steam cycle mid-process. Too much water can submerge the jars, turning your steam canner into a boiling water bath canner and altering the cooking time. Always follow the manufacturer’s instructions for minimum and maximum water lines.
Overfilling the canner. Steam needs room to circulate around each jar. If you pack the canner too tightly, steam cannot reach all surfaces evenly, leading to underprocessing. Leave space between jars for air and steam flow. If you are canning a large batch, it is safer to process in multiple rounds rather than overcrowding the vessel.
Incompatible lids and seals. Not all lid types work with steam canners. Use only flat lids and screw bands recommended for your specific canner model. Some older or generic lids may not seal correctly under steam pressure. Always inspect lids for dents or rust before use, and ensure bands are fingertip-tight, not overtightened.
Steam Canning FAQ
Is steam canning safe for quart jars?
Yes, provided you follow approved guidelines. Steam canning is now an evidence-based practice for high-acid foods, such as fruits, pickles, and tomatoes with added acid. The South Dakota State University Extension confirms that steam canning is a quick and simple method for preserving produce when done correctly. Always use tested recipes to ensure safety.
Can I reuse steam canner lids?
Most manufacturers design their steam canner lids for reuse, but you must check the specific brand instructions. Unlike water bath canning, where lids are single-use, steam canner seals often rely on gaskets or reusable components. Inspect your lid for warping or damage before each use to maintain a proper seal.
What is the difference between steam and water bath canning?
Steam canning uses the heat of steam in an enclosed pot rather than submerging jars in boiling water. This method is generally faster and uses less water, making it efficient for smaller batches. However, it requires a dedicated steam canner or a pot with a rack and sufficient water depth to generate consistent steam.
Your steam canning checklist
Before you start, gather the essentials to ensure a safe and efficient steam canning session. Follow this sequence to keep your workflow smooth and your jars secure.
-
Clean quart jars and inspect for chips or cracks
-
Sanitize lids and bands according to manufacturer instructions
-
Prepare research-tested recipes for high-acid foods
-
Fill the steam canner base with the recommended water level
-
Set a timer and verify your thermometer is accurate
Having these items ready prevents interruptions. Steam canning relies on precise heat and pressure, so skipping a prep step can compromise safety.
No comments yet. Be the first to share your thoughts!