
Get the ratio right
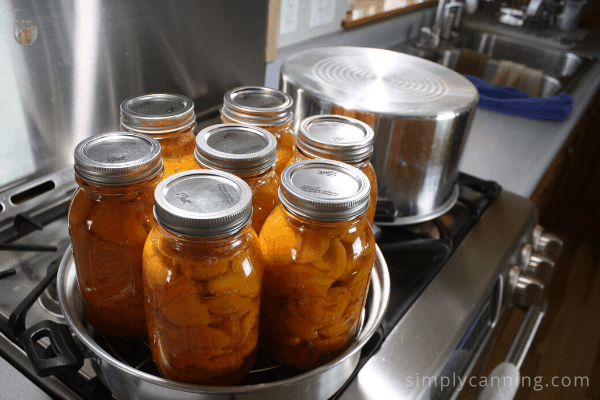
Steam canning relies on a precise balance of equipment and ingredients. Unlike water bath canning, where jars sit submerged, steam canning requires a specific amount of water in the canner base to generate enough pressure to preserve low-acid foods safely. Too little water burns the bottom; too much dilutes the steam and extends cooking time unnecessarily.
For cucumbers and onions, which are high-moisture vegetables, the water-to-jar ratio is critical. Most steam canners require between 1.5 and 2.5 cups of water in the base, depending on the model and the number of jars. Consult your canner’s manual for the exact starting point. You will need to monitor the water level during the process, adding boiling water as needed to maintain consistent steam production.
Equally important is the headspace in your jars. For pickled cucumbers and onions, leave 1/2 inch of headspace to allow for expansion during processing. Overfilling jars can lead to seal failures or siphoning, where liquid escapes the jar and prevents a proper vacuum seal. Use a ruler or the headspace guide on your jar lifter to check this before placing jars in the steamer.
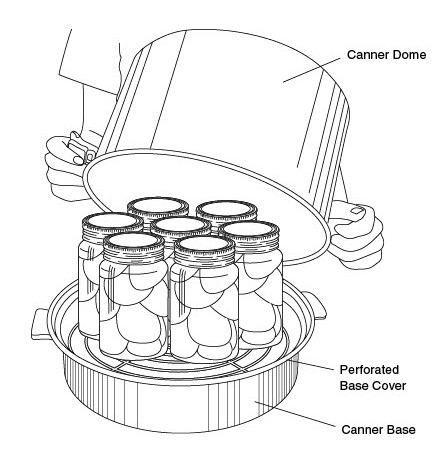
Finally, ensure your jars are preheated. Placing cold jars into a hot steamer can cause thermal shock, leading to breakage. Warm your jars in a 180°F (82°C) oven or fill them with hot brine immediately before loading. This simple step protects your equipment and ensures even processing for your cucumbers and onions.
Mix it in the right order
to Steam Canning works best as a clear sequence: define the constraint, compare the realistic options, test the tradeoff, and choose the path with the fewest hidden costs. That order keeps the advice usable instead of decorative. After each step, pause long enough to check whether the recommendation still fits the reader's actual situation. If it depends on perfect timing, unusual access, or a best-case budget, include a simpler fallback.
Fix bitter or weak flavor
to Steam Canning troubleshooting should start with a clear boundary: what is actually broken, and what still works normally. Check the display, network connection, paired devices, app access, and recent updates before assuming the whole system needs a reset. A small connection failure can make the main screen feel unreliable even when the core system is fine. Work from low-risk checks to deeper resets. Confirm power state, safe parking, account access, and signal first. Then restart the interface, wait for it to reload completely, and test the original symptom. Avoid changing multiple settings at once because that makes it harder to know which step actually fixed the problem. If the issue affects safety information, repeats after every restart, or appears with warning messages, treat the reset as a temporary diagnostic step rather than the final fix. Document the symptom and move to official support instead of stacking more DIY attempts.
The simplest way to use this section is to keep the setup small, verify each change, and record the stable configuration before adding optional accessories.
No comments yet. Be the first to share your thoughts!