
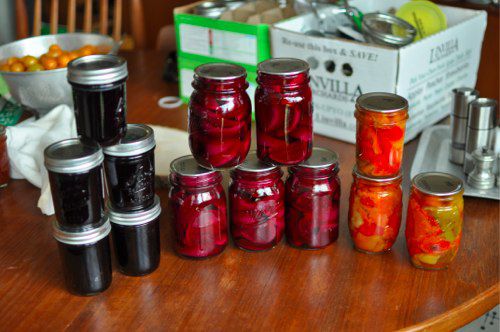
Gather your canning supplies
You do not need a store-bought starter kit to begin water bath canning. Most of the essential tools are likely already in your kitchen. The process relies on simple physics: heat and vacuum. Your job is simply to prepare the jars and food so that heat can penetrate evenly and create a seal.
Start with two-piece canning lids and clean glass jars. Two-piece lids consist of a flat disc with sealing compound and a screw band. Older one-piece lids are not safe for modern canning because they lack the flexible sealing compound needed to vent air during processing. Ensure your jars are free of nicks or chips, particularly around the rim, as any imperfection will break the seal.
For the actual processing, you need a large pot with a rack. The pot must be deep enough to submerge the jars by at least one inch of water. The rack keeps jars from cracking against the bottom of the pot and allows water to circulate freely. A standard stockpot or a dedicated water bath canner works perfectly. You will also need a jar lifter to remove hot jars safely without burning yourself or dropping them.
Other helpful items include a wide-mouth funnel for filling jars without spilling, a non-metallic spatula to remove air bubbles, and a clean towel for wiping rims. A large spoon or ladle is useful for transferring hot food. You do not need specialized gadgets; just focus on cleanliness and safety.

Prepare jars and lids for processing
Before you begin packing your jars, set up a clean workspace and gather all your equipment. You will need a large pot (or your water bath canner) to heat the jars, a separate pot for the lids, and a clean towel or rack for handling hot glass. Keeping your workspace organized prevents cross-contamination and ensures you can move quickly once the jars are hot.
Wash and inspect every jar
Start by washing your jars in hot, soapy water. Rinse them thoroughly to remove any soap residue. Inspect each jar carefully for chips, cracks, or imperfections, especially around the rim. Even a tiny chip can compromise the seal and allow bacteria to enter. Discard any damaged jars immediately.
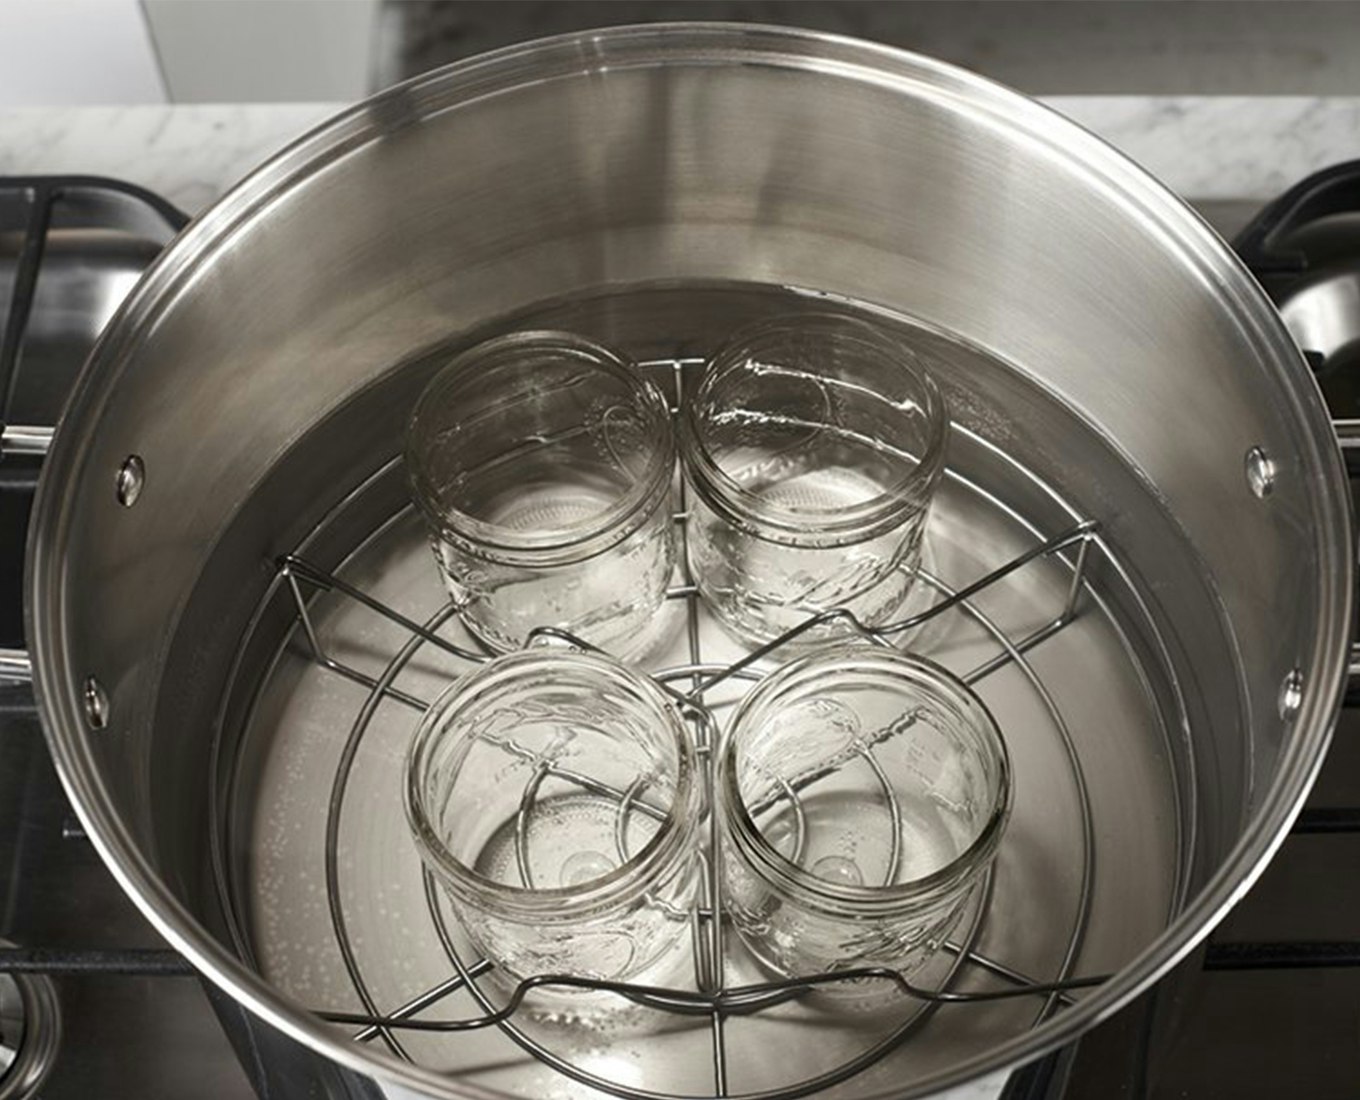
Place your clean jars in a large pot or canner. Cover them with hot water and bring to a simmer (not a rolling boil). Keep the jars hot until you are ready to fill them. Cold jars filled with hot food can shatter from thermal shock.
Fill a small saucepan with water and bring it to a low simmer. Place your flat lids and bands in the water. Do not boil the lids, as this can damage the sealing compound. Keep them hot until use.
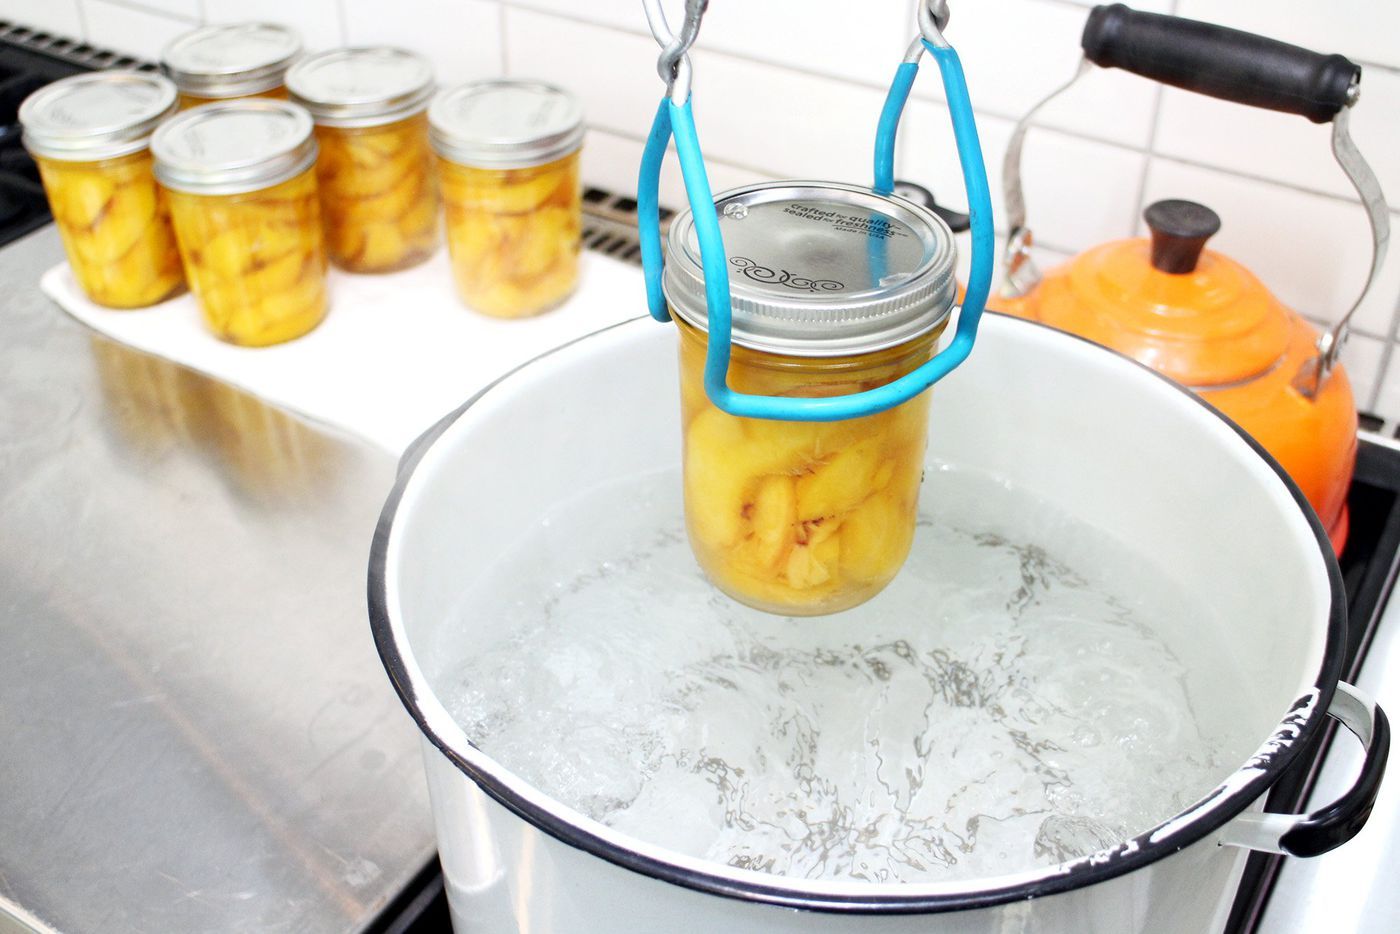
Remove one hot jar at a time from the water bath using a jar lifter. Fill it immediately with your prepared food, leaving the recommended headspace. Wipe the rim with a clean, damp cloth to remove any food particles. Place a hot lid on the jar and screw on the band until fingertip-tight.
Proper preparation is the foundation of safe canning. By keeping jars hot and lids sanitized, you create the conditions for a successful vacuum seal. Always follow tested recipes from reputable sources like the National Center for Home Food Preservation to ensure safety.
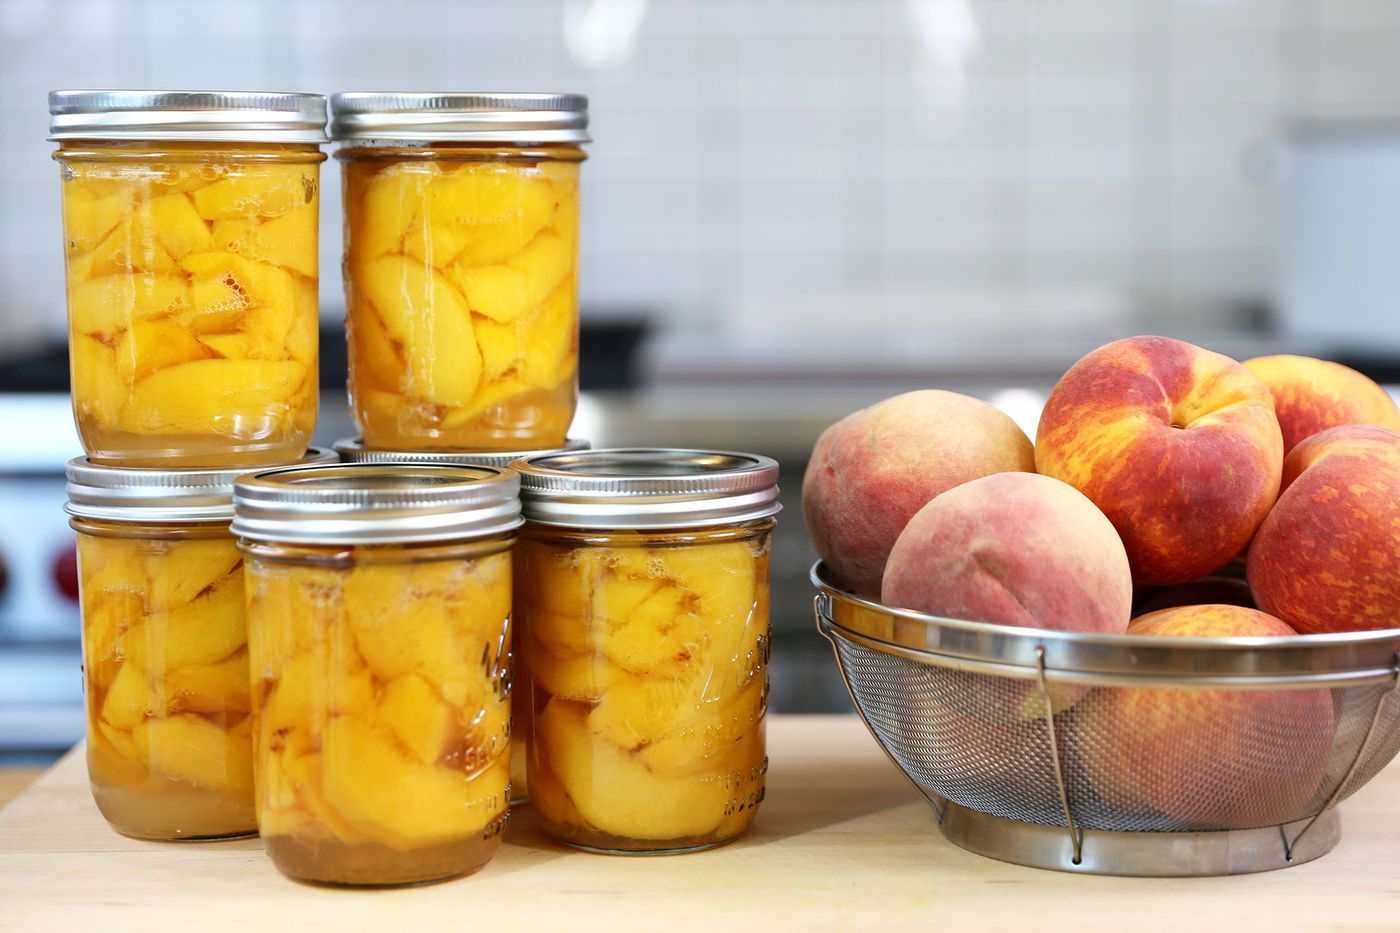
Fill jars and remove air bubbles
Just Canning works best as a sequence, not a pile of settings. Do the minimum first: confirm compatibility, connect the primary device, update only when needed, and test the result before adding optional features. That order keeps the task understandable and makes failures easier to isolate. After each step, pause long enough for the device or app to finish syncing. Many setup problems are timing problems disguised as configuration problems. If the same step fails twice, record the exact error, restart the smallest affected piece, and retry before moving deeper.

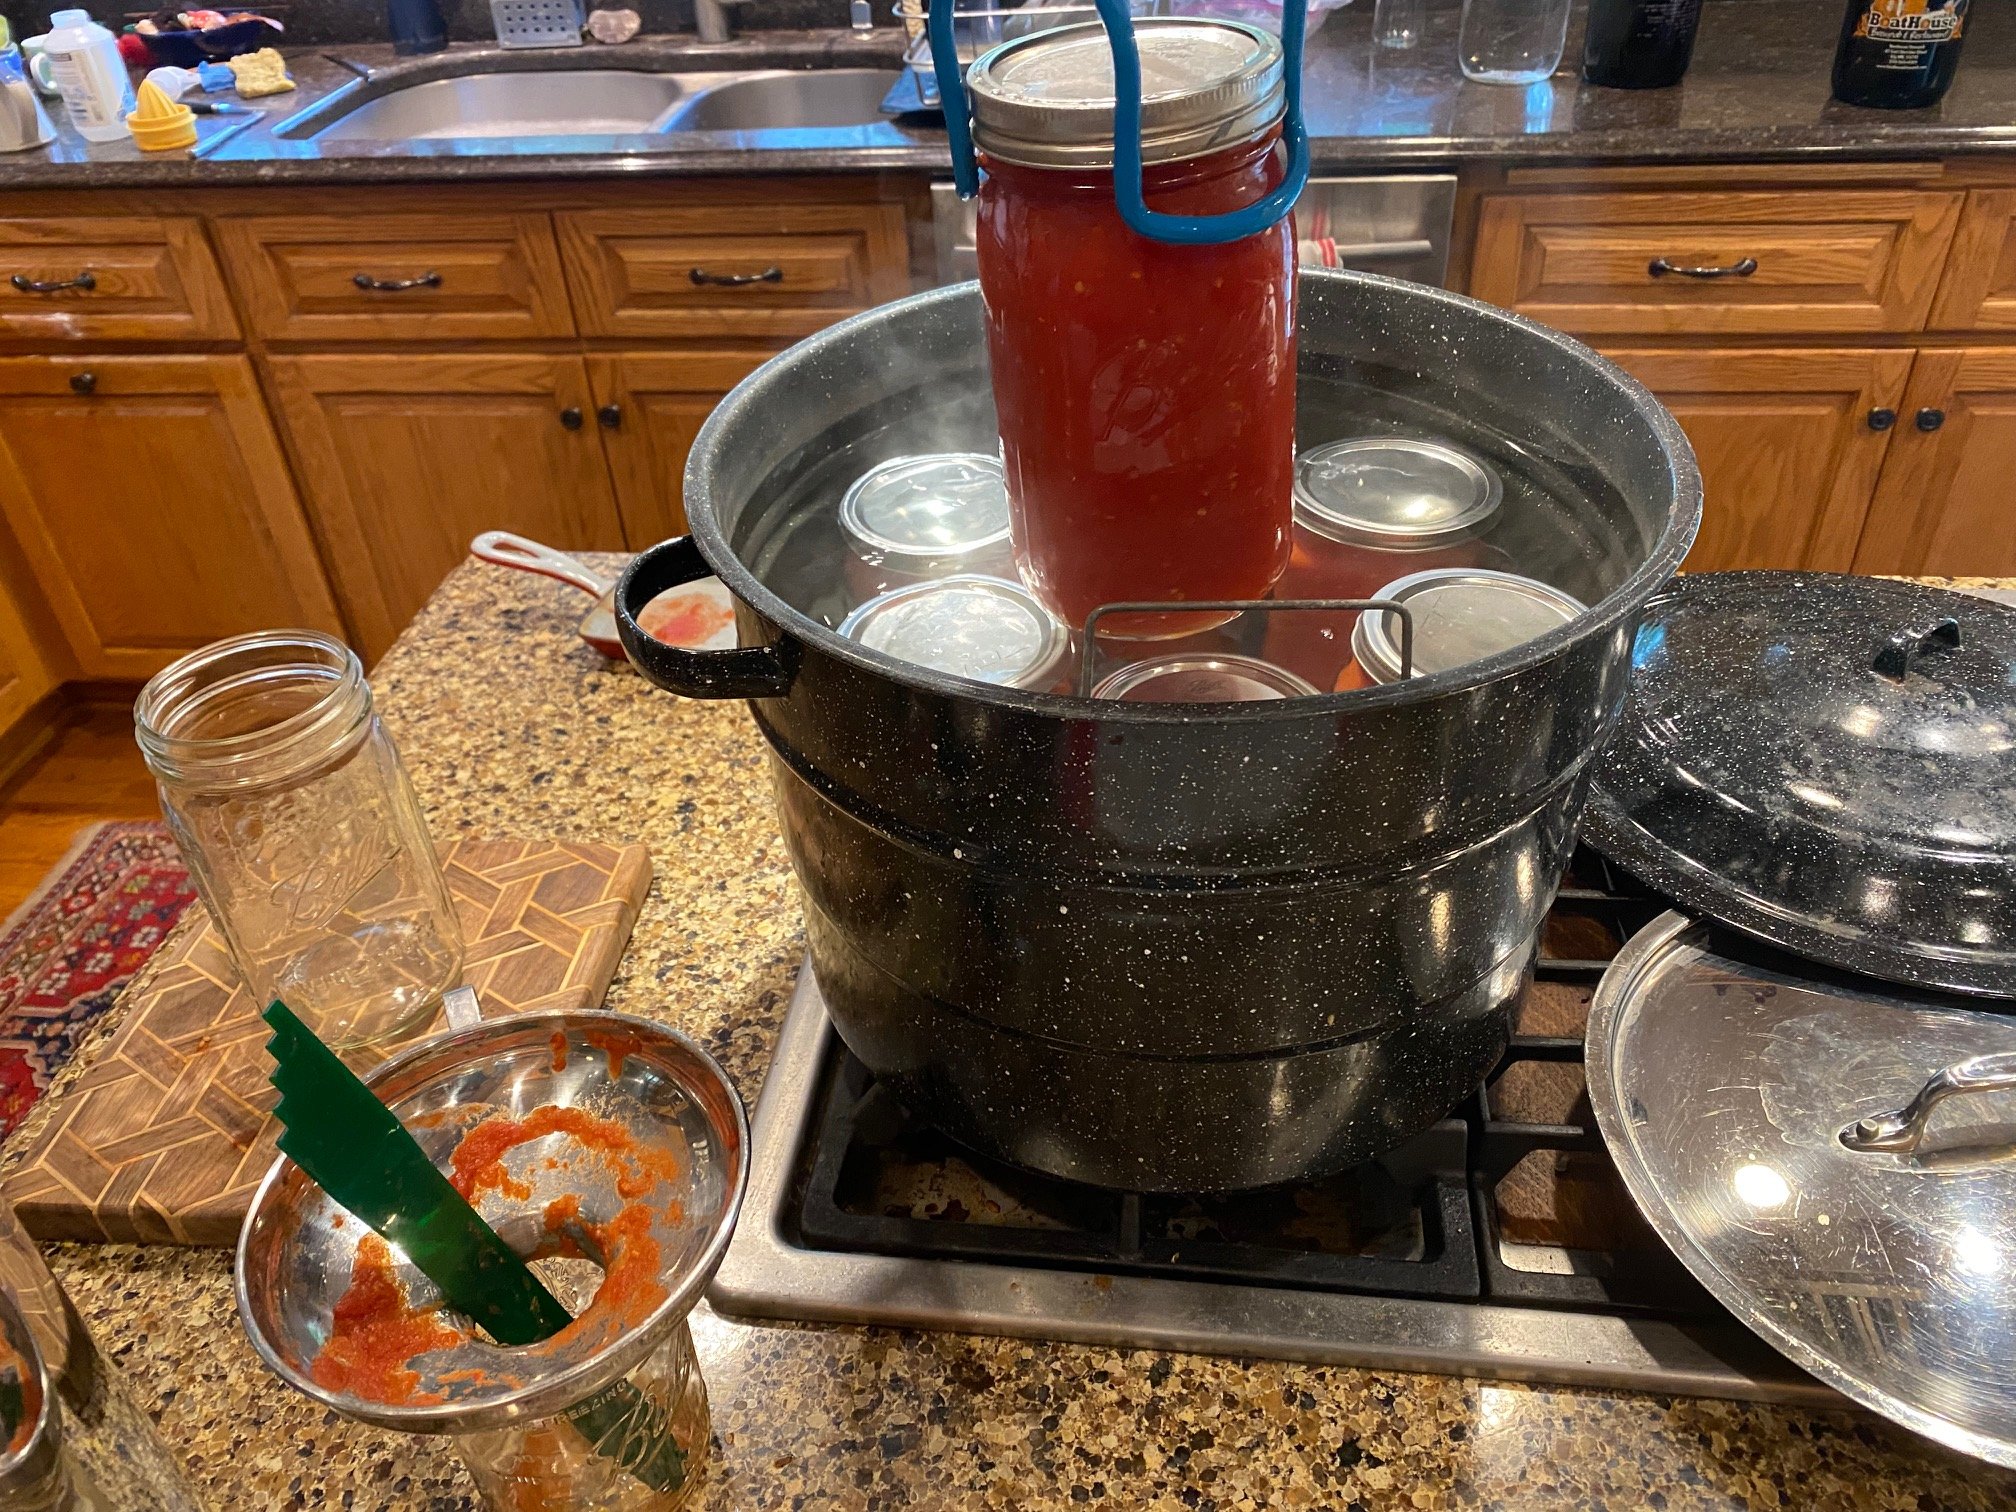
Process jars in boiling water
Just Canning works best as a sequence, not a pile of settings. Do the minimum first: confirm compatibility, connect the primary device, update only when needed, and test the result before adding optional features. That order keeps the task understandable and makes failures easier to isolate. After each step, pause long enough for the device or app to finish syncing. Many setup problems are timing problems disguised as configuration problems. If the same step fails twice, record the exact error, restart the smallest affected piece, and retry before moving deeper.
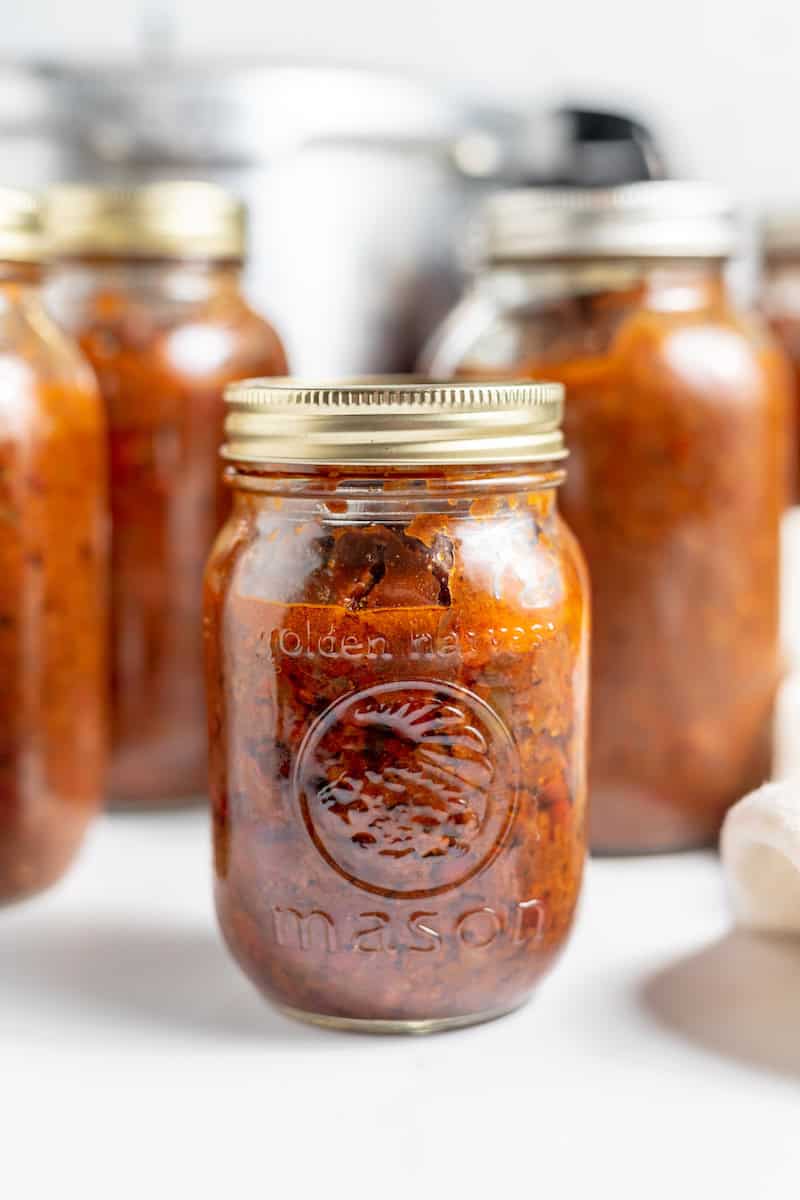

Check seals and store safely
After the processing time ends, remove the jars from the canner and let them cool undisturbed for 12 to 24 hours. Do not retighten the bands while the jars are hot; this can interfere with the seal. As the jars cool, you will hear the distinct "ping" of lids sealing. This sound means the vacuum is forming correctly.
Once the jars are cool, test each seal by pressing the center of the lid. If it does not flex up and down, the jar is sealed. For an extra check, lift the jar by the flat part of the lid only. If it holds, the seal is good. Any jar that fails this test should be refrigerated and used within a few days.
For long-term storage, remove the metal bands. You can wipe the jars clean and store them with the lids on, or keep the bands on loosely to monitor for seal loss. Store the jars in a cool, dark, dry place. Ideal storage temperatures range between 50°F and 70°F. Check the seals monthly; if any lid pops up, discard the contents.
Remove jars from the canner and let them sit undisturbed for 12–24 hours. Avoid moving or checking them during this time.
Press the center of the lid. If it doesn't flex, the jar is sealed. Lift by the lid only to confirm it holds firm.
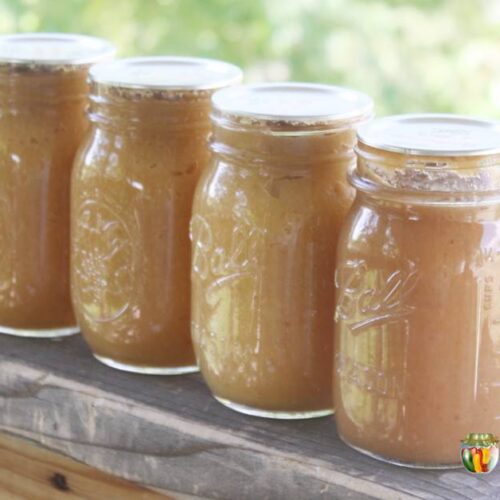
Remove bands and store jars in a cool, dark place. Check seals monthly to ensure long-term safety.
Common water bath canning: what to check next
Even with a careful setup, beginner canners often hit snags. These answers address the most frequent safety concerns and troubleshooting steps for water bath preservation.
Can I reuse old canning lids?
No. Flat lids are designed for one-time use only. The sealing compound on the underside softens during the boiling process to create an airtight bond. If you try to reuse a flat lid, the seal may fail, allowing bacteria to enter the jar. Band rings (the screw-top parts) can be reused as long as they are not rusted or distorted.
Why did my jars not seal?
A failed seal usually means air is still inside the jar. This can happen if the food was too hot when packed, if the rim wasn’t wiped clean before applying the lid, or if the jar wasn’t processed long enough. If a jar doesn’t seal within 24 hours, store it in the refrigerator and eat it within a few days, or reprocess it with a new flat lid.
How do I know if food is safe to eat?
Before opening any jar, check the seal. The lid should be concave and not move when pressed. If the lid pops up and down, or if you hear a hiss when you open it, do not eat the contents. Additionally, look for signs of spoilage such as cloudiness, bubbles, or an off smell. When in doubt, throw it out.
No comments yet. Be the first to share your thoughts!