

Why steam canning works for pickles
Steam Canning 101 works best as a clear sequence: define the constraint, compare the realistic options, test the tradeoff, and choose the path with the fewest hidden costs. That order keeps the advice usable instead of decorative. After each step, pause long enough to check whether the recommendation still fits the reader's actual situation. If it depends on perfect timing, unusual access, or a best-case budget, include a simpler fallback.
The simplest way to use this section is to write down the real constraint first, compare each option against it, and choose the path that still works outside ideal conditions.
Essential equipment for steam canning
Steam canning relies on a specific set of tools to maintain the steady humidity required for safe preservation. Unlike water bath canning, which submerges jars in boiling water, steam canning uses a shallow layer of water to generate vapor that circulates around the jars. This distinction dictates your equipment choices.
The steam canner
The core tool is an atmospheric steam canner, such as the Presto model. These vessels are shallower than pressure canners and feature a weighted gauge or dial that monitors internal pressure to ensure consistent steam flow. They are designed specifically for high-acid foods like pickles, onions, and tomatoes. While you can technically use a large stockpot with a rack, dedicated steam canners provide the sealed environment necessary to prevent temperature fluctuations that could compromise safety.
Jars and lids
You need standard two-piece canning jars with new, unused lids every time. For steam canning, wide-mouth jars are preferred because they allow steam to circulate more freely around the contents and make filling easier without breaking the seal. Always inspect jars for chips or cracks before loading them into the canner.
Supporting tools
A jar lifter is essential for safely moving hot glass in and out of the canner without dropping them or burning your hands. You will also need a funnel designed for canning to prevent sticky brine from touching the jar rim, which could interfere with sealing. A bubble remover or non-metallic spatula helps release trapped air pockets, ensuring the headspace is accurate.
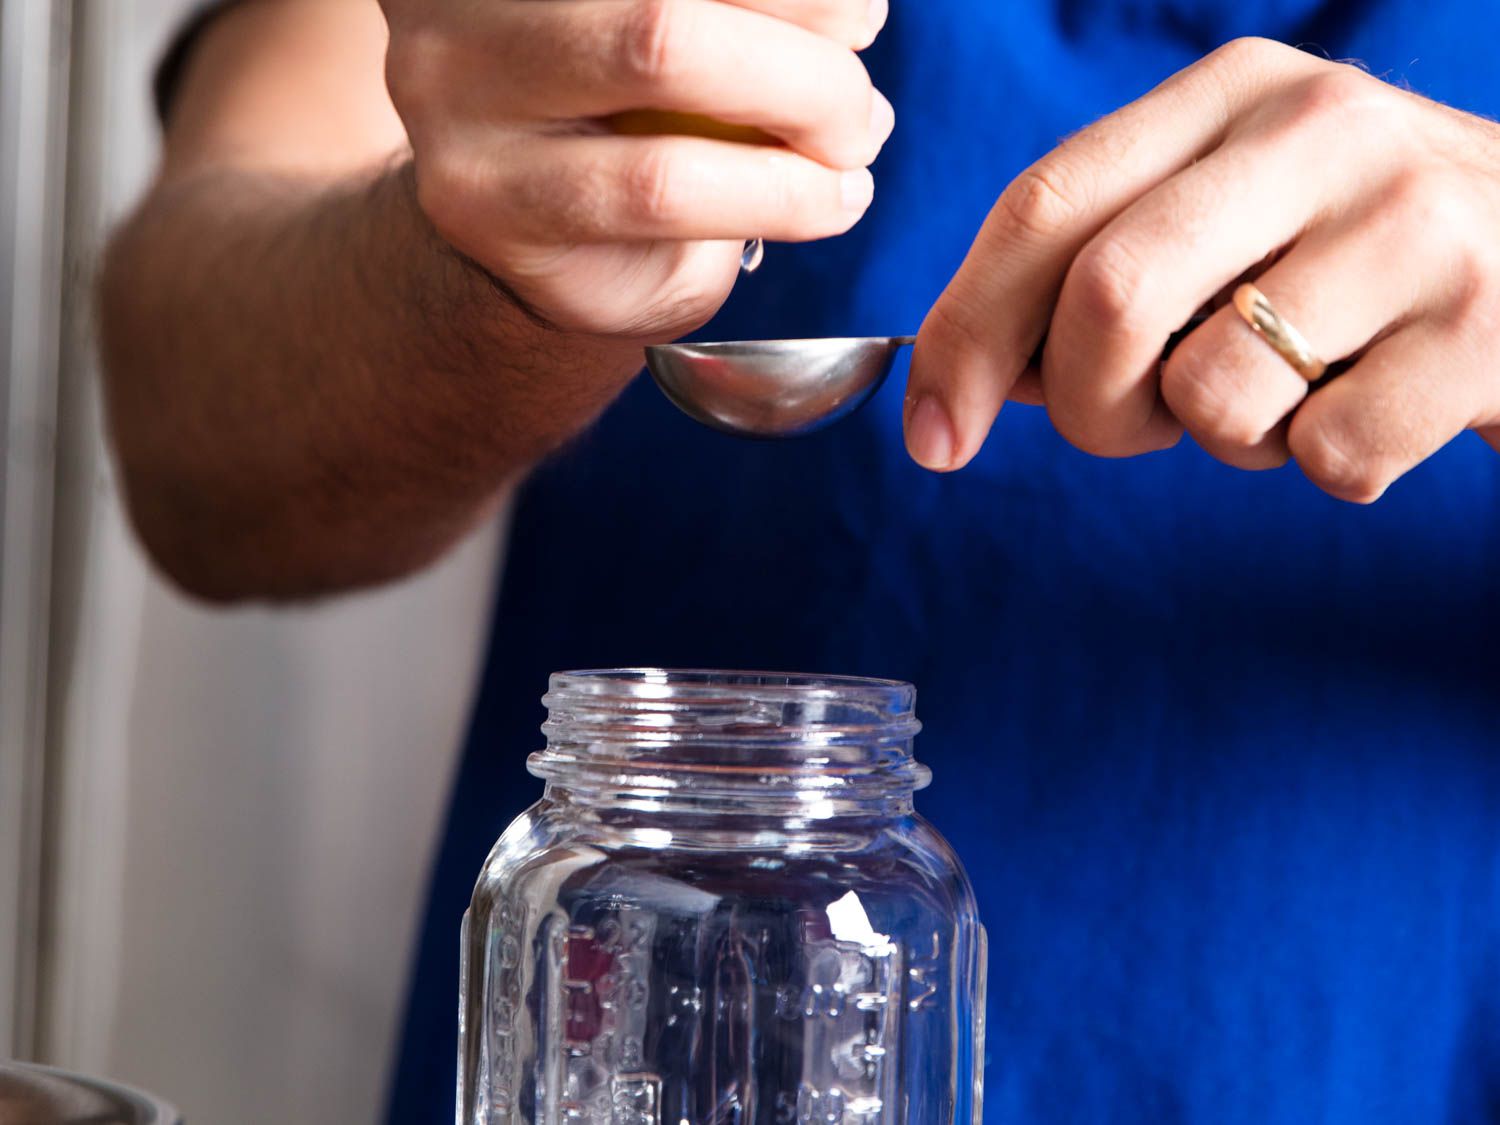
Preparing cucumbers and onions for steam canning
Good steam canning starts with fresh produce. Choose cucumbers that are firm, dark green, and free of soft spots or yellowing. For onions, select bulbs that are dry, firm, and have papery outer skins. Avoid any vegetables that show signs of bruising or decay, as these can harbor bacteria that resist the steam process.
Wash all produce thoroughly under cool running water. Use a clean vegetable brush to scrub cucumbers and onions, removing any dirt or residue. Peel onions if your recipe calls for it, then slice them into even rings or chunks. Slice cucumbers into uniform spears, rounds, or chips, depending on your preference. Consistent sizing ensures even heat penetration during steam canning.
Pack the prepared vegetables tightly into clean, hot jars. Leave the recommended headspace at the top of each jar. Pour your hot brine or vinegar solution over the vegetables, maintaining the proper headspace. Remove any air bubbles by running a non-metallic utensil around the inside of the jar. Wipe the jar rims clean with a damp cloth to ensure a proper seal.
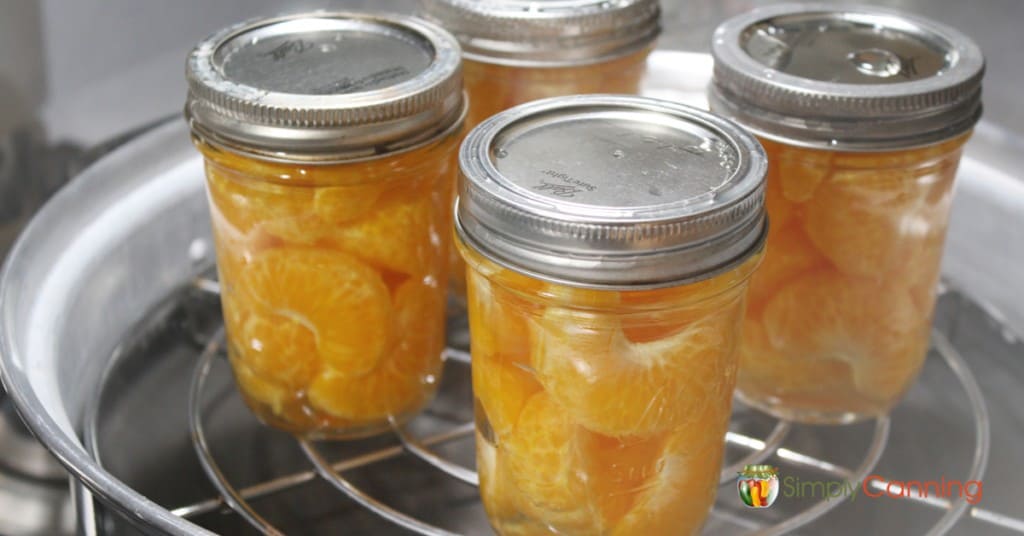
Step-by-step steam canning process
Steam Canning 101 works best as a clear sequence: define the constraint, compare the realistic options, test the tradeoff, and choose the path with the fewest hidden costs. That order keeps the advice usable instead of decorative. After each step, pause long enough to check whether the recommendation still fits the reader's actual situation. If it depends on perfect timing, unusual access, or a best-case budget, include a simpler fallback.
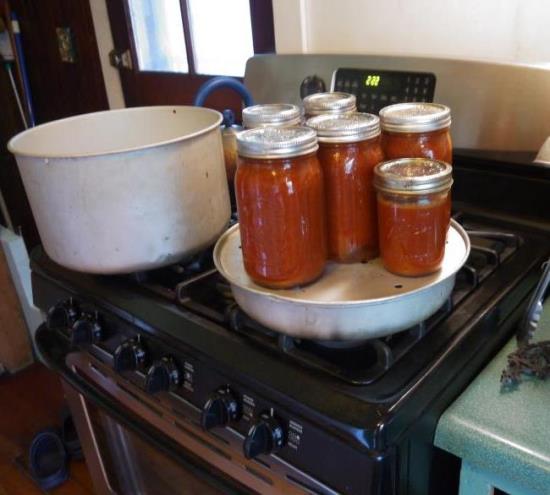
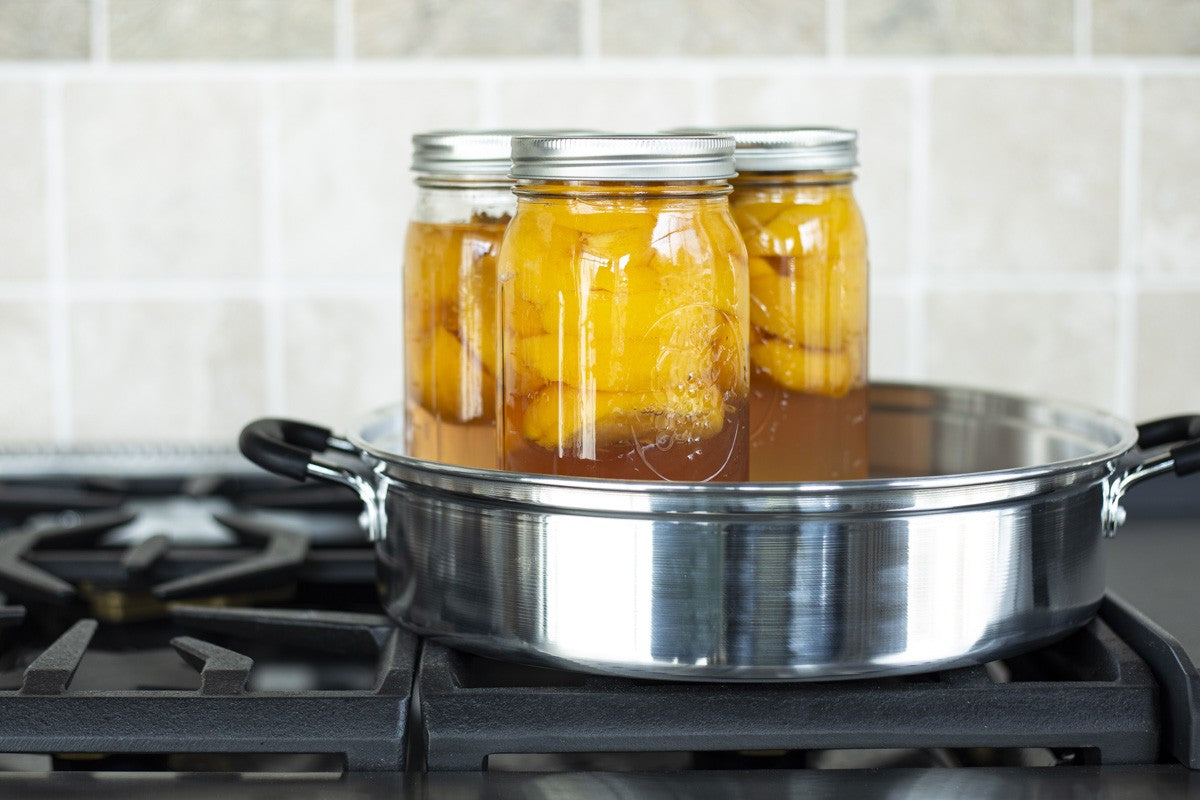
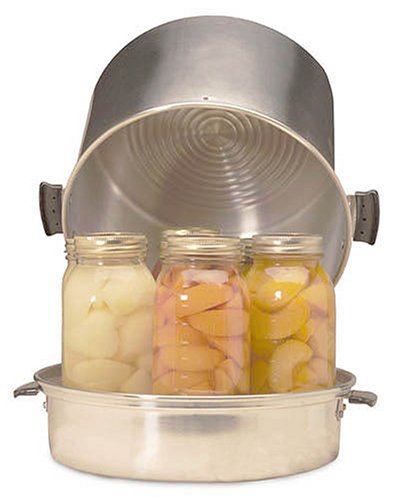
Common steam canning mistakes to avoid
Even with the right equipment, steam canning requires strict adherence to safety protocols. Deviating from tested guidelines can compromise the seal or create an environment where bacteria thrive. Focus on these three critical areas to ensure your pickles and onions are safe for long-term storage.
Using low-acid recipes
Steam canning is only safe for high-acid foods. You cannot safely process plain green beans, onions, or other low-acid vegetables in a steam canner. These items require the higher temperatures achieved in pressure canning to destroy botulism spores. If your recipe does not explicitly state it is designed for steam canning, do not use this method. Always acidify your produce according to USDA or National Center for Home Food Preservation guidelines.
Incorrect processing times
Steam canners operate differently than water bath canners, so you cannot simply swap processing times. Steam penetrates jars more quickly, often reducing the total time needed, but this varies by jar size and food density. Using a water bath time for steam canning may under-process the food, while using steam times for water bath canning might overcook it. Always refer to the specific steam canning time in your tested recipe. The Michigan State University Extension provides detailed conversion charts and safety data to help you adjust correctly.
Improper lid sealing
A failed seal means your jars will spoil, regardless of how long you processed them. Ensure jar rims are clean and free of food debris before placing the lids. Do not overtighten the bands; they should be "fingertip tight" to allow air to escape during processing. After the timer goes off, let the jars sit undisturbed for 12-24 hours. Press the center of each lid; if it pops back up, the seal failed. Refrigerate these items and consume them quickly, or reprocess with a new lid if the recipe allows.
Frequently asked questions about steam canning
What foods can be steam canned?
Steam canning is strictly for high-acid foods. This includes fruits, acidified tomatoes, pickled products, jams, jellies, and preserves. Because the process does not reach the same internal temperatures as pressure canning, it cannot safely preserve low-acid vegetables, meats, or poultry. Always verify that your recipe is specifically tested for steam canning.
Is steam canning better than water bath canning?
The choice depends on your priorities. Steam canning is faster and uses less water, making it ideal for small batches or hot kitchens. Water bath canning remains the standard for large-volume processing and is often more forgiving for beginners who are learning the basics of jar sealing and headspace.
How long does steam canning last?
Properly sealed jars stored in a cool, dark place retain best quality for 12 to 18 months. While the food remains safe indefinitely if the seal holds, flavor and texture will degrade over time. Always check seals before use and discard any jars with broken seals or signs of spoilage.
What are the instructions for steam canning?
The process involves filling your steam canner with water, bringing it to a boil, and placing filled jars on the rack. Once steam begins venting steadily from the center, start your timer. Process for the time specified in your recipe, then let the jars sit in the turned-off canner for five minutes before removing them to cool.
Steam Canning Prep Checklist
Before you fire up the burner, gather your supplies. Steam canning requires a specific setup to ensure high-acid foods like pickles and onions are preserved safely.
- Clean jars and lids: Wash in hot, soapy water. Keep them hot until filled.
- Fresh produce: Prepare your vegetables according to your chosen recipe.
- Correct brine: Mix your vinegar, salt, and spices ahead of time.
- Working canner: Ensure your steam canner has enough water in the base.
- Clean workspace: Clear your counter to handle hot jars efficiently.
Having everything within arm's reach prevents delays that could compromise jar temperatures.
No comments yet. Be the first to share your thoughts!