
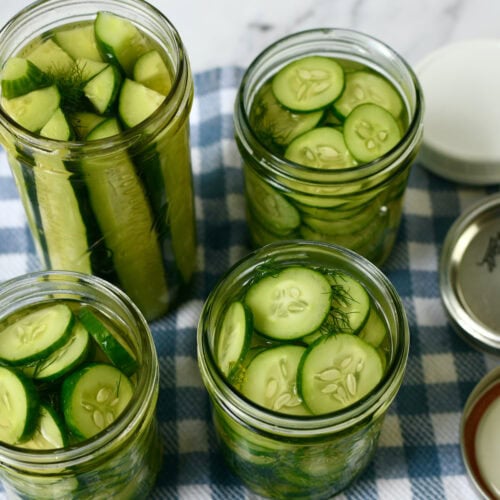
Crisp Pickles Start with Cucumber Choice
The quest for a perfectly crisp pickle begins long before you even think about jars and boiling water – it starts with selecting the right cucumber. Not all cucumbers are created equal, and using the wrong variety can lead to soggy, disappointing results. Using the wrong type can lead to pickles that lack that satisfying snap.
Pickling cucumbers, like the Bush Pickle or National Pickling varieties, are specifically bred for their firm flesh and thin skins, making them ideal for consistently crunchy pickles. Slicing cucumbers, commonly found in grocery stores for salads, have larger seeds and higher water content, which can result in a softer final product. English cucumbers, also known as seedless cucumbers, have even higher water content and are generally not ideal for canning.
The National Center for Home Food Preservation (NCHFP) recommends using cucumbers that are freshly picked and small to medium in size – ideally no more than 4 inches long. Smaller cucumbers tend to have smaller seed cavities and a firmer texture. Choose cucumbers free from blemishes, bruises, and soft spots, as these imperfections can introduce unwanted bacteria and affect pickle quality.
Sourcing matters. If possible, grow your own or buy from a local farmer's market. Cucumbers that haven’t traveled long distances are more likely to be fresh and firm. Use cucumbers within 24 hours of picking for the best results; this makes a difference in the final texture.
2026's Top 5 Pickle Recipes
Bolder flavors and globally-inspired recipes are poised to dominate the pickle scene. People are looking for more than just the classic dill; they want pickles that pack a punch and offer something unique. Here are five recipes that are gaining popularity.
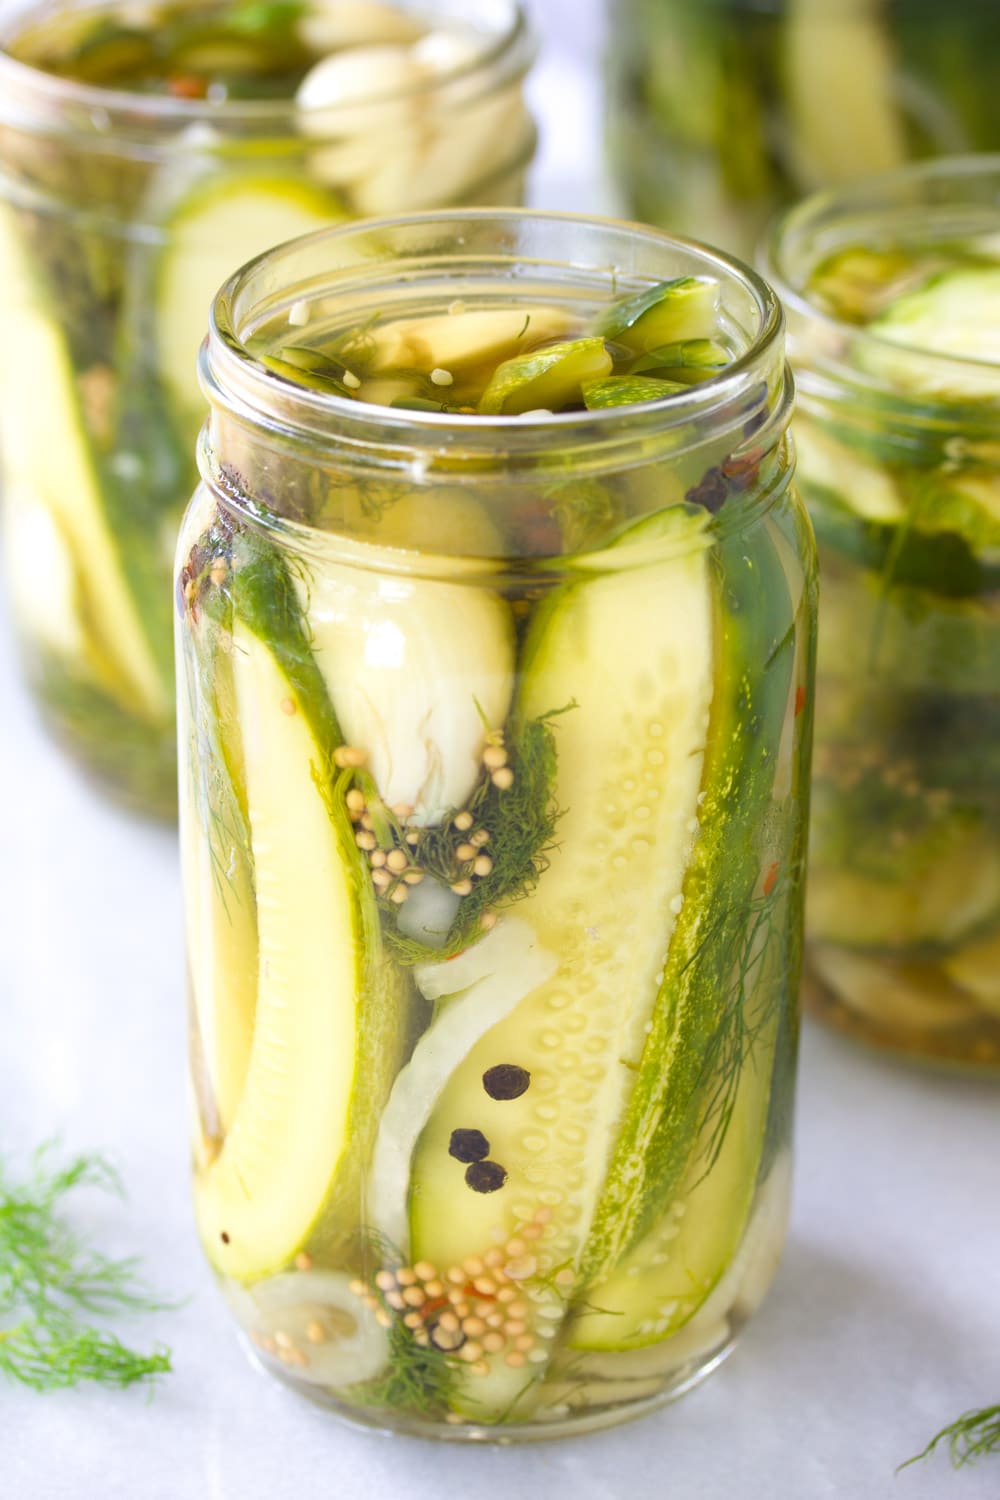
1. Classic Dill Pickles: You can’t go wrong with a classic. This recipe, based on NCHFP guidelines, focuses on a crisp, tangy pickle with a generous amount of dill. Ingredients: 4 cups sliced cucumbers, 2 cups water, 2 cups white vinegar, 4 tablespoons pickling salt, 4 cloves garlic, 4 sprigs dill. Process in a boiling water bath for 10 minutes.
2. Bread & Butter Pickles: A sweet and tangy favorite. These pickles are perfect for those who prefer a less acidic bite. Ingredients: 4 cups sliced cucumbers, 2 cups apple cider vinegar, 1 cup sugar, 1 tablespoon mustard seeds, 1 teaspoon turmeric. Process in a boiling water bath for 10 minutes.
3. Spicy Garlic Pickles: For those who like a kick. This recipe incorporates fresh garlic and red pepper flakes for a fiery flavor. Ingredients: 4 cups sliced cucumbers, 2 cups white vinegar, 1 cup water, 3 tablespoons pickling salt, 6 cloves garlic, 1 teaspoon red pepper flakes. Process in a boiling water bath for 10 minutes.
4. Korean Cucumber (Oi Muchim-inspired) Pickles: A nod to global flavors, this recipe draws inspiration from the popular Korean side dish. It’s a fermented pickle with a spicy, savory, and slightly sweet flavor profile. Ingredients: 4 cups sliced cucumbers, 1/4 cup gochugaru (Korean chili powder), 2 tablespoons fish sauce, 1 tablespoon rice vinegar, 1 tablespoon sugar, 2 cloves garlic. This recipe requires fermentation for 24-48 hours before canning.
5. Sweet & Tangy Pickles: A balanced flavor profile that appeals to a wide range of palates. This recipe uses a combination of sugar, vinegar, and spices to create a pickle that is both sweet and tart. Ingredients: 4 cups sliced cucumbers, 2 cups apple cider vinegar, 1 cup sugar, 1 teaspoon celery seeds, 1/2 teaspoon mustard seeds. Process in a boiling water bath for 10 minutes. Remember to always consult the NCHFP for up-to-date processing times based on your altitude.
Brining for Crunch: Salt, Sugar, and Time
Brining is the most important step in creating crispy pickles. It alters the cucumber’s cellular structure to create a firm texture. Salt draws out excess moisture from the cucumbers, preventing them from becoming soft and mushy during canning.
Sugar, often added for flavor, also contributes to texture. It balances the acidity of the vinegar for a more pleasant taste. Different brining methods affect the final result. An overnight brine (8-12 hours) is a good starting point for most recipes. A 24-hour brine can result in even crisper pickles, but avoid over-brining to prevent them from becoming too salty.
Quick-brining (30-60 minutes) is an option when short on time, but may not yield the same crispness as a longer brine. The NCHFP recommends a brine solution of approximately 5% salt to water for optimal results. Too little salt results in soft pickles, while too much makes them overly salty.
Not using enough ice in the brine is a common mistake. Keeping the brine cold slows down enzyme activity and maintains cucumber firmness. Using iodized salt can darken pickles and impart an off-flavor. Always use pickling salt, which is pure sodium chloride without additives.
Canning Methods Compared: Water Bath vs. Steam
When it comes to canning pickles, you have two primary options: water bath canning and steam canning. Water bath canning involves completely submerging the jars in boiling water for a specified amount of time, while steam canning uses a specialized canner that generates steam to process the jars. Both methods are safe when performed correctly, but they have different advantages and disadvantages.
Water bath canning is the more traditional method and is suitable for high-acid foods like pickles. It requires a large pot that can fully submerge the jars, as well as enough water to maintain a constant boil. Steam canning, on the other hand, uses less water and energy, making it a more environmentally friendly option. It’s also ideal for smaller batches of pickles.
The NCHFP provides detailed guidelines for both methods, and it's crucial to follow them carefully to ensure food safety. Processing times vary depending on the recipe, altitude, and jar size. Steam canning requires a tightly sealed canner and a consistent steam flow to achieve the proper temperature. I find steam canning particularly convenient for smaller batches – it heats up much faster than a large pot of water.
Safety is paramount. Always ensure that the jars are properly filled, leaving the recommended headspace, and that the lids are properly sealed. Inspect the seals after processing to ensure that they are airtight. If a seal fails, the pickles must be refrigerated and consumed within a few days. The NCHFP website is an excellent resource for detailed instructions and troubleshooting tips.
Water Bath Canning vs. Steam Canning for Pickles
| Setup Time | Energy Use | Water Usage | Batch Size | High-Altitude Suitability |
|---|---|---|---|---|
| Low | Medium | High | Typically Larger | Requires adjustment based on altitude – consult tested recipes. |
| Medium | Low | Low | Generally Smaller | Requires adjustment based on altitude – consult tested recipes. |
| Moderate | Moderate | Significant | Dependent on canner size | Altitude adjustments are crucial for safe processing. |
| Quick | Lower | Minimal | Limited by steamer capacity | Altitude adjustments are crucial for safe processing. |
| Simple | Moderate | High | Varies with canner | Adjustments needed for elevation. |
| More involved | Low | Minimal | Varies with steamer | Adjustments needed for elevation. |
Illustrative comparison based on the article research brief. Verify current pricing, limits, and product details in the official docs before relying on it.
Lid Safety & Reusability in 2026
The question of canning lid reusability is a perennial debate, and it's likely to remain a hot topic in 2026. Current NCHFP recommendations state that flat lids should be used only once, as the sealing compound can degrade with repeated use. However, ongoing lid shortages and rising prices have prompted many home canners to explore alternative options.
While the NCHFP doesn’t endorse reusing lids, some canners successfully reuse them multiple times by replacing the sealing compound. This involves purchasing replacement sealing rings or applying a thin layer of paraffin wax to the lid. However, this practice is not without risk, as it can compromise the seal and potentially lead to spoilage. It is important to carefully inspect reused lids for any signs of damage or corrosion.
Emerging lid technology may offer more sustainable solutions in the future. Some companies are developing reusable lids made from silicone or other durable materials. These lids are designed to create a reliable seal without relying on a single-use sealing compound. While these options are currently more expensive than traditional lids, they may become more affordable and widely available in the coming years.
Proper lid preparation is essential, regardless of whether you're using new or reused lids. Before canning, inspect the lids for any dents, rust, or damage. Wash the lids in hot, soapy water and rinse thoroughly. According to the NCHFP, simmering lids in hot water for 10 minutes before use can help to soften the sealing compound and improve the seal.
Troubleshooting Common Pickle Problems
Even with careful attention to detail, pickle canning can sometimes encounter problems. Soft pickles are a common complaint, often caused by using the wrong type of cucumber, insufficient salt in the brine, or underprocessing. To prevent this, always use pickling cucumbers, follow the recommended brine recipe, and ensure that the jars are processed for the correct amount of time.
Cloudy brine can be caused by mineral deposits in the water or using iodized salt. Use distilled water or filtered water whenever possible, and always use pickling salt. Failed seals are another frustrating issue. This can be caused by chipped jar rims, insufficient headspace, or improper lid preparation. Always inspect the jars for chips and cracks before use, and ensure that the lids are properly seated.
Mold growth is a serious concern and indicates that the seal has failed. Discard any pickles that show signs of mold. To prevent mold growth, follow the NCHFP guidelines for proper processing and storage. I’ve found that a little extra attention to detail during preparation and processing can save a lot of heartache later on.
If your pickles are too salty, you may have used too much salt in the brine. Unfortunately, there's not much you can do to fix this after they've been canned. Prevention is key – carefully measure the salt and avoid adding extra. If your pickles are too sour, you may have used too much vinegar. Again, prevention is the best approach. The NCHFP provides reliable recipes with balanced flavor profiles.
Beyond Dill: Flavor Standouts for 2026
While dill pickles will always have a place in our hearts (and jars), adventurous palates are driving demand for more diverse pickle flavors. Spicy kimchi pickles, made with gochujang and other Korean chili pastes, are gaining traction. Bread and butter pickles with a hint of turmeric and ginger offer a warm, aromatic twist.
Dill pickles infused with unexpected herbs like lavender or rosemary are also becoming popular. These subtle floral notes add a sophisticated touch to the classic pickle flavor. Experimenting with different spices is a great way to create your own signature pickle flavors. Consider adding a pinch of smoked paprika, cumin, or coriander to your brine.
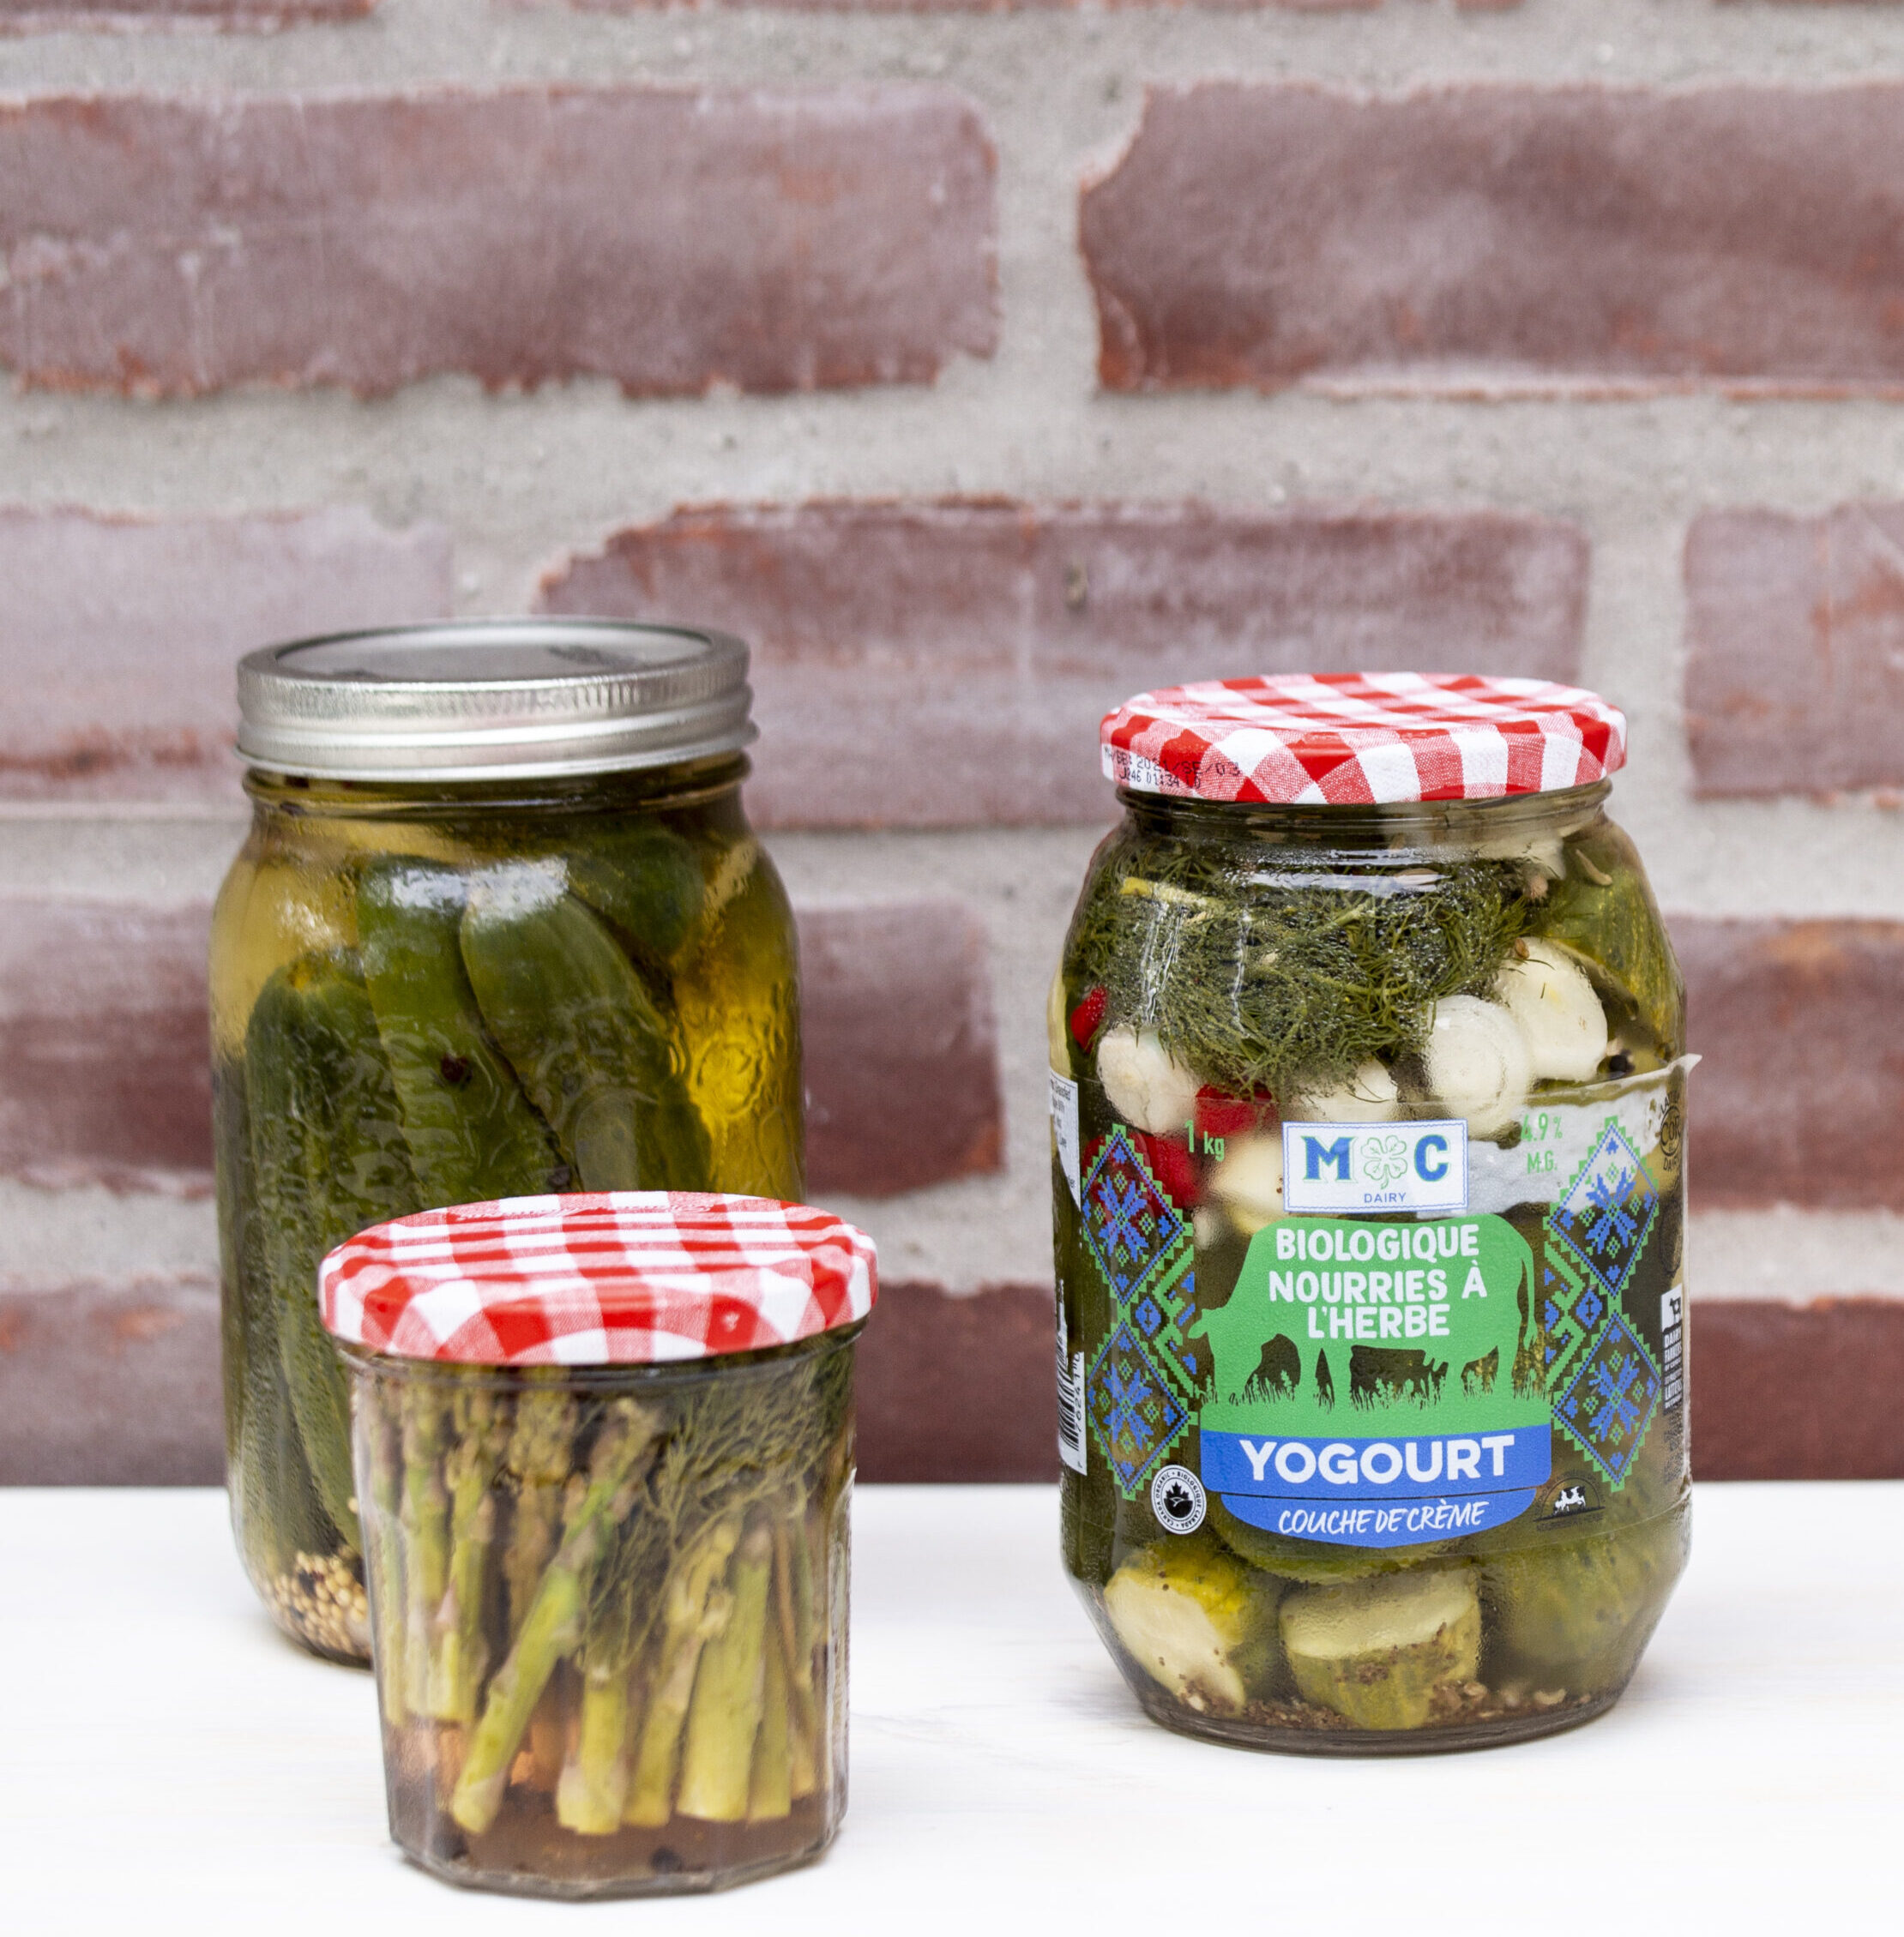
Pickled green beans, carrots, and even beets are also gaining popularity as alternatives to traditional cucumber pickles. These vegetables offer different textures and flavors, providing a refreshing change of pace. Don’t be afraid to get creative and explore different flavor combinations. Canning allows you to preserve the flavors of summer and enjoy them year-round.
I’ve been experimenting with pickling peaches and plums, and the results are surprisingly delicious. The sweetness of the fruit complements the acidity of the vinegar beautifully. Ultimately, the best pickle flavor is the one that you enjoy the most. So, have fun, experiment, and create pickles that are uniquely your own.


No comments yet. Be the first to share your thoughts!