

What steam canning actually is
Steam canning is a distinct, evidence-based method for preserving high-acid foods. It uses the heat of atmospheric steam inside an enclosed pot to process jars, rather than submerging them in boiling water. This approach is faster and more energy-efficient than traditional boiling water bath canning, making it ideal for small batches of pickles, jams, and fruit preserves.
While steam canning was once considered experimental, modern research has validated its safety for foods with a pH of 4.6 or lower. According to the University of Arkansas Division of Agriculture, this includes fruits, jams, jellies, tomato products, and pickled items. The steam penetrates the jar lids and glass, reaching the same sterilizing temperatures as boiling water but with less water volume and shorter processing times.
The process begins by placing filled jars into a preheated steam canner. The water in the canner base should reach 140 °F for raw-packed foods and 180 °F for hot-packed foods, as noted by Michigan State University Extension. This precise temperature control ensures that the steam is hot enough to kill spoilage organisms without overcooking delicate foods.
By relying on steam rather than immersion, you reduce the risk of jars breaking from thermal shock and save time on the stovetop. This method has become a staple for home canners who want to preserve seasonal produce quickly and safely.
Prepare your steam canner and jars
Steam canning relies on precise heat to preserve high-acid foods like pickles safely. The process moves faster than water bath canning, but it requires strict attention to temperature and jar preparation. If the base water isn’t hot enough or the jars are cold, the steam won’t generate correctly, risking spoilage.
Preheat the canner base
Fill the steam canner base with water and place it on the stove. Turn the heat to high and bring the water to a boil. The target temperature depends on your packing method: you need 140 °F (60 °C) for raw-packed foods and 180 °F (82 °C) for hot-packed foods.
Use a candy or canning thermometer to verify the temperature. Do not guess. Michigan State University Extension notes that maintaining these specific temperatures is critical for killing pathogens while preserving texture. Once the water reaches the target, keep it simmering until you are ready to load the jars.
Prepare the jars
While the base heats, prepare your jars. Wash them in hot, soapy water and rinse thoroughly. For hot-packed pickles, keep the jars hot by storing them in a pot of simmering water or a dishwasher on the sanitize cycle. Cold jars placed into a hot steam canner can crack due to thermal shock.
For raw-packed pickles, clean jars at room temperature are acceptable, but they must be dry. Ensure your lids and bands are ready. New lids are recommended for a reliable seal. Have your filled jars and lid assembly waiting nearby so you can load them immediately once the canner is preheated.
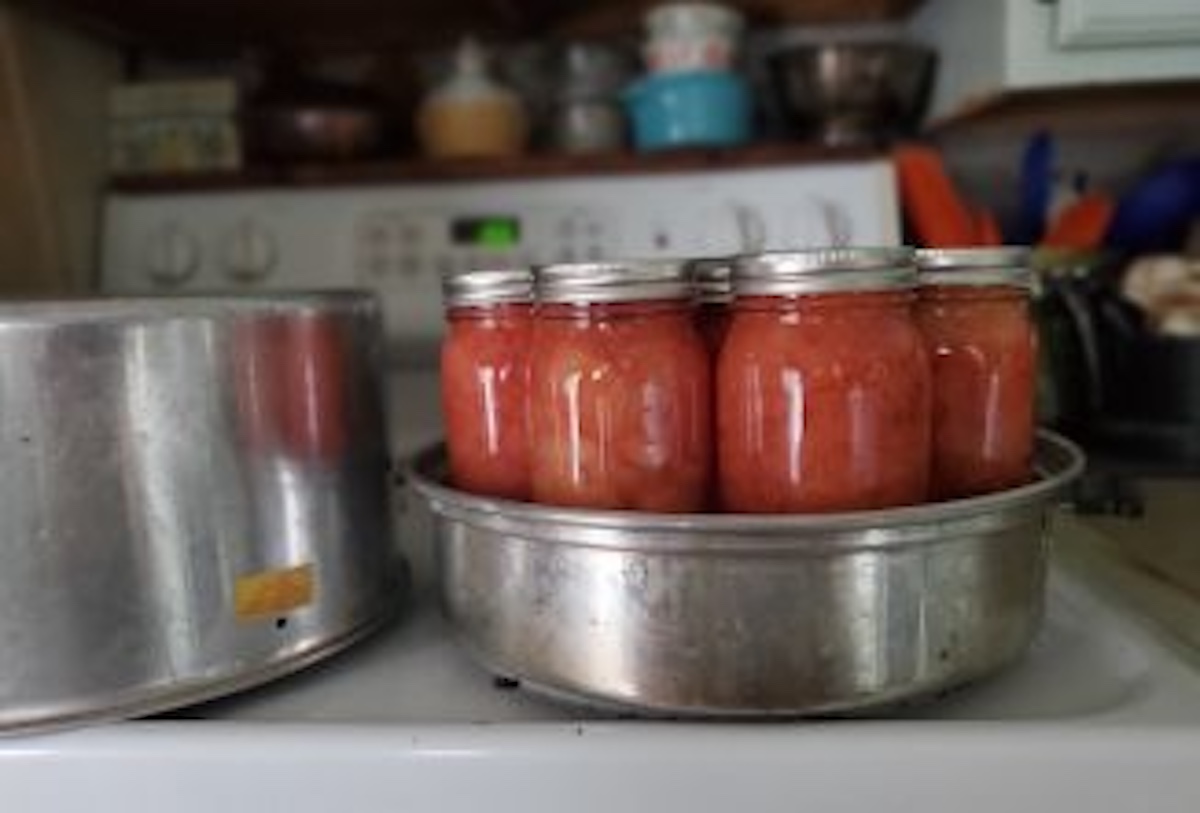
Fill the steam canner base with the recommended amount of water. Place it on the burner and turn the heat to high. Bring the water to a rolling boil. Use a thermometer to confirm the water reaches 140 °F for raw packs or 180 °F for hot packs. This ensures the steam is hot enough to process the food safely.
Wash jars in hot, soapy water. If using hot packing, keep jars hot in simmering water. If raw packing, use clean room-temperature jars. Pack your pickles and hot brine into the jars, leaving the correct headspace. Wipe the rims clean with a damp cloth to remove any residue that might prevent a seal.
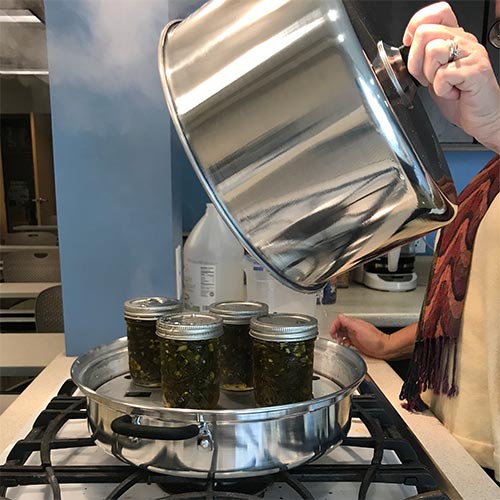
Once the base water is at the correct temperature, carefully lift the hot jars and place them into the canner basket. Do not let the jars touch the bottom of the base directly; they must sit in the steam. Place the lid on the canner securely. Start your processing timer immediately after the steam begins to escape from the vent.
Process cucumbers and other high-acid foods
Loading the steam canner requires a specific sequence to ensure jars heat evenly without cracking. Start by filling the steam canner base with the amount of water specified in your recipe’s instructions. Place the filled jars onto the rack, ensuring they sit upright and do not touch each other or the sides of the canner. Close the lid securely to trap the steam.
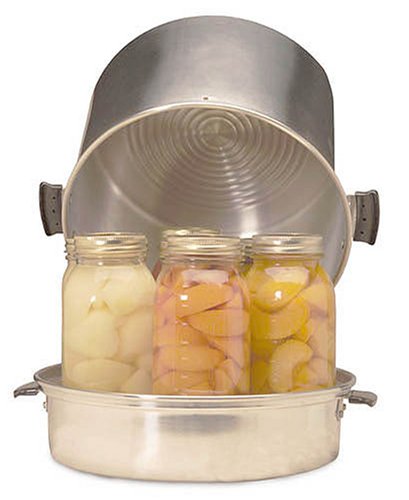
Steam canning relies on dry heat rather than submerged water, which changes how heat transfers to the jar. Because the jars are not surrounded by boiling water, the steam must circulate freely around each jar. This is why proper spacing in the rack is critical. If jars are touching, steam cannot reach the contact points, leading to uneven heating. Always follow a tested recipe from a reliable source, such as the National Center for Home Food Preservation, to ensure your pickles are safe for shelf storage.
Check seals and store your preserves
Once the processing time is complete, remove the canner lid and let the jars sit undisturbed for 12 to 24 hours. This cooling period is critical; as the contents cool, a vacuum forms inside the jar, pulling the lid down into place. Do not test the seals by pressing on the lids or tightening the rings while the jars are still hot, as this can disrupt the seal formation.
Verify the vacuum
After the jars have cooled to room temperature, remove the screw bands to check the seal. Press the center of each lid with your finger. A properly sealed lid will not flex or pop up when pressed. If the lid moves, the jar did not seal. You can reprocess the food within 24 hours using a new lid, or refrigerate it and consume it soon. For unsealed jars that cannot be reprocessed, treat them like fresh food and store them in the refrigerator.
Store for long-term preservation
Proper storage extends the shelf life of your steam-canned pickles and preserves. Clean the outside of the jars with warm soapy water to remove any residue or sticky spills, then label each jar with the contents and the date. Store the jars in a cool, dark, and dry place, ideally between 50°F and 70°F. Avoid storing them near stoves, ovens, or direct sunlight, as heat and light can degrade quality and flavor. When stored correctly, most high-acid steam-canned goods remain safe for up to one year. For the most current safety guidelines on storage conditions, refer to the National Center for Home Food Preservation.
Remove bands and inspect
For long-term storage, it is best to remove the screw bands. If a band rusts or gets stuck during opening, it can be difficult to remove and may contaminate the jar. Store the sealed jars without the bands in your pantry or cellar. If you prefer to keep the bands on to hold the lid in place, check the seal monthly and remove any bands that show signs of rust.
Can you reuse flat canning lids?
The short answer is no. According to the USDA, flat canning lids are designed for single use only. While the metal band (the screw ring) is durable and can be reused indefinitely as long as it is in good condition, the flat lid itself is a consumable component.
Flat lids are coated with a food-grade sealing compound. During the canning process, heat softens this compound, allowing it to flow and create an airtight seal as the jar cools and vacuum forms. Once this compound has been activated and compressed against the jar rim, it cannot return to its original state. The microscopic imperfections created during that first use mean a reused lid will likely fail to seal properly, even if it appears to "pop" down initially.
Using a reused lid introduces a significant risk of spoilage. A compromised seal allows air and bacteria to enter the jar, which can lead to food degradation or, in the case of low-acid foods, the growth of dangerous pathogens like Clostridium botulinum. Steam canning relies on precise temperature control, but it cannot compensate for a faulty mechanical seal.
If you are looking to save money, focus your efforts on reusing the glass jars and the metal bands. The bands simply hold the lid in place during processing and do not participate in the sealing mechanism. You can wash and reuse them many times. However, always inspect bands for rust or bent edges that might prevent proper tightening.
For the flat lids, treat them as a necessary expense. If a lid shows any signs of rust, deep scratches, or dents on the rim, discard it immediately. These imperfections create channels for bacteria to bypass the sealing compound. When you buy new lids, ensure they are stored in a dry, cool place to prevent corrosion before you even open the package.
Common steam canning mistakes
Steam canning works fast, but it leaves little room for error. A small deviation in water level or lid handling can compromise the seal or leave your pickles unsafe. Focus on these three critical pitfalls to ensure every jar holds.
Low water levels
The canner needs a steady blanket of steam. If the water drops below the recommended level, the steam generation stops, and the processing time is no longer accurate. This usually happens if you start with too little water or if the lid is loose, letting steam escape. Always check the water level before heating. If the canner runs dry, the process is voided; discard the batch and start over.
Using the wrong lids
Steam canners reach higher temperatures than water bath canners. Standard reusable lids designed for water bath canning may not seal properly under steam pressure. Always use new, two-piece canning lids (flat disk and screw band) recommended for steam canning. Reusing old lids can lead to weak seals and spoilage. Inspect each lid for dents or scratches before use.
Skipping the preheat
Adding jars to a cold canner extends the processing time unpredictably. Research from university extensions indicates you should preheat the water to specific temperatures: 140°F for raw-packed foods and 180°F for hot-packed foods. This ensures the steam builds quickly and the processing clock starts at the right moment. Use a thermometer to verify the temperature before loading the jars.
-
Verify water level meets minimum line
-
Check lids for damage and use new ones
-
Preheat water to 140°F (raw) or 180°F (hot)
-
Ensure jar rims are clean and dry
No comments yet. Be the first to share your thoughts!