

Why steam canning works for pickles
Steam canning is a safe, approved method for high-acid foods like cucumbers and onions. It works by surrounding jars with steam rather than submerging them in boiling water. This distinction matters because steam reaches higher temperatures than boiling water, allowing for faster processing times while maintaining the same safety standards for pH 4.6 or lower foods.
Traditional water bath canning requires jars to be fully submerged. This means you need a large pot, a lot of water, and a longer wait for the water to reach a rolling boil. Steam canning uses a specialized canner with a tight-fitting lid that traps steam. You add a small amount of water to the bottom, and the rising steam heats the jars. This method uses less water and energy, making it ideal for small batches of pickles.
The National Center for Home Food Preservation confirms that steam canning is safe for high-acid foods when done correctly. The key is ensuring the canner generates enough steam to maintain a consistent temperature throughout the processing time. If the steam escapes or the lid doesn't seal properly, the jars won't reach the necessary heat level.
For cucumbers and onions, the high acidity from vinegar and salt makes them perfect for this method. The steam penetrates the jar lid and heats the contents quickly, preserving the crisp texture of the cucumbers and the sharp flavor of the onions. This results in pickles that are safe to store at room temperature for up to a year.
Gear up for steam preservation
Steam canning relies on a different set of rules than water bath canning. The equipment list is shorter, but the setup requires precision. You need a large pot with a tight-fitting lid, a flat rack that sits above the water line, and standard canning jars with lids and bands. The goal is to keep the jars out of the water so steam does the work.
The rack height matters more than in water bath canning. If jars sit in the water, you are boiling, not steaming. Steam must circulate freely around every jar to reach the target temperature. A rack with legs or a trivet that lifts the jars at least one inch above the pot bottom is essential. Do not use a rack that lets jars touch the metal bottom of the pot.
Water level is the other critical variable. For steam canning, you only need about one inch of hot water in the bottom of the pot. In water bath canning, you fill the pot so jars are fully submerged. This difference means less water to boil, which saves time and energy. It also means you must check the water level frequently during the process to prevent the pot from running dry.
| Feature | Steam Canning | Water Bath Canning |
|---|---|---|
| Water Level | ~1 inch (shallow) | |
| Water Level | Full submersion | |
| Jar Position | Above water on rack | |
| Jar Position | Submerged in water | |
| Pot Lid | Must be tight-fitting | |
| Pot Lid | Optional or loose |
Prepare cucumbers and onions
Start by selecting firm, blemish-free pickling cucumbers. Avoid slicing cucumbers, as their thicker skins and watery flesh turn mushy during processing. Wash them thoroughly, then trim the blossom ends. This small step prevents the enzymes in the blossom from breaking down the vegetable and causing softening.
For extra crunch, soak the cucumbers in a brine of water and pickling lime or alum for 12 to 24 hours. This traditional treatment draws out moisture and tightens the cell structure, ensuring your pickles stay crisp. Rinse them well before slicing.
Peel the onions, removing any tough outer layers. Slice both vegetables into uniform rounds or spears. Consistent thickness ensures they pack tightly into the jar and cook evenly during the steam canning process.
Pack jars with brine and spices
Start Just Canning with the constraint that matters most in real life: space, timing, budget, skill level, maintenance, or availability. That first constraint should shape the rest of the plan instead of appearing as an afterthought. Keep the first pass simple enough to verify. Compare the main options against the same criteria, remove choices that only work in ideal conditions, and save optional upgrades for later.
The simplest way to use this section is to write down the real constraint first, compare each option against it, and choose the path that still works outside ideal conditions.
Steam process the jars safely
Once your cucumbers and onions are packed, sealed, and ready, the steam canner becomes the heart of the process. Loading the jars correctly and maintaining steady steam pressure ensures your Just Canning effort results in safe, shelf-stable preserves.
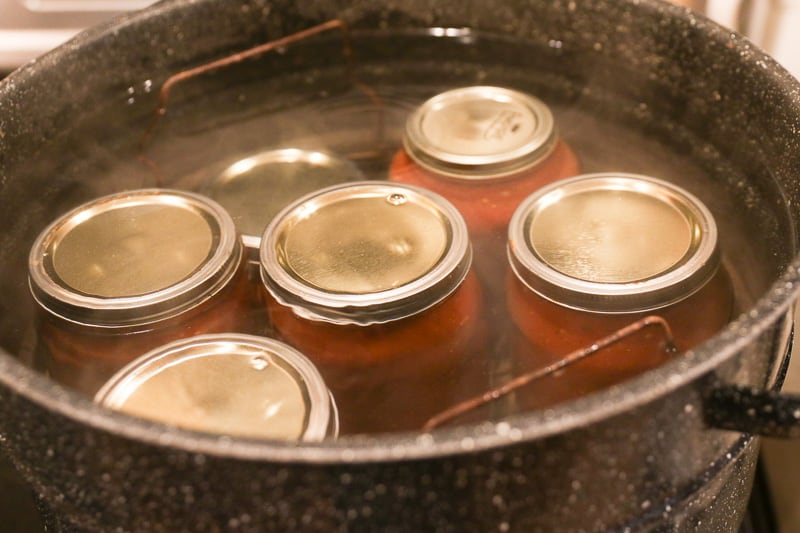
Place the steamer rack into the base and add water to the recommended line. Gently lower the filled jars onto the rack. Avoid jarring the jars or letting them touch the sides of the canner, as sudden temperature changes can cause breakage. Leave at least one inch of space between jars for steam circulation.
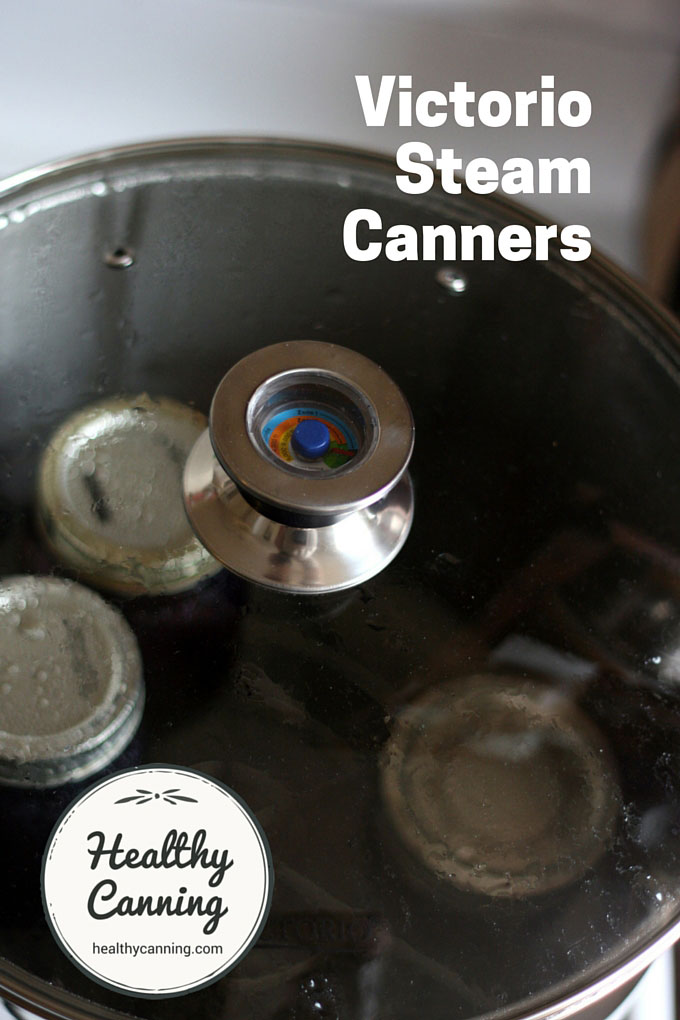
Cover the canner with its tight-fitting lid. Turn the heat to high and bring the water to a full boil. This step generates the steam that will fill the canner. Watch for steam escaping from the vent or lid edges, which signals that the air has been displaced and the heating cycle has begun.
Once the canner is fully steaming, start your timer. Process cucumbers and onions according to your tested recipe—typically 10 to 15 minutes depending on jar size and altitude. Keep the heat medium-high to maintain a steady, vigorous steam throughout the entire processing time. Do not peek or release the lid prematurely.
When the timer ends, turn off the heat and let the canner sit for five minutes to stabilize pressure. Remove the lid away from your face to avoid steam burns. Use a jar lifter to carefully transfer the hot jars to a towel-lined countertop. Let them cool undisturbed for 12 to 24 hours. Check seals by pressing the center of each lid; it should not flex up and down.
This sequence is critical for safety. Proper steam processing destroys harmful bacteria and creates the vacuum seal that keeps your cucumbers and onions fresh for months. If you are new to this method, refer to resources like the National Center for Home Food Preservation for detailed altitude adjustments and timing charts.
Check seals and store properly
Remove the processing bands after the jars have cooled completely, usually 12 to 24 hours. This step allows you to verify the seal without interference from tight metal rings. A failed seal is obvious: the lid flexes when you press the center, or the jar opens easily when you lift it by the lid alone. If a jar hasn't sealed, refrigerate it and use the contents within a few days, or reprocess it immediately with a new lid.
For long-term shelf stability, store the sealed jars in a cool, dark, and dry place. Ideal conditions keep the cucumbers and onions crisp and flavorful for up to a year. Avoid storing jars in areas with temperature fluctuations, such as above the stove or in direct sunlight. Proper storage ensures that the vacuum seal remains intact and prevents spoilage.
-
Cool jars completely before handling bands
-
Remove bands to test seal integrity
-
Refrigerate or reprocess unsealed jars immediately
-
Store sealed jars in a cool, dark pantry
No comments yet. Be the first to share your thoughts!