

What steam canning actually does
Steam canning is a safe, evidence-based method for preserving high-acid foods. It uses atmospheric steam to process jars, making it distinct from pressure canning, which relies on pressurized water to reach higher temperatures for low-acid items like meats and vegetables.
This method is ideal for pickles and onions because these foods are naturally acidic (pH 4.6 or below). The steam heats the jars quickly and evenly, destroying spoilage organisms while preserving the crisp texture and bright flavor that water bath canning can sometimes soften. As noted by Penn State Extension, atmospheric steam canning is a safe alternative to traditional water bath methods for these specific high-acid recipes.
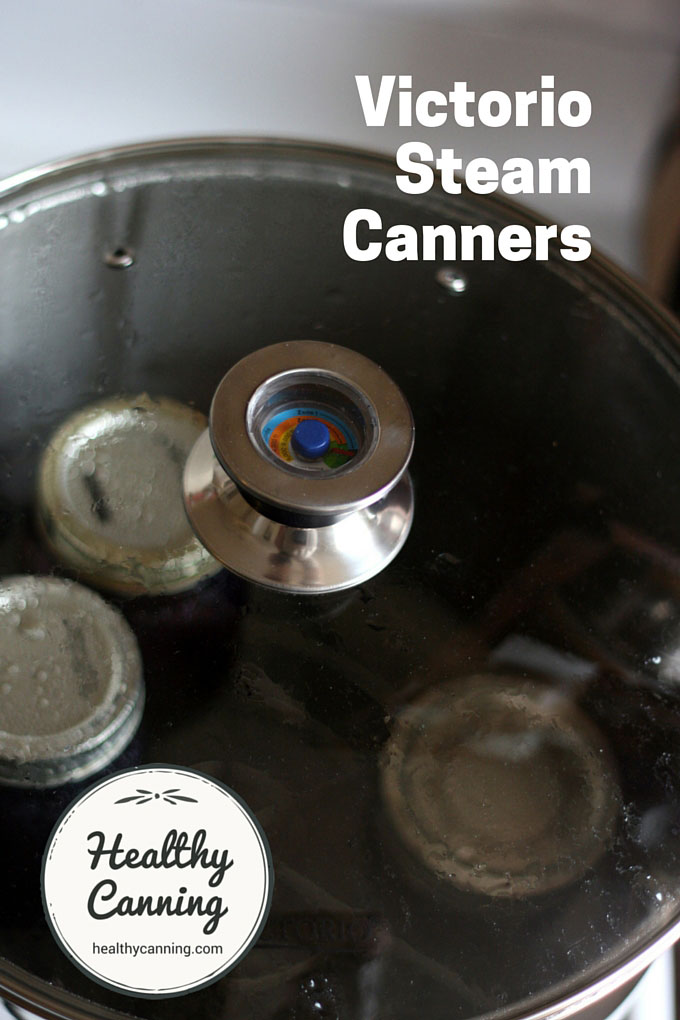
The process is straightforward: you fill a specialized canner with a small amount of water, bring it to a boil to generate steam, place your filled jars inside, and cover the unit. The trapped steam circulates around the jars, heating them to the necessary temperature to create a vacuum seal. This method is faster than water bath canning and uses less water, making it an efficient choice for seasonal harvests of pickles and onions.
Gear you need before starting
You only need a few specific items to run a safe steam canning session. The primary tool is the canner itself, but choosing the right model matters for both convenience and safety. You will also need standard canning supplies like jars, lids, and a jar lifter. Finally, having a reliable source for tested recipes is non-negotiable.
Choose a dual-use steam canner
The easiest path for most home canners is a dual-use steam canner. These units are designed to function as both a steam canner and a water bath canner. This flexibility means you can use the same pot for pickles, jams, and salsas without switching equipment. Look for models with a deep base and a clear, fitted lid to trap steam effectively.
Traditional steam canners are also available, but they often lack the versatility of dual-use models. They are dedicated solely to steam processing and may not handle the volume of water bath canning as efficiently. If you already own a traditional unit, it will work for high-acid foods like pickles and onions, provided you follow the manufacturer’s instructions precisely.
Gather standard canning supplies
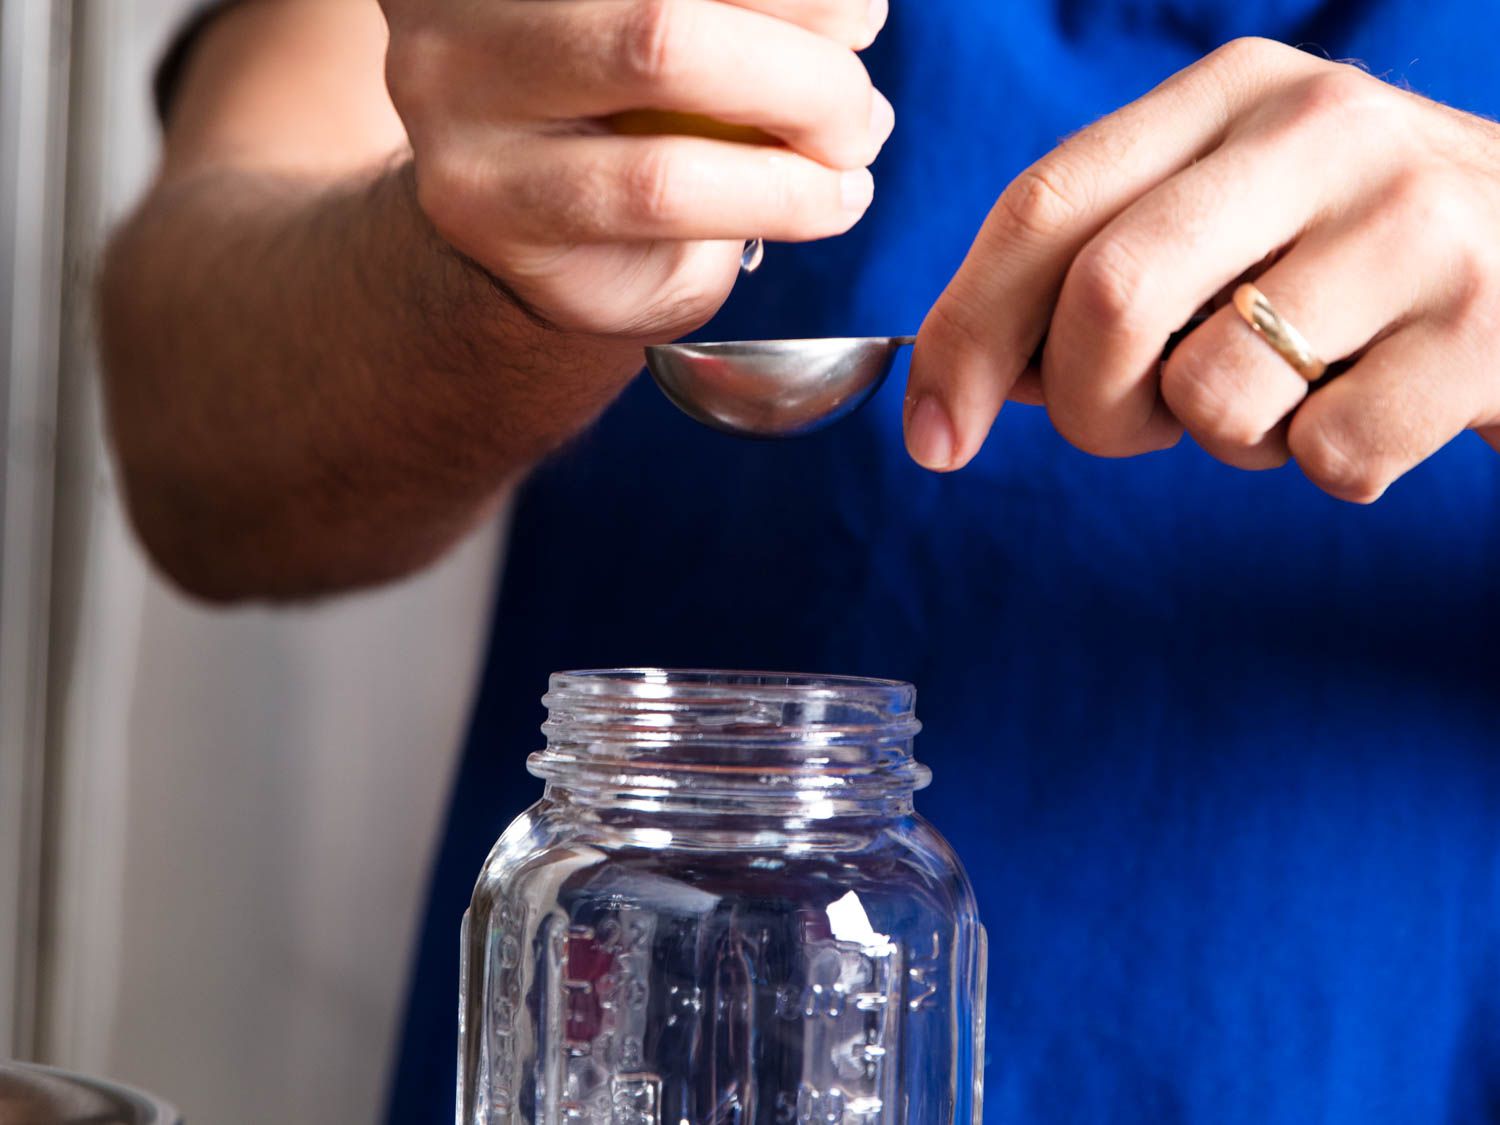
Beyond the canner, you need the standard toolkit for any preservation project. You will need glass jars with two-piece lids (flat lids and screw bands). A jar lifter is essential for safely moving hot jars in and out of the canner. A large ladle, funnel, and bubble remover help you fill jars neatly without spills.
You do not need a pressure canner for steam canning. Steam canning relies on high-acid environments to prevent bacterial growth, similar to water bath canning. However, it processes jars faster because steam transfers heat more efficiently than boiling water. Always verify that your chosen recipe is specifically approved for steam canning. Do not substitute water bath times with steam canning times without official guidance.
For authoritative safety standards, refer to resources like the Penn State Extension guide on atmospheric steam canners. Their protocols ensure that your pickles and onions are processed safely without risking foodborne illness. Stick to tested recipes from reputable sources to guarantee your preservation efforts are both successful and safe.
Preparing cucumbers for pickling
Selecting the right cucumbers is the first step toward crisp pickles. Look for fresh, firm pickling cucumbers that are dark green with bumpy skin. Avoid large slicing cucumbers, which have thicker skins and more seeds, often resulting in soft or mushy pickles after processing.
Wash the cucumbers thoroughly under cool running water. Use a vegetable brush to scrub away any dirt or debris, especially from the bumpy skin. Rinse well and pat dry with a clean towel. Clean produce reduces the risk of introducing unwanted bacteria into your jars during steam canning.
Trim the blossom end from each cucumber. The blossom end contains enzymes that can break down cell walls, leading to soft pickles. Cut off about 1/16 to 1/8 inch from the end. This small step helps maintain the crisp texture you want in your final product.
Cut the cucumbers into your desired shape—slices, spears, or whole gherons. Keep pieces uniform in size so they pack neatly into jars and process evenly. If making spears, cut lengthwise into quarters. For slices, cut into 1/4 to 1/2 inch rounds.
Pack the cucumbers tightly into clean, hot jars. Leave 1/2 inch of headspace at the top. This space allows for proper sealing and accounts for expansion during processing. Tightly packed jars maximize the amount of pickles you can store while ensuring even heat distribution during steam canning.
Prepping Onions for Preservation
Onions are low-acid vegetables, which means they cannot be safely preserved using steam canning on their own. To make them safe, you must process them in a high-acid brine that lowers the overall pH to 4.6 or below. This step is non-negotiable for steam canning; without the proper acidification, botulism spores can survive and thrive in the sealed jar.
Start by peeling the onions and removing any tough outer layers or green sprouts. Trim the root ends, but leave the bulbs intact to prevent the brine from penetrating too deeply during the initial soak, which can make the texture mushy. For pickled onions, leaving them whole or halving them works best. If you prefer smaller pieces, quarter them, but be aware that smaller cuts will absorb the brine faster and may become softer during processing.
Once trimmed, blanch the onions in boiling water for one to two minutes. This brief heat treatment loosens the skins further and helps maintain a crisp texture. Immediately transfer the hot onions to a bowl of ice water to stop the cooking process. Drain them thoroughly before packing them into your sterilized jars.
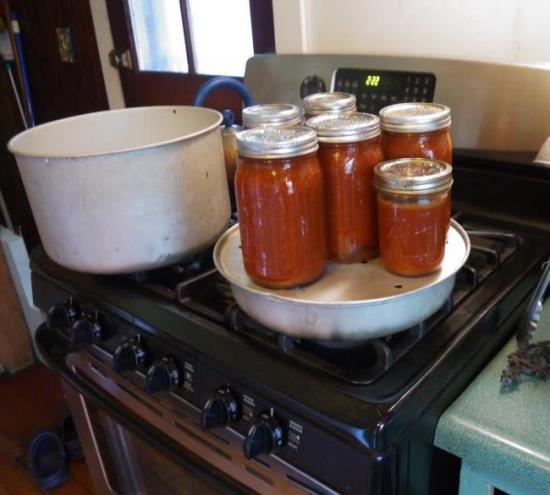
Pack the drained onions tightly into your hot jars, leaving the recommended headspace at the top. Pour your hot, boiling brine over the onions, ensuring they are completely submerged. The brine acts as the primary preservative, so use a research-tested recipe that specifies the correct ratio of vinegar, salt, and sugar. Never alter the vinegar-to-water ratio in these recipes, as this directly impacts the safety of the final product. After removing air bubbles and wiping the jar rims, you are ready to process them in the steam canner.
Running the steam canner cycle
Start by filling the steam canner base with the amount of water specified in your device’s manual. Place the canner on the stove and bring the water to a rolling boil. This preheating phase ensures the steam is hot enough to process the jars immediately once they are loaded, which is critical for maintaining the safe internal temperature.
While the water heats, load the filled and sealed jars into the canner. Use a jar lifter to lower each jar gently into the rack. Arrange them so they do not touch each other or the sides of the canner. Proper spacing allows steam to circulate freely around every jar, ensuring even heat distribution throughout the processing time.
Once all jars are inside, secure the lid tightly. Start your timer only after steam begins to vent steadily from the vent hole or opening. The timer counts the processing time required for your specific recipe; the initial steam-up time does not count toward the total. Maintain a steady boil to keep the steam flowing consistently.
When the timer ends, turn off the heat. Let the canner sit undisturbed for five minutes. This brief pause equalizes the pressure inside the jars and the surrounding environment, reducing the risk of siphoning or broken seals. Afterward, carefully remove the lid and lift the jars out onto a towel-lined surface.
Allow the jars to cool completely, which typically takes 12 to 24 hours. Do not retighten the bands while the jars are hot; finger-tight bands from the filling stage are sufficient. As they cool, you will hear the characteristic "ping" of the seals forming. Once cool, remove the bands, wipe the jars, and check the seals before storing.
Checking seals and storing jars
After the processing time ends, remove the jars from the steam canner and place them on a towel or cooling rack. Do not tighten the rings further; simply leave them as they were during processing. Let the jars sit undisturbed for 12 to 24 hours. This cooling period allows the vacuum seal to form naturally as the contents contract and the air inside is expelled.
Once the jars are completely cool, you can verify the seal. Press the center of each lid. If it does not move up or down, the jar has sealed successfully. For an extra check, remove the screw band and lift the jar by the lid alone. If the lid holds, the seal is secure. Any jar that fails this test should be refrigerated and consumed within a few days, as it was not safely preserved.
Proper storage is the final step in the steam canning process. Store sealed jars in a cool, dark, and dry place, such as a pantry or cupboard. Ideal storage temperatures range between 50°F and 70°F. Avoid storing jars near heat sources like stoves or direct sunlight, which can degrade the quality of the pickles and onions over time.
To keep track of your preserved goods, label each jar with the contents and the date. Most pickled vegetables maintain best quality for 12 to 18 months. Check the seals periodically before use. If a jar shows signs of spoilage, such as bubbling, off-odors, or a broken seal, discard it immediately.
-
Cool jars 12–24 hours on a towel or rack
-
Remove screw bands and test seal by lifting with lid
-
Wipe jars clean and label with date and contents
-
Store in a cool, dark, dry place (50–70°F)
-
Discard any jars with broken seals or signs of spoilage
Common steam canning mistakes
Even with a reliable atmospheric steam canner, small errors can compromise the safety of your pickles and onions. Steam canning relies on precise temperature and time; deviating from established protocols risks under-processing. Follow these guidelines to ensure every jar is safe for long-term storage.
Using untested recipes
Steam canning is a newer validated method compared to traditional water bath canning. Only use recipes that have been specifically tested for steam canning or those approved by the USDA and National Center for Home Food Preservation. Standard water bath recipes may not have been adjusted for the different heat transfer rates of steam, potentially leading to unsafe acidity levels.
Insufficient water in the canner
The canner needs enough water to generate a steady, rolling steam throughout the entire processing time. If the water level drops too low, the temperature inside the canner can fluctuate, resulting in an under-processed product. Check the water level before sealing the lid and ensure it meets the manufacturer’s minimum requirement.
Steam escapes rapidly when the lid is lifted, causing an immediate drop in internal temperature. This breaks the heat cycle and compromises the safety of your pickles and onions. Wait until the full processing time has elapsed before removing the lid.
Opening the lid too early
Removing the lid before the processing time is complete allows steam to escape rapidly, dropping the temperature inside the canner. This sudden change interrupts the heat penetration needed to destroy harmful bacteria. Always wait for the full processing time to finish before turning off the heat or opening the canner.
Frequently asked questions about steam canning
Is steam canning safe for pickles and onions?
Steam canning is safe for high-acid foods like pickles and onions, provided you follow current research-tested guidelines. The USDA and university extensions now recognize steam canning as a validated method for preserving foods with a pH of 4.6 or lower. Always use up-to-date recipes to ensure the acid balance is correct for safety.
Can I use steam canning for low-acid vegetables like green beans?
No. Steam canning does not reach the high temperatures required to kill botulism spores in low-acid foods. Green beans, corn, and peas must be processed in a pressure canner. Using a steam canner for these items is unsafe and can lead to serious foodborne illness.
Do I need to adjust processing times compared to boiling water?
Yes. Steam canning is faster than boiling water bath canning, so processing times are shorter. You must follow the specific time recommendations for steam canning in your recipe. Do not use boiling water bath times, as they may result in under-processed jars that are not shelf-stable.
Can I use any canner for steam canning?
No. You must use a canner specifically designed to generate and trap steam. Standard water bath canners do not trap steam effectively and will not reach the necessary temperature. Look for a steam canner with a tight-fitting lid and a rack that keeps jars above the water level.
Work through 2026 Guide: Mastering Steam Canning for Safe Preservation of Cucumbers and Onions
No comments yet. Be the first to share your thoughts!